Let me tell you about my favorite kitchen shortcut – this ridiculously easy taco meat recipe that saves me every Tuesday night (and honestly, most other nights too). I’ve been making this exact version for years, tweaking it until the seasoning blend was just right – enough kick to wake up your taste buds but still kid-friendly. The secret? That splash of broth simmered right into the meat makes all the difference between dry crumbles and juicy, flavorful perfection.
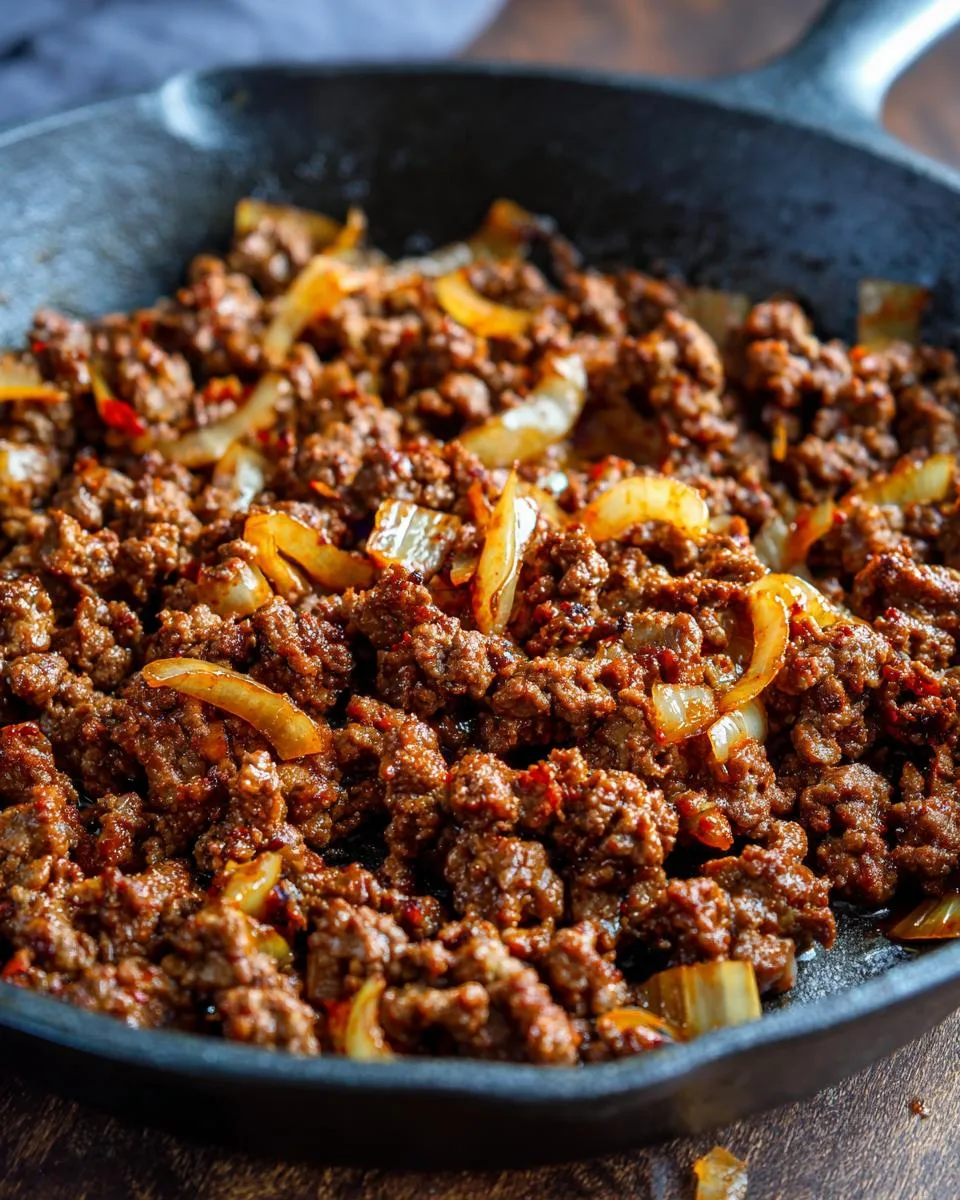
Table of Contents
Table of Contents
Why You’ll Love This Taco Meat Recipe
My youngest used to pick out every single onion piece until I started mincing them almost into paste – now he devours three tacos in one sitting without noticing. Whether you’re feeding a crowd or meal prepping for the week, this taco meat comes together faster than you can say “extra guac please” and tastes way better than any packet mix. Trust me, once you try this method, taco night will never be the same.
This isn’t just another taco filling—it’s your new weeknight superhero. Here’s why:
- Faster than takeout: Done in under 30 minutes, even with onion-chopping breaks
- Flavor bomb: That homemade spice blend? Way better than packet stuff
- Secret weapon: Works in tacos, nachos, salads—even stuffed peppers!
- Crowd-pleaser: Easy to adjust spice levels for picky kids or heat lovers
- Meal prep MVP: Tastes even better the next day (if it lasts that long)
Seriously, this recipe ruined me for restaurant tacos. Once you taste that broth-simmered juiciness, there’s no going back.
Taco Meat Ingredients
Grab these simple ingredients – chances are you’ve got most in your pantry already! The magic happens when they all come together:
- 1 tablespoon chili powder (the backbone of our flavor)
- 2 teaspoons ground cumin (that warm, earthy note)
- 1 teaspoon salt (brings all the flavors to life)
- 1 teaspoon ground black pepper (little pops of heat)
- 1/2 teaspoon garlic powder (because fresh isn’t always handy)
- 1/2 teaspoon onion powder (extra oniony goodness)
- 1/2 teaspoon crushed red pepper flakes (adjust to your heat tolerance)
- 1/2 teaspoon dried oregano (herby Mexican vibes)
- 1/2 teaspoon paprika (for color and subtle sweetness)
- 1/2 teaspoon sugar (optional, but balances the spices)
- 1 tablespoon olive oil (or avocado oil works great)
- 1 small white onion, diced (about 1 cup – trust me, measure!)
- 3 cloves garlic, minced (fresh makes all the difference)
- 2 pounds lean ground beef (or ground turkey if you prefer)
- 1 cup beef broth (chicken broth works in a pinch)
Ingredient Notes & Substitutions
Here’s where you can make this recipe truly yours:
- Protein swap: Ground turkey or chicken work beautifully – just use chicken broth instead of beef
- Broth alternatives: No broth? Use 1/2 cup water + 1 teaspoon Worcestershire sauce
- Spice control: Skip red pepper flakes for mild, or add an extra 1/4 teaspoon for more kick
- Sweetness: The sugar’s optional, but helps balance acidic toppings like tomatoes
- Fresh vs powdered: If using fresh garlic and onion, increase amounts by half
My grandma always said “good tacos start with good ingredients” – but she also believed in using what you’ve got! Don’t stress over perfection here. You can find more great recipes over at our recipe index.
How to Make Taco Meat
Okay, let’s get cooking! This process is so simple you’ll have it memorized after one try. Just follow these steps for foolproof taco meat every time:
- Mix your spices first – grab that small bowl and whisk together all the dried spices (chili powder through paprika, plus sugar if using). This ensures every bite gets balanced flavor.
- Sauté your aromatics – heat oil in your largest skillet over medium-high, then cook those diced onions for 4-5 minutes until they’re soft and translucent. Add minced garlic and stir for just 30 seconds – you’ll smell when it’s ready!
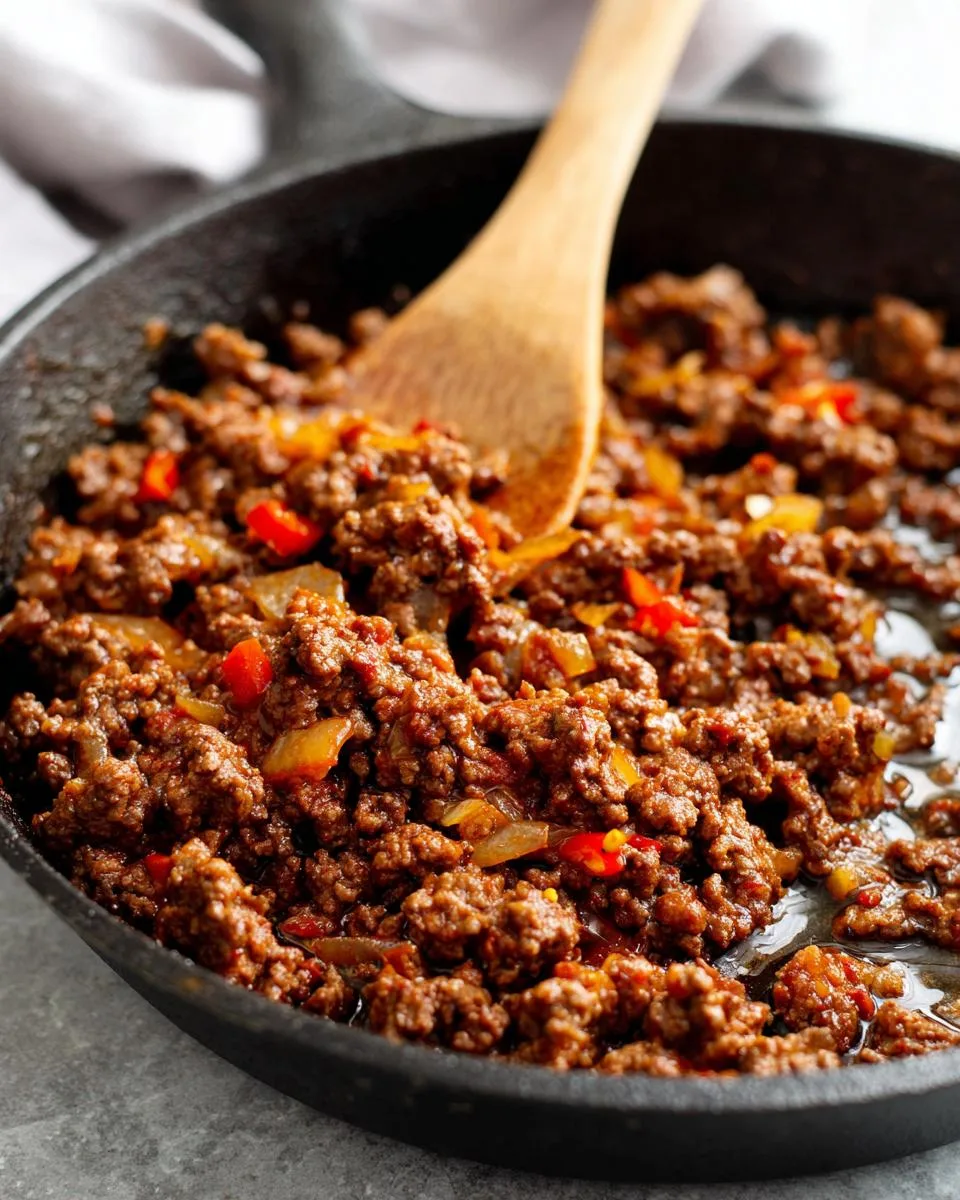
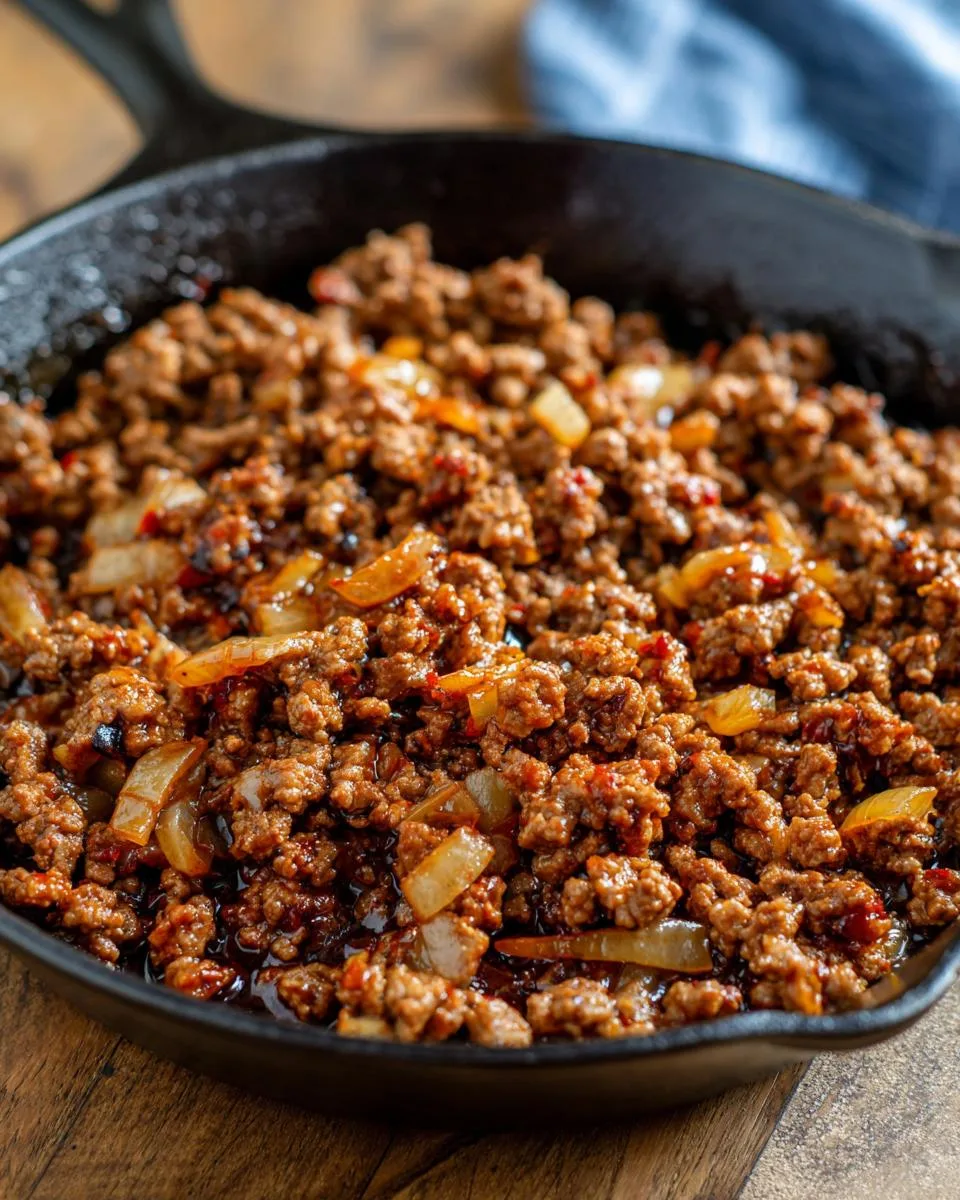
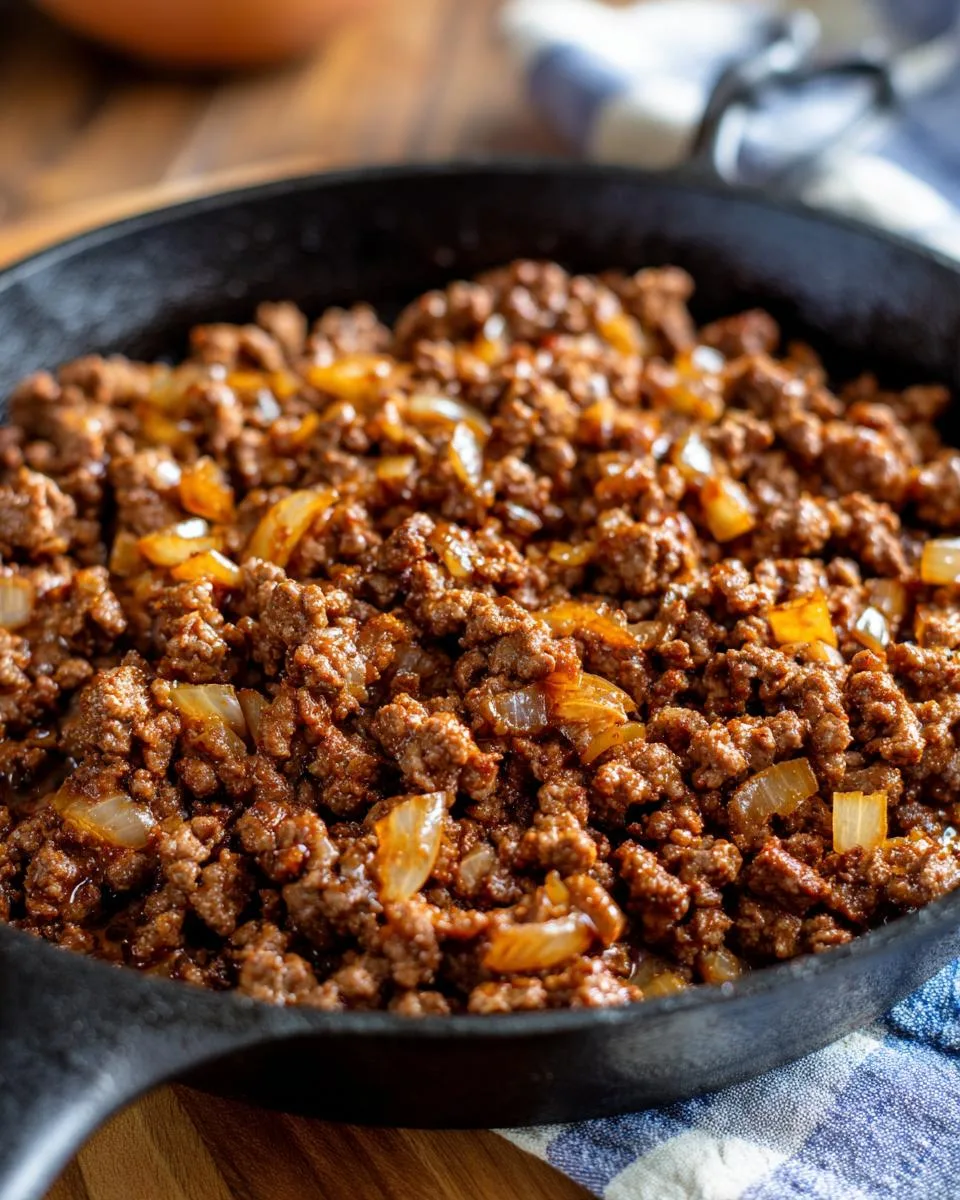
- Brown the beef properly – crumble in your ground beef, breaking it up as it cooks. Let it get a nice sear for 5-7 minutes (no gray meat allowed!). Drain excess grease if needed – I tilt the pan and spoon it out.
- Season and simmer – sprinkle in 3-4 tablespoons of your spice mix (save the rest for next time!), then pour in the broth. Reduce heat to medium-low and let it bubble gently for 5 minutes. This is where the magic happens!
- Taste and adjust – try a small spoonful. Need more salt? More heat? Now’s the time to tweak before serving.
Tips for Perfect Taco Meat
After making this weekly for years, here are my hard-earned secrets:
- Don’t overcrowd the pan – if your skillet’s small, brown the beef in two batches. Steamed meat = sad tacos.
- Patience with browning – wait until you see crispy edges on the beef bits for maximum flavor.
- Broth temperature matters – cold broth stops the simmering. Microwave it for 30 seconds first.
- Rest before serving – let the meat sit off heat for 5 minutes to absorb all those juices.
- Watch the salt – if using salted broth, go easy on additional salt until tasting.
The biggest mistake? Rushing the simmer! Those 5 minutes let the flavors marry and the texture perfect itself. Your tacos will thank you.
Taco Meat Variations
Once you’ve mastered the basic recipe, the fun begins! Here are my favorite ways to mix things up when taco night needs a refresh:
Veggie boost: Toss in diced bell peppers (any color!) when sautéing the onions. Mushrooms work surprisingly well too – they soak up all that taco flavor beautifully.
Nacho superstar: Use this meat as the ultimate nacho topping. Just cook it a tad drier (reduce broth to 1/2 cup) so your chips stay crispy. Pro tip: layer meat between cheese for maximum melty goodness.
Breakfast twist: Morning tacos, anyone? Stir in scrambled eggs and top with avocado. My kids go nuts when I pack this in their breakfast burritos.
Spice it up: Add a diced jalapeño (seeds removed) with the onions, or stir in chipotle powder for smoky heat. My husband insists on adding both – I call it his “fire-breathing taco” version.
Slow cooker magic: Brown the meat first, then dump everything in the crockpot on low for 2-3 hours. Perfect for parties when you want to keep things warm. If you love slow cooker meals, check out this crockpot chicken pot pie.
The beauty of this recipe? It’s like your favorite jeans – comfortable as is, but so easy to dress up when you’re feeling fancy. What will you try first?
Serving Suggestions
Now for the best part – loading up your plate! This taco meat plays well with just about everything. Here’s how we love to serve it:
Classic taco night: Warm corn or flour tortillas (I char mine lightly over the gas burner), then pile on the meat with shredded lettuce, diced tomatoes, and a mountain of shredded cheese. Don’t forget the sour cream dollop!
Burrito bowls: Start with cilantro-lime rice, add the meat, then go wild with toppings – black beans, corn, guacamole, pico de gallo. My daughter arranges hers in neat little sections like a taco salad rainbow.
Nacho party: Spread tortilla chips on a baking sheet, blanket with cheese, then scatter the taco meat on top. Bake until bubbly and finish with all the fixings. Warning: this disappears faster than you can say “more jalapeños!”
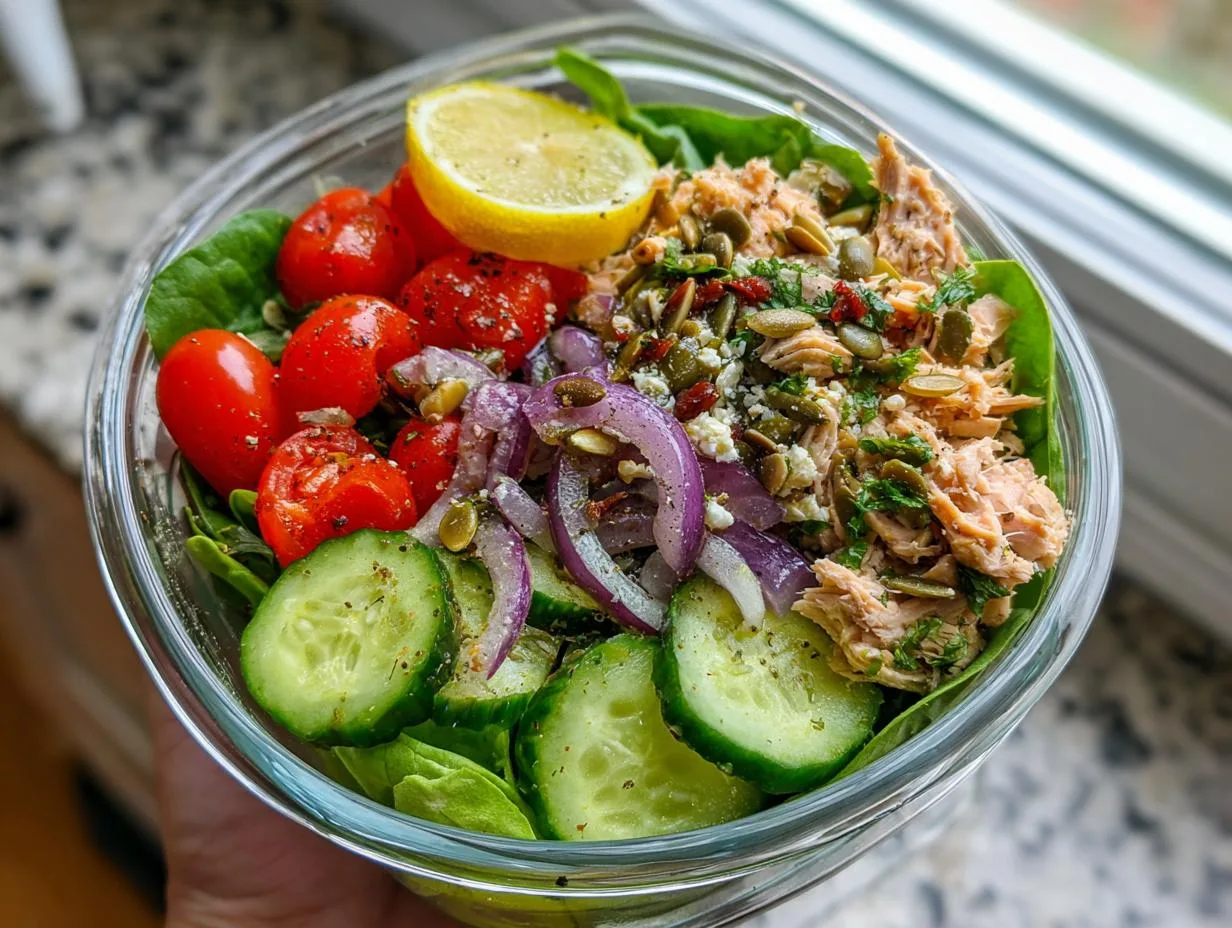
Loaded salads: Toss crisp romaine with the warm meat, avocado slices, crushed tortilla chips, and a lime vinaigrette. My go-to lunch when I’m pretending to be healthy.
The secret? Have all your toppings prepped and ready before the meat finishes cooking. That way everyone can build their perfect bite while it’s still piping hot. And always – always! – make extra for midnight snack tacos. You’ll thank me later.
Storing and Reheating Taco Meat
Here’s the good news – this taco meat actually tastes better the next day as the flavors really settle in. I always make extra because it’s such a lifesaver for quick meals later in the week. Just follow these simple storage tricks to keep it tasting fresh:
Cool it fast: Spread the meat in a shallow container (I use my trusty glass pie plate) so it cools evenly within 2 hours. No one wants lukewarm meat sitting around breeding bacteria!
Airtight is right: Once cooled, transfer to an airtight container or zip-top bag with all the air squeezed out. It’ll stay good in the fridge for 3-4 days – though mine never lasts that long.
Freezer magic: For longer storage, portion it into freezer bags (about 2 cups per bag works great). Flatten the bags to save space and freeze for up to 3 months. Thaw overnight in the fridge when ready to use.
Now for reheating – because cold taco meat is just sad:
Stovetop revival: My favorite method! Just splash a tablespoon of water or broth into a skillet, add the meat, and warm over medium-low heat while stirring. Takes about 5 minutes and keeps the texture perfect.
Microwave hack: In a pinch, microwave portions in 30-second bursts with a damp paper towel over top. Stir between bursts to prevent drying out. Works great for single servings.
Safety first: However you reheat, make sure the internal temperature hits 165°F (74°C). And never leave cooked meat sitting out more than 2 hours – food poisoning ruins taco night faster than a dropped taco shell! For more cooking tips, check out our Facebook page.
Pro tip: If freezing, write the date and “TACO MEAT” in big letters on the bag. Otherwise you’ll end up like me last month staring at mystery meat wondering “is this chili or taco filling?” at 6pm on a Tuesday.
Taco Meat FAQs
I’ve gotten so many questions about this recipe over the years – here are the ones that pop up most often with my tried-and-true answers:
What’s the best ground beef for taco meat?
Hands down, I recommend 85% lean ground beef. It’s got enough fat to stay juicy (no dry crumbles here!) but not so much that you’re swimming in grease. If you go leaner, add an extra tablespoon of oil when browning.
Do I really need to drain the fat?
Yes, but don’t go crazy! I tilt the pan and spoon out just the clear excess – leaving about a tablespoon keeps the flavor rich. Pro tip: Pour it into an old can instead of your sink to avoid clogged pipes.
How much seasoning per pound of meat?
My magic ratio is 1 tablespoon of spice mix per pound. For this recipe, that means using about half the batch – save the rest in a jar for next time! It keeps for months.
Water or tomato sauce – which is better?
Neither! The secret’s using broth – it adds way more flavor than water and doesn’t make the meat soggy like tomato sauce can. Chicken or beef both work great.
Can I make this ahead for meal prep?
Absolutely! It actually tastes better after a day in the fridge. Just reheat with a splash of broth to refresh the moisture. Freezes like a dream too – perfect for emergency taco cravings. If you like meal prepping, you might enjoy this ground turkey and potato skillet.
Why does restaurant taco meat taste different?
They often use commercial seasoning blends with preservatives and MSG. Our homemade version tastes cleaner and lets you control the salt and spice levels. Plus – no mystery ingredients!
Help! My meat turned out dry – what went wrong?
Two likely culprits: overcooking the beef before adding liquid, or not using enough broth. Next time, pull it off the heat when there’s still a bit of pink, then let the simmering finish cooking gently.
Nutritional Information
Okay, let’s talk numbers – but remember, these are estimates based on my kitchen scale and nutrition calculator. Your exact counts might vary a bit depending on your specific ingredients (like how lean your beef really is or if you skip the sugar). Here’s the breakdown per serving (about 1/6 of the recipe):
- Calories: 280 (perfect for loading up with all those taco toppings!)
- Protein: 32g (hello, muscle fuel!)
- Fat: 14g (5g saturated, 8g unsaturated)
- Carbs: 4g (with 1g fiber – mostly from those spices!)
- Sugar: 1g (that’s with the optional sugar included)
- Sodium: 620mg (go easy if you’re watching salt – you can reduce the added salt)
- Cholesterol: 90mg
A quick note – if you swap in ground turkey, you’ll save about 30 calories and 5g fat per serving, but the protein stays about the same. And remember, these numbers don’t include whatever deliciousness you pile on top – so maybe don’t think too hard about that extra handful of cheese! For a different take on ground meat, try this Korean ground beef bowl.
The best part? Compared to those seasoning packets, our homemade version cuts the sodium nearly in half while packing way more flavor. Now that’s what I call a win-win.
Print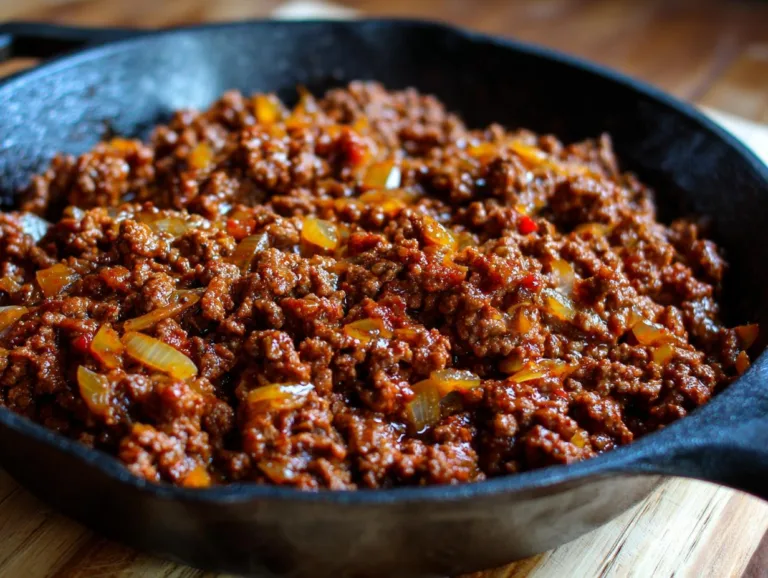
Juicy Taco Meat Recipe with Perfect 30-Minute Secret
A simple and flavorful taco meat recipe using ground beef or turkey, perfect for tacos, nachos, burritos, and more.
- Total Time: 25 minutes
- Yield: 6 servings 1x
Ingredients
- 1 tablespoon chili powder
- 2 teaspoons ground cumin
- 1 teaspoon salt
- 1 teaspoon ground black pepper
- 1/2 teaspoon garlic powder
- 1/2 teaspoon onion powder
- 1/2 teaspoon crushed red pepper flakes
- 1/2 teaspoon dried oregano
- 1/2 teaspoon paprika
- 1/2 teaspoon sugar (optional)
- 1 tablespoon olive oil (or avocado oil)
- 1 small white onion, diced (about 1 cup)
- 3 cloves garlic, minced
- 2 pounds lean ground beef (or ground turkey)
- 1 cup beef broth (or chicken broth)
Instructions
- Mix chili powder, cumin, salt, pepper, garlic powder, onion powder, red pepper flakes, paprika, and optional sugar in a small bowl.
- Heat oil in a large skillet over medium-high heat. Sauté onions for 4-5 minutes until soft. Add garlic and cook for 30-60 seconds.
- Add ground beef and cook for 5-7 minutes until browned. Drain excess grease.
- Stir in 3-4 tablespoons of taco seasoning. Add broth and simmer for 5 minutes.
- Serve in tacos, nachos, burritos, or other dishes.
Notes
- Use lean ground beef to reduce excess grease.
- Adjust red pepper flakes for desired spice level.
- Store leftovers in an airtight container for up to 3 days.
- Prep Time: 10 minutes
- Cook Time: 15 minutes
- Category: Main Dish
- Method: Stovetop
- Cuisine: Mexican
- Diet: Low Lactose
Nutrition
- Serving Size: 1/6 recipe
- Calories: 280
- Sugar: 1g
- Sodium: 620mg
- Fat: 14g
- Saturated Fat: 5g
- Unsaturated Fat: 8g
- Trans Fat: 0.5g
- Carbohydrates: 4g
- Fiber: 1g
- Protein: 32g
- Cholesterol: 90mg