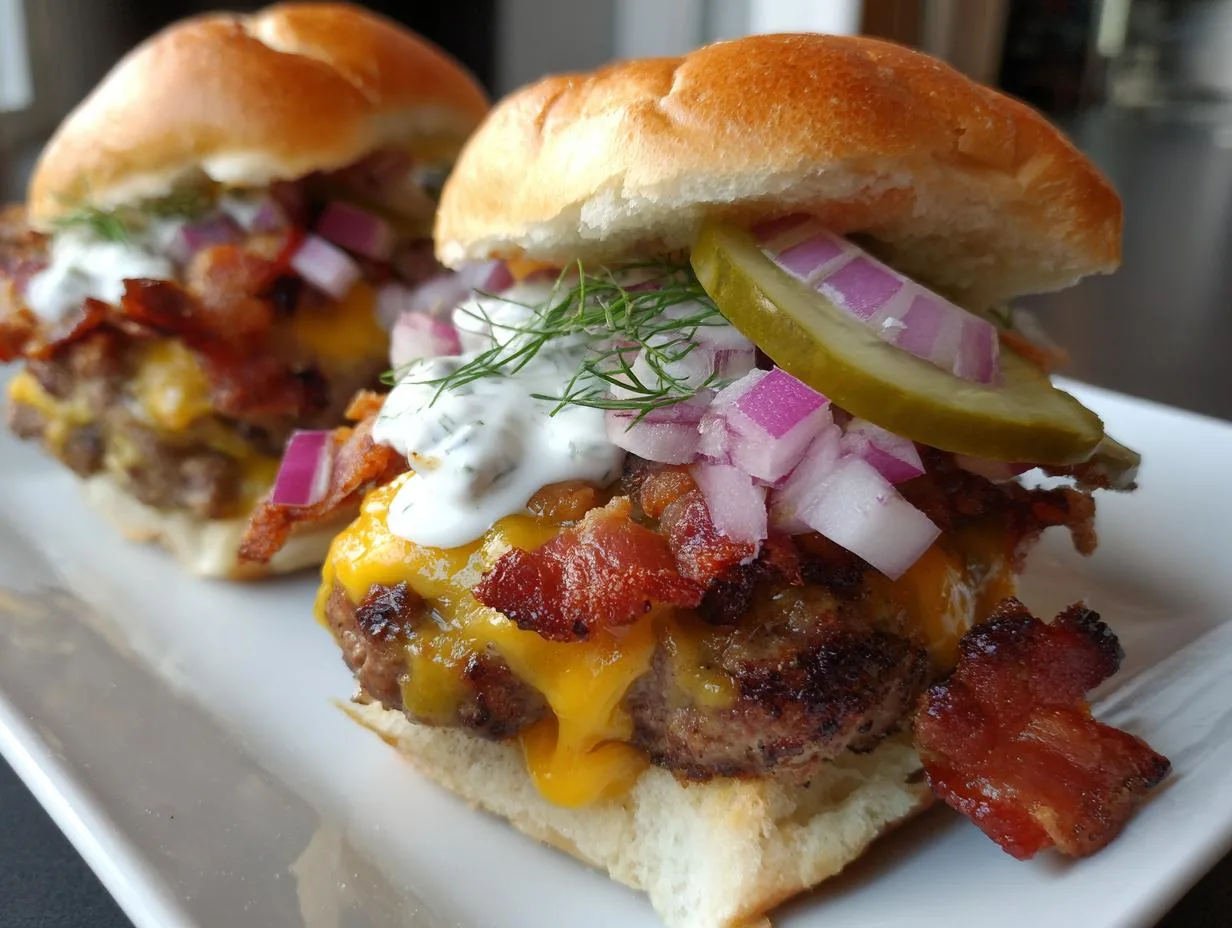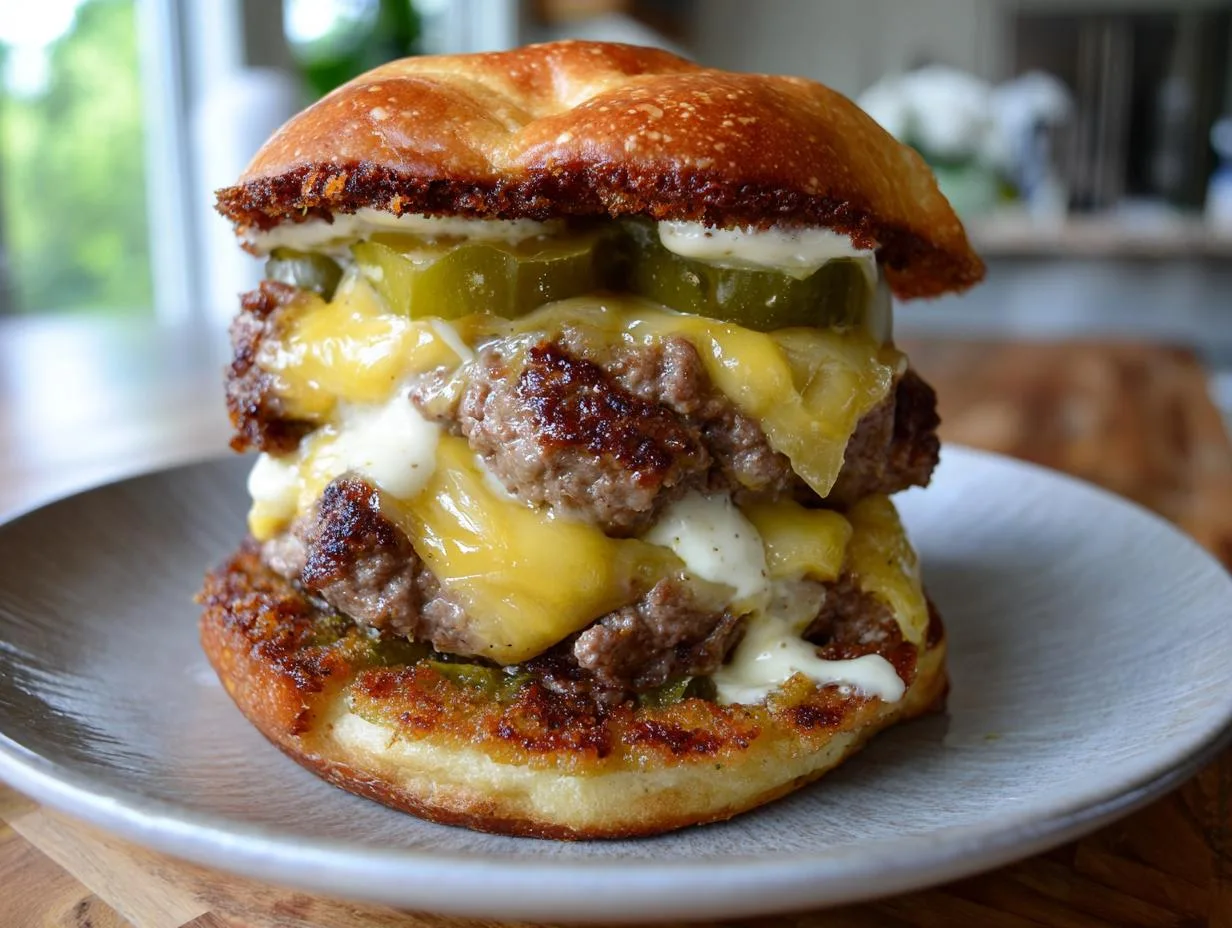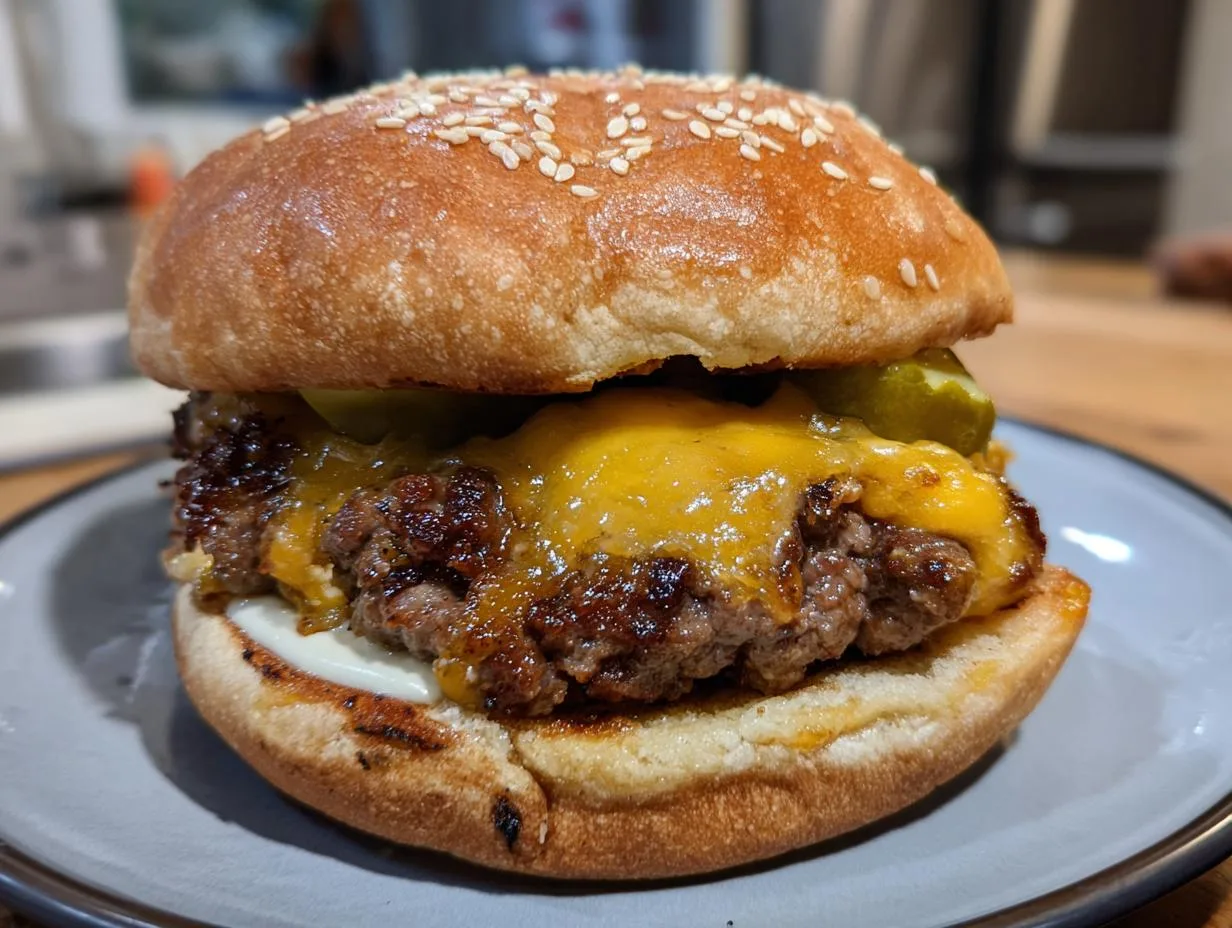
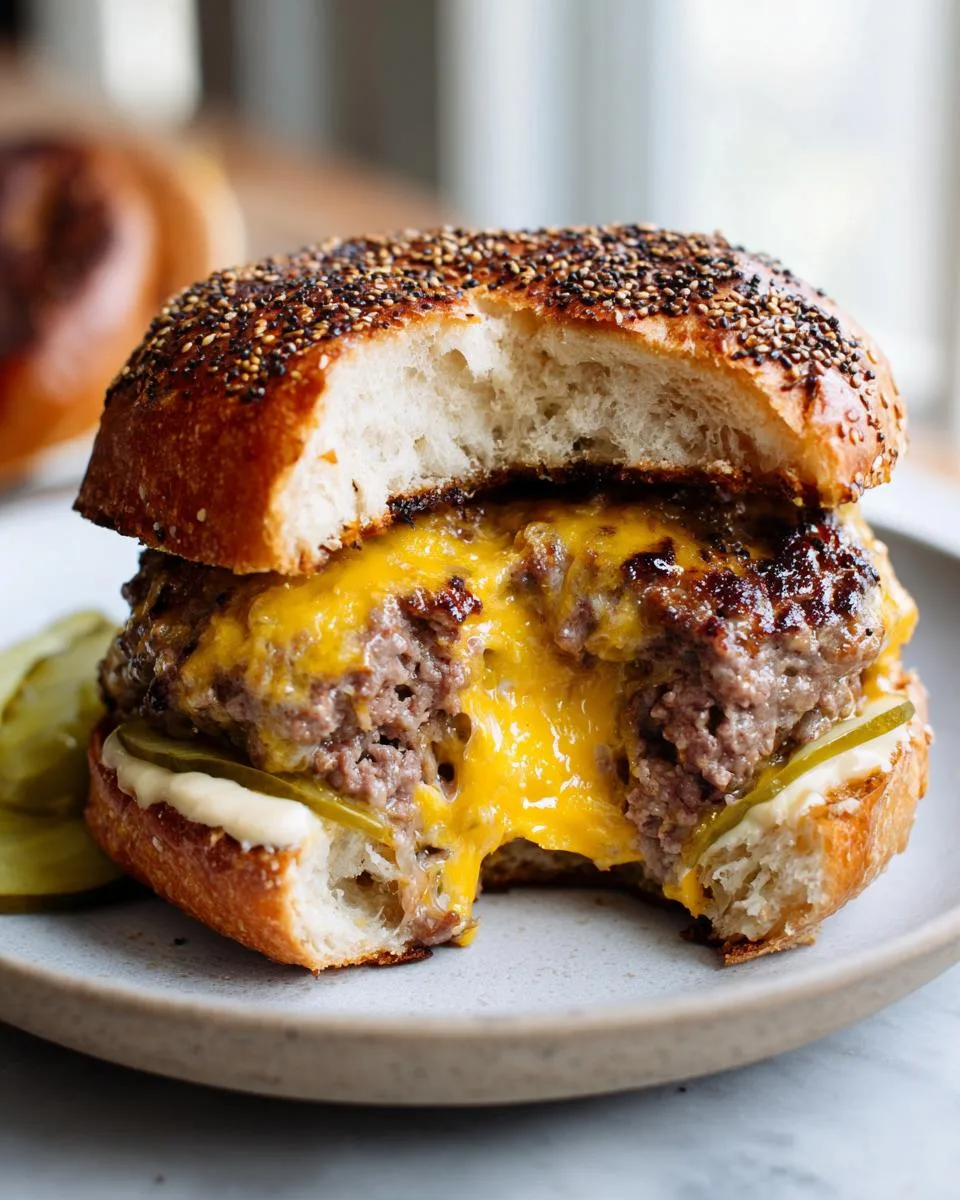
Let’s be honest, a great cheeseburger is a beautiful thing. But a Juicy Lucy Cheddar Burger? That’s pure, cheesy magic. I still remember the first time I bit into one at a little backyard cookout years ago. I wasn’t ready for it. I took a bite, and this incredible river of molten cheddar just… flowed out. It was a total game-changer. My brain went, “Wait, the cheese is *inside*?!” That moment of delicious surprise is exactly what I want to help you create at home. After years of grilling and probably more than a few cheese-leak disasters (we’ll get to that!), I’ve honed my technique. This isn’t just another burger recipe. It’s your guide to making those perfect, oozing, can’t-stop-thinking-about-them Juicy Lucy Cheddar Burgers right in your own backyard. Trust me, once you master this, you’ll be the hero of every summer barbecue.
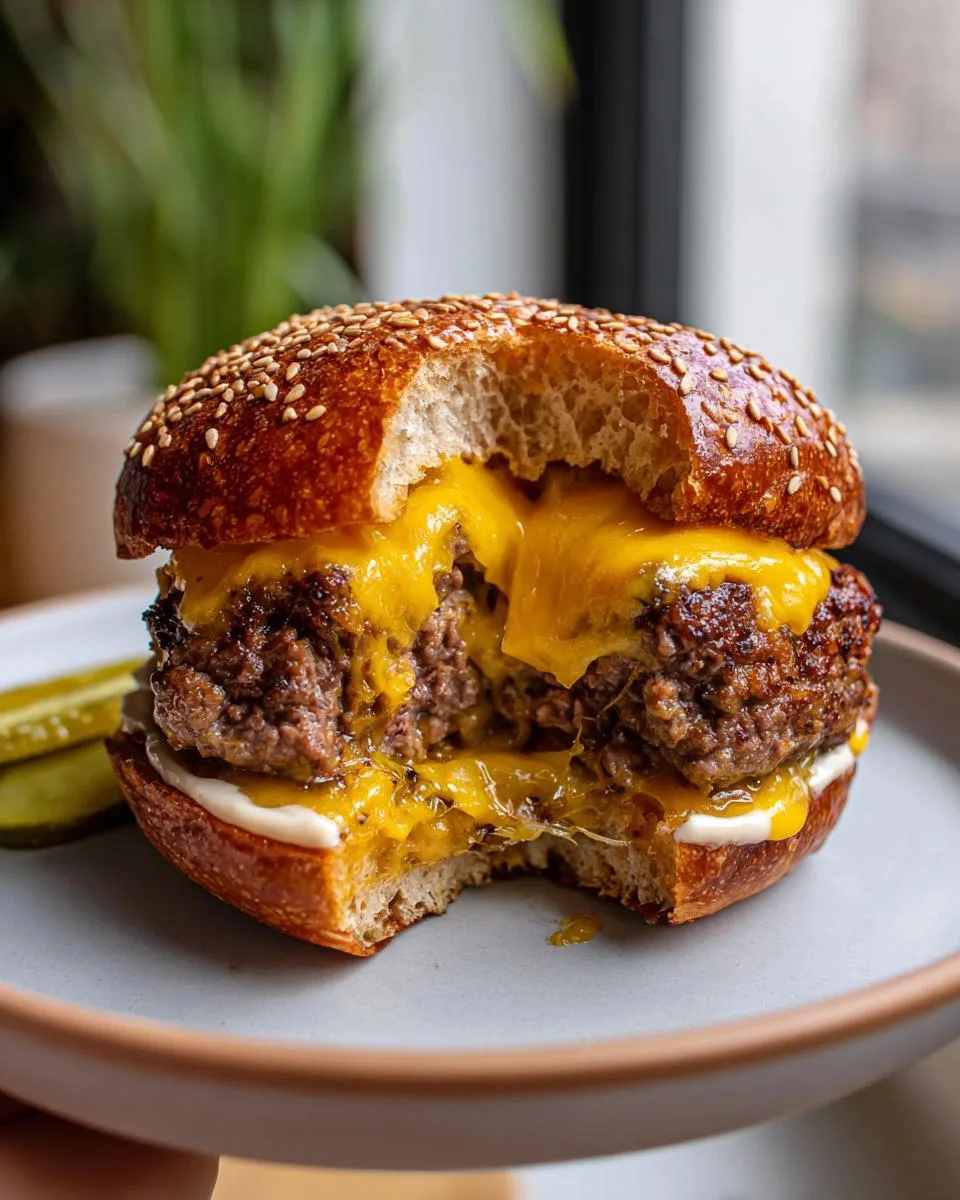
Table of Contents
Table of Contents
Why You Will Love These Juicy Lucy Cheddar Burgers
Okay, I know I’m a little obsessed, but there are real, tangible reasons these burgers are the absolute best. It’s not just hype! Here’s exactly what makes this recipe a total winner in my book:
- The Surprise Factor: That first bite is pure joy. You get the savory char from the grill, then BAM—a flood of warm, melted cheddar right in the middle. It’s a delicious little secret that never gets old.
- Flavor Locked In: Because the cheese is stuffed inside, all that amazing richness gets sealed up with the beefy juices. Every single bite is infused with flavor, from the edge all the way to the glorious, gooey center.
- Instant Party Hero Status: Bringing these to the grill is a guaranteed crowd-pleaser. When you serve them up and someone cuts into that cheesy core, the “oohs” and “aahs” are real. It’s such a fun, impressive trick.
- It’s Actually Simple & Fun: Don’t let the fancy result fool you. Making them is a hands-on, almost playful process. Forming the little cheese pockets and sealing them up feels like a kitchen craft project, but with a seriously tasty reward.
Juicy Lucy Cheddar Burgers Ingredients
Gathering your ingredients is the first step to cheesy success. Here’s everything you’ll need to make four incredible burgers. I like to get it all out on the counter before I even touch the meat—it makes the whole process so much smoother.
- 1 1/2 pounds ground round (I highly recommend an 80/20 lean-to-fat ratio for the best flavor and juiciness)
- 1 tablespoon Worcestershire sauce
- 1 teaspoon kosher salt (if you’re using fine table salt, use just 3/4 teaspoon)
- 1 teaspoon freshly ground black pepper
- 3/4 teaspoon garlic powder
- 6 slices (about 6 ounces) sharp Cheddar cheese, each slice cut into quarters
- 4 high-quality burger buns (brioche or potato buns are my go-to for their soft, sturdy texture)
- For serving: thin onion slices, pickle slices, mayonnaise, mustard, ketchup
Ingredient Notes and Substitutions
Don’t stress if you don’t have the exact items! This recipe is pretty forgiving. For the beef, ground round is fantastic, but ground chuck works just as well—they both have that perfect 80/20 fat content that keeps your Juicy Lucy from drying out. Now, the cheese! Sharp cheddar gives you that amazing tangy flavor, but if you want the ultimate, no-leak melt, good old American cheese is a magic trick. It’s my secret for absolute gooeyness. For the buns, you want something that can hold up to the juicy mess. Those soft potato buns or slightly sweet brioche are perfect. If you need a gluten-free or low-carb option, just grab your favorite sturdy alternative bun—the burger itself is the real star anyway.
Equipment You Need for Juicy Lucy Cheddar Burgers
You don’t need anything fancy here, I promise! Just a few basic tools from your kitchen will get the job done. Here’s my go-to list:
- A large mixing bowl for gently combining your meat and seasonings.
- Your grill (gas or charcoal both work great) or a heavy cast-iron skillet if you’re cooking indoors.
- A sharp knife for easily cutting those cheese slices into quarters.
- A good, sturdy spatula for flipping without breaking the seal.
- And my personal must-have: an instant-read thermometer. It takes the guesswork out and guarantees that molten cheese center is perfectly safe to eat!
How to Make Juicy Lucy Cheddar Burgers
Alright, here’s where the fun really starts. I like to think of making these in phases—it keeps me from getting overwhelmed. First, we’ll mix and form our secret cheese pockets. Then, we’ll get them on the grill for that perfect cook. The most important thing to remember? Go slow and be gentle. We’re creating edible art here, not packing snowballs!
Start by preheating your grill to a solid medium-high heat. You want those grates nice and hot so we get a good sear right away. While that’s warming up, grab your bowl and gently mix the ground round with the Worcestershire, salt, pepper, and garlic powder. I use my hands for this, but I’m careful not to squeeze or overwork the meat—just fold it together until it’s evenly combined. Over-mixing makes tough burgers, and we definitely don’t want that.
Next, we divide the meat into eight equal portions. This is the key to getting a good seal later. I just eyeball it, but you can use a scale if you want to be super precise. Now, here’s a little trick: lightly wet your hands before shaping each portion. It keeps the meat from sticking to you and makes forming those thin patties so much easier.
Forming and Stuffing Your Juicy Lucy Cheddar Burgers
Take one of your meat portions and gently press it into a thin patty in the palm of your hand. I aim for it to be about 1/4-inch thick and roughly the size of my burger bun—maybe a little bigger, because we’re going to seal the edges. You want it thin enough so you can fit two together around the cheese, but not so thin it tears. Repeat to make eight total.
Now, place six of your little cheese quarters right in the center of four of the patties. Leave a good margin of bare meat around the cheese, like a little cheesy island in a beefy sea. This is your leak-prevention zone! Take a plain patty and place it on top, like a lid. Then, start pinching the edges together. I use my thumb and forefinger to crimp it shut, working all the way around like I’m making a tiny pie crust. Once it’s sealed, I gently roll the seam between my palms to smooth it out into one beautiful, plump burger. No cheese should be peeking out!
Grilling Your Juicy Lucy Cheddar Burgers to Perfection
Your grill should be ready now. Carefully place your stuffed burgers on the hot grates. Here’s my golden rule: do not press down on them! I know it’s tempting, but you’ll just squeeze out all those precious juices and probably cause a cheese leak. Let them cook undisturbed for about 4-5 minutes. You’ll know it’s time to flip when you see good grill marks and the patty releases easily from the grate.
Flip them once, and let the other side cook. You’ll notice the center start to puff up a bit—that’s the cheese melting and doing its magical thing. To be absolutely sure they’re done, I use my instant-read thermometer. You’re aiming for an internal temperature of 160°F in the meat. As soon as they hit that, get them off the grill and onto a plate. Let them rest for a full minute before you even think about taking a bite. That cheese core is like molten lava, and this rest lets everything settle so it’s gooey, not scalding.
Print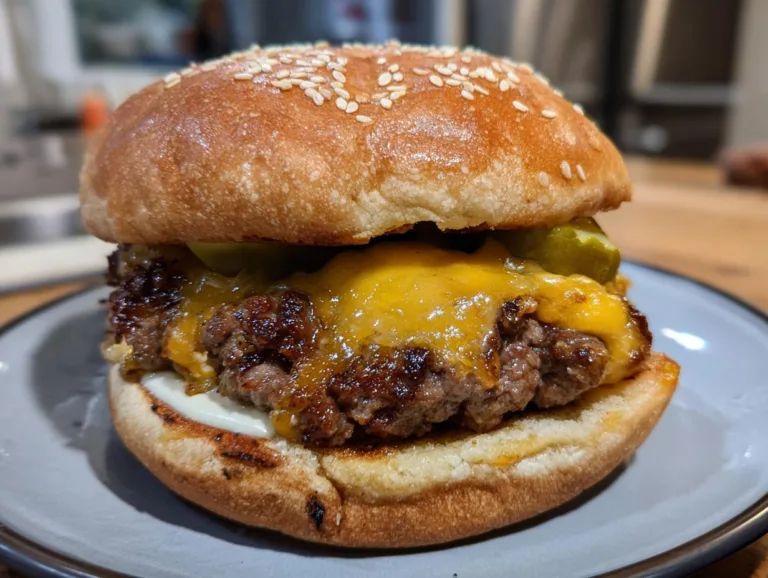
5 Failproof Juicy Lucy Cheddar Burgers
A Juicy Lucy Cheddar Burger is a cheeseburger with the cheese stuffed inside the meat patty. This creates a molten cheese center when cooked. You make it by forming two thin beef patties, placing cheese in the middle, sealing the edges, and grilling.
- Total Time: 25 minutes
- Yield: 4 burgers 1x
Ingredients
- 1 1/2 pounds ground round
- 1 tablespoon Worcestershire sauce
- 1 teaspoon salt
- 1 teaspoon freshly ground black pepper
- 3/4 teaspoon garlic powder
- 6 slices Cheddar cheese, cut into quarters
- 4 burger buns, toasted
- onion slices, pickle slices, mayonnaise, mustard, and ketchup for serving
Instructions
- Put the ground beef, Worcestershire sauce, salt, pepper, and garlic powder in a bowl. Mix them gently until combined.
- Shape the meat mixture into 8 thin, equal-sized patties.
- Place 6 quartered pieces of Cheddar cheese in the center of 4 of the patties.
- Top each cheese-covered patty with one of the remaining plain patties. Pinch the edges together firmly to seal the cheese inside completely.
- Preheat your grill to medium-high heat.
- Place the stuffed burgers on the grill. Cook without moving them for about 4 minutes, until you see grill marks and the patty releases easily.
- Flip the burgers. Cook the other side until the burger is browned and the center puffs up slightly.
- Serve each burger on a toasted bun with onion, pickles, mayonnaise, mustard, and ketchup.
Notes
- Handle the meat gently to avoid tough burgers.
- Seal the patty edges well to prevent cheese from leaking.
- Let the burger rest for a minute before eating; the cheese center will be very hot.
- Prep Time: 15 minutes
- Cook Time: 10 minutes
- Category: Main Dish
- Method: Grilling
- Cuisine: American
- Diet: Low Lactose
Nutrition
- Serving Size: 1 burger (with bun, no toppings)
- Calories: 650
- Sugar: 5g
- Sodium: 950mg
- Fat: 38g
- Saturated Fat: 16g
- Unsaturated Fat: 18g
- Trans Fat: 1.5g
- Carbohydrates: 30g
- Fiber: 2g
- Protein: 45g
- Cholesterol: 135mg
Tips for the Best Juicy Lucy Cheddar Burgers
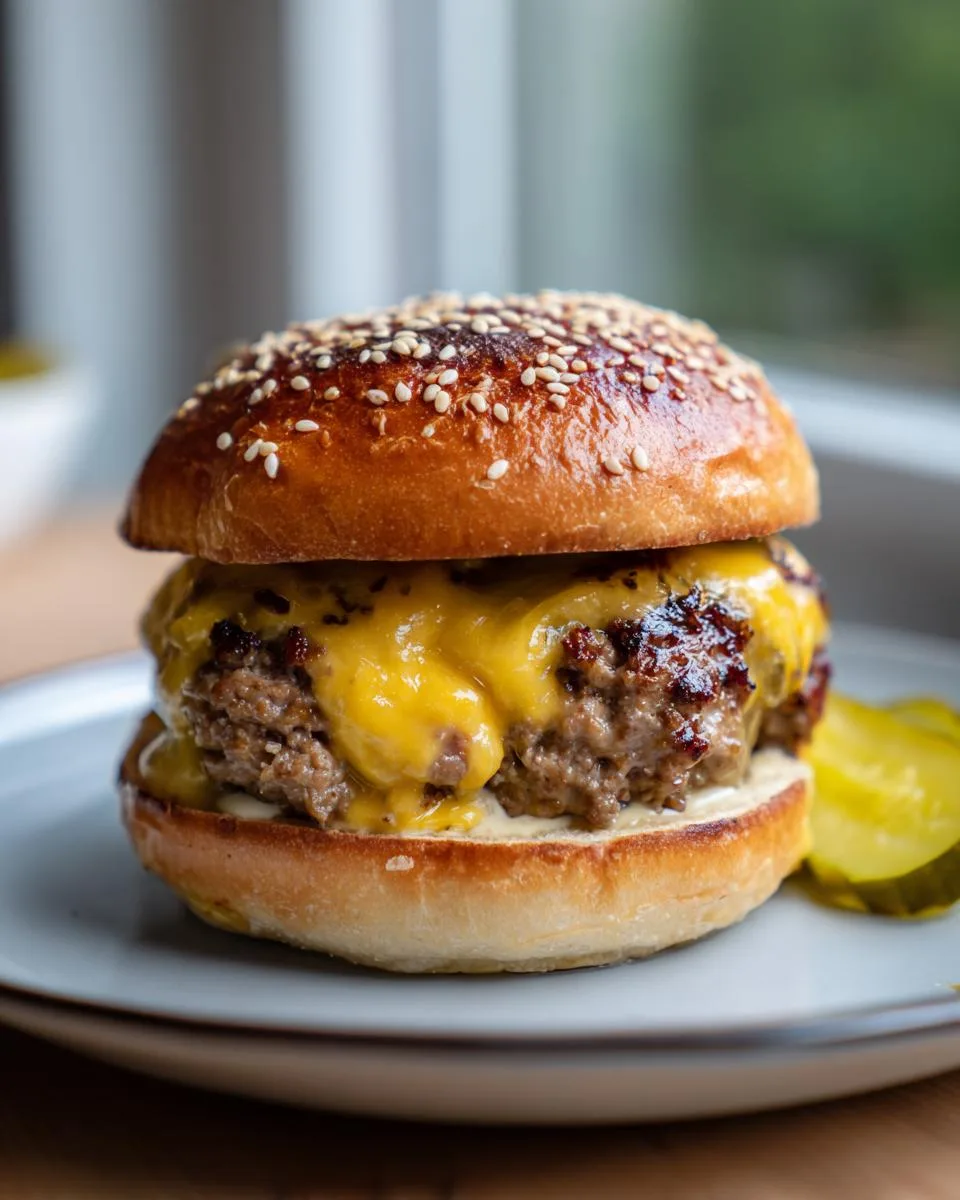
After my fair share of trial and error (and a few cheesy explosions!), I’ve learned a few tricks that make all the difference. These aren’t just tips—they’re your secret weapons for burger greatness.
- Keep Everything Cold: I always start with cold ground beef and wash my hands in cold water before shaping. Warm meat gets sticky and harder to handle, making a good seal tough. Cold is your friend here!
- Seal Like Your Dinner Depends On It: That crimped edge is everything. Take your time pinching it shut, and give it one last gentle roll in your palms to smooth it out. A tiny gap is a gateway for a cheese flood.
- Respect the Rest: I know it’s hard, but let that burger sit for a full minute off the grill. It stops the cheese from jetting out on first bite and lets the juices redistribute. The wait makes it better, I promise.
- Have Your Station Ready: These burgers are best served hot off the grill. Before you even start cooking, get your toasted buns, toppings, and condiments lined up. That way, you can go straight from grill to plate to mouth without any frantic searching.
- Don’t Be Shy with the Cheese: Those six slices might seem like a lot, but trust me, you want a generous, gooey center. Skimping on cheese is the one mistake I won’t forgive!
Serving Your Juicy Lucy Cheddar Burgers
Now for the best part—the grand reveal! I always, always toast the buns. It adds a little crunch and keeps them from getting soggy under that river of cheese. I go classic with my toppings: a swipe of mayo on the bottom bun, a few thin onion slices, a couple of pickle chips, and a big dollop of ketchup and mustard. They’re perfect with a pile of crispy fries or tater tots for a real feast. If I’m trying to be a little fancy, a simple side salad cuts through the richness just right. For more delicious recipes, check out our recipes section.
Juicy Lucy Cheddar Burgers Storage and Reheating
Let’s be real, these burgers are truly at their mind-blowing best fresh off the grill. That molten cheese moment is pure perfection right then and there. But if you somehow have leftovers (it happens!), here’s my method. Let the cooked patties cool completely, then pop them in an airtight container in the fridge. They’ll keep for up to 2 days. When you’re ready for round two, skip the microwave! It’ll make the meat tough. Instead, reheat them gently in a skillet over medium-low heat or in a 300°F oven until warmed through. It’s not quite the same as fresh, but it’s still a darn good burger.
Juicy Lucy Cheddar Burgers Nutritional Information
Okay, let’s talk numbers for a second. I’m all for being mindful, but I also believe some foods are meant to be enjoyed as the glorious, occasional treat they are—and this burger is definitely one of them! I’ve included a general nutritional estimate in the recipe details for those who like to track, but I have to give you my standard kitchen disclaimer. Those numbers are just that: estimates. The final count in your burger can swing pretty wildly based on the exact brand of beef you buy, the type of bun, how much cheese you actually stuff in there (no judgment if you add an extra piece!), and especially which condiments you pile on top. So, use them as a rough guide, not a strict rule. For me, the real value is in the shared experience and the pure joy of that first cheesy bite! You can find more delicious recipes like this one on our recipes page.
Juicy Lucy Cheddar Burgers FAQ
I get asked these questions all the time whenever I make these for friends. They’re the same ones I had when I started! So, let’s clear up the mysteries and get you grilling with confidence.
What’s the origin of the Juicy Lucy burger?
Oh, it’s a fun bit of food lore! The story goes that it was invented in the 1950s at a bar called Matt’s Bar in Minneapolis (though another spot, the 5-8 Club, claims it too!). The tale says a customer asked for a burger with two cheese slices melted in the middle, and when he took a bite, he yelled, “That’s one juicy Lucy!” The name, and the glorious, messy concept, stuck. It’s a true American classic. For more fun food stories, follow us on Facebook.
What’s the difference between a Juicy Lucy and a regular burger?
It’s all about the cheese placement! A regular cheeseburger has the cheese melted on top of the cooked patty. A Juicy Lucy turns that inside out—the cheese is stuffed right into the center of the raw meat before cooking. That’s what creates that incredible, molten core that makes this stuffed burger so special.
How do I prevent cheese from leaking?
This is the million-dollar question! My two big secrets are: 1) Leave a good border of bare meat around the cheese when you place it—no cheese should touch the edge. 2) Pinch that seam shut like you’re sealing a treasure chest, then gently roll the sealed burger between your palms to smooth it out. A complete seal is your best defense.
Can I use different cheeses?
Absolutely! Sharp cheddar is my favorite for flavor, but if you want the ultimate, no-fail melt, go with good old American cheese. Pepper jack is amazing for a kick, and Swiss can be delicious too. Just avoid super hard cheeses or pre-shredded bags—they don’t melt into that perfect gooey river.
How do I know when the burger is done?
Don’t guess! The best way is to use an instant-read thermometer. You’re aiming for 160°F in the meat. Visually, the outside will be nicely browned, and the center will often puff up slightly from the melting cheese inside. Let it rest for a minute after grilling—it finishes cooking and lets the cheese settle so it’s hot, not explosive.
Share Your Juicy Lucy Cheddar Burgers
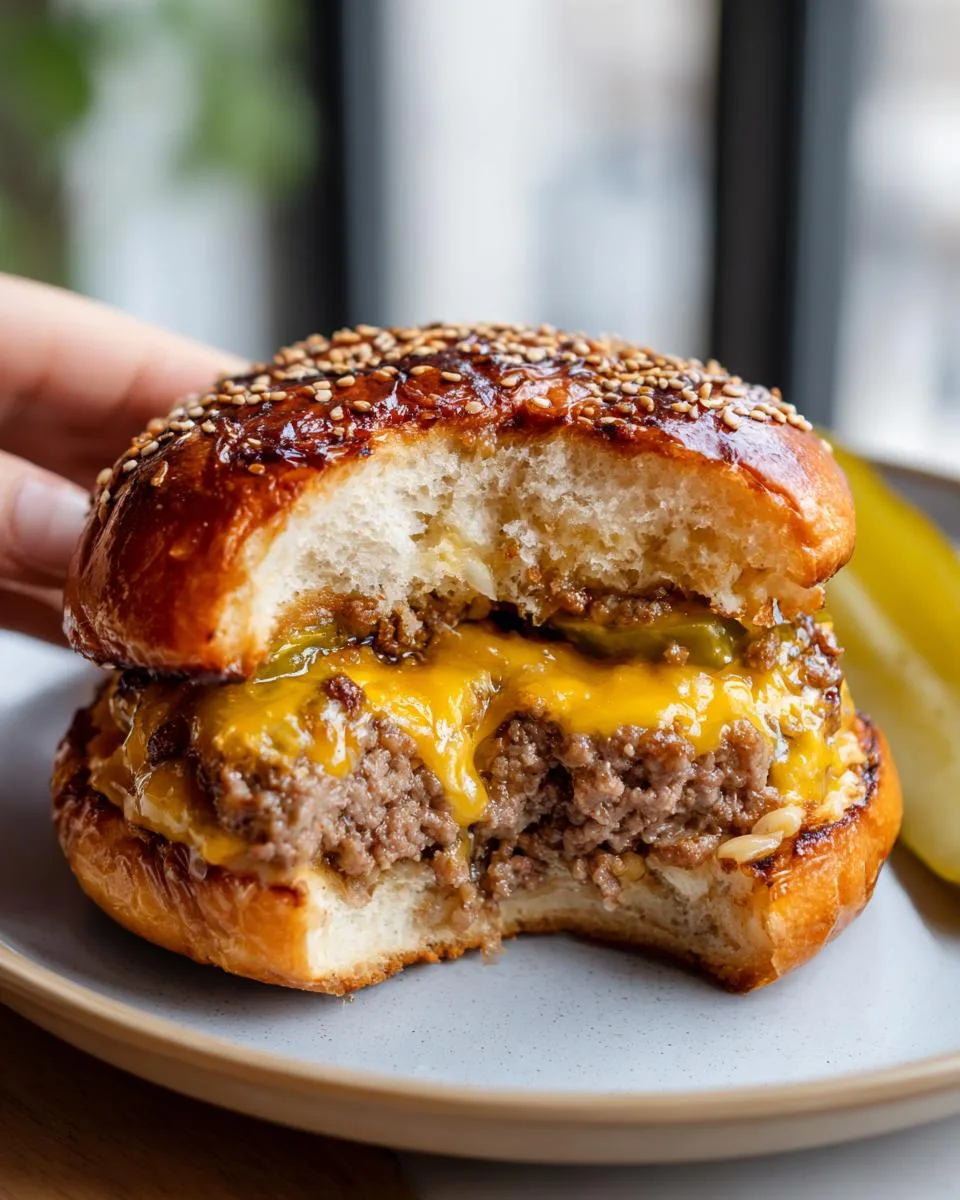
Alright, that’s my whole playbook! Now it’s your turn. I really hope you give these Juicy Lucy Cheddar Burgers a shot this weekend. There’s nothing quite like the pride of pulling off that perfect, oozy center. I want to hear all about it! Did you nail the seal on your first try? Did you use a different cheese? Please, share your stories (and any brilliant tips you discover) down in the comments below. And if this recipe brings a little cheesy joy to your table, I’d be so grateful if you’d leave a rating. Happy grilling, friends!