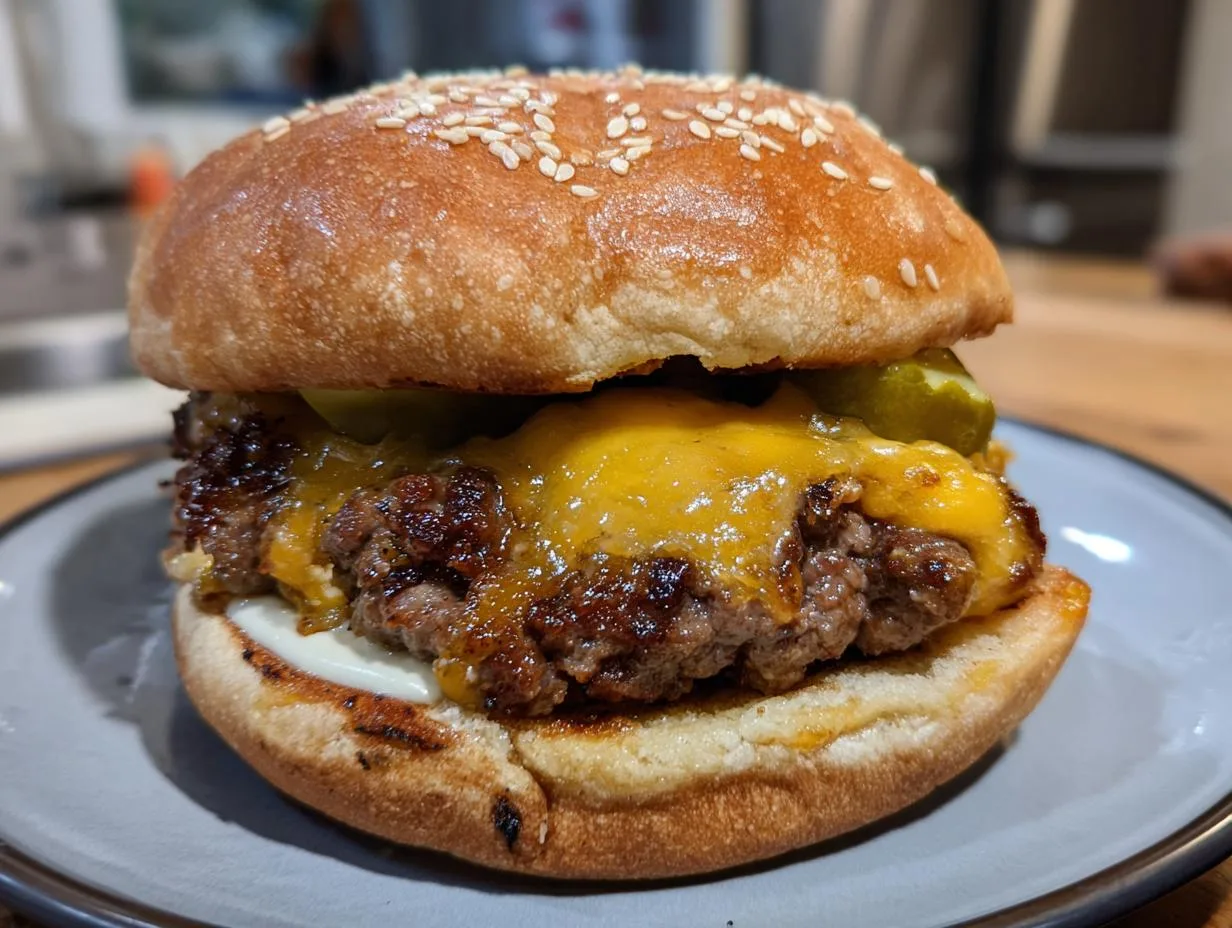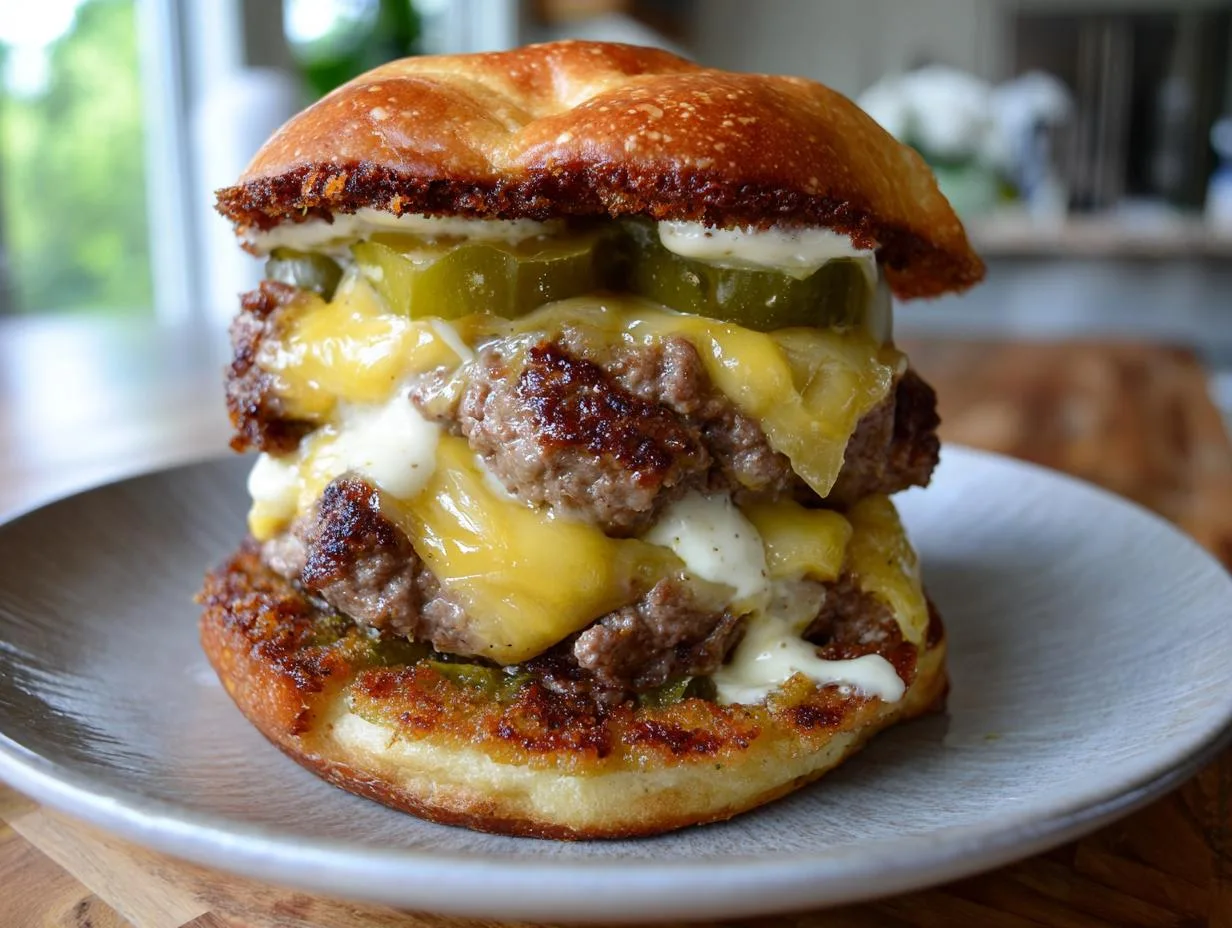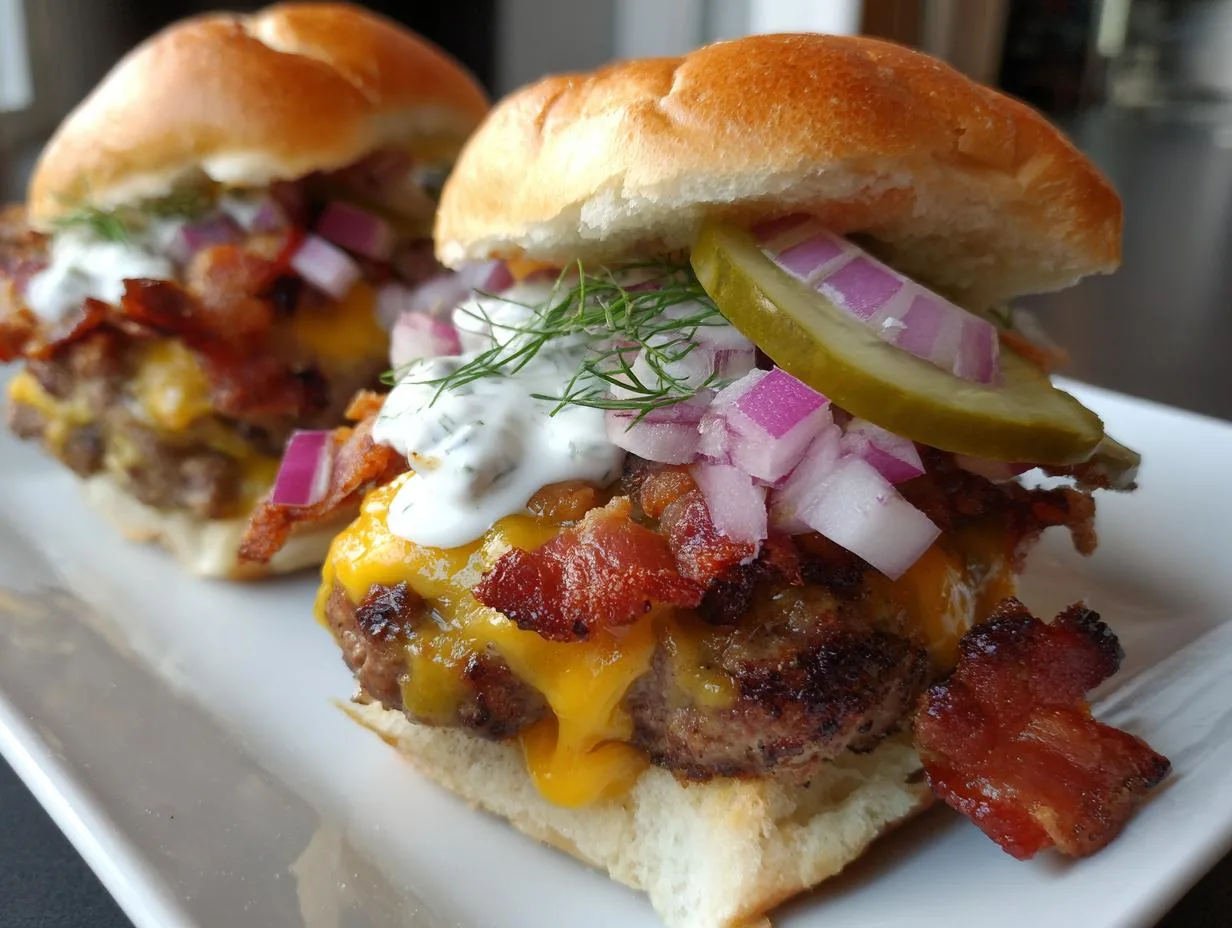
Okay, tell me if this sounds familiar: you’re hosting people, the clock is ticking, and you need something that everyone will absolutely devour without you spending the whole night in the kitchen. I’ve been there more times than I can count! My secret weapon for those exact moments? These incredible Cheesy Bacon Ranch Burger Sliders.
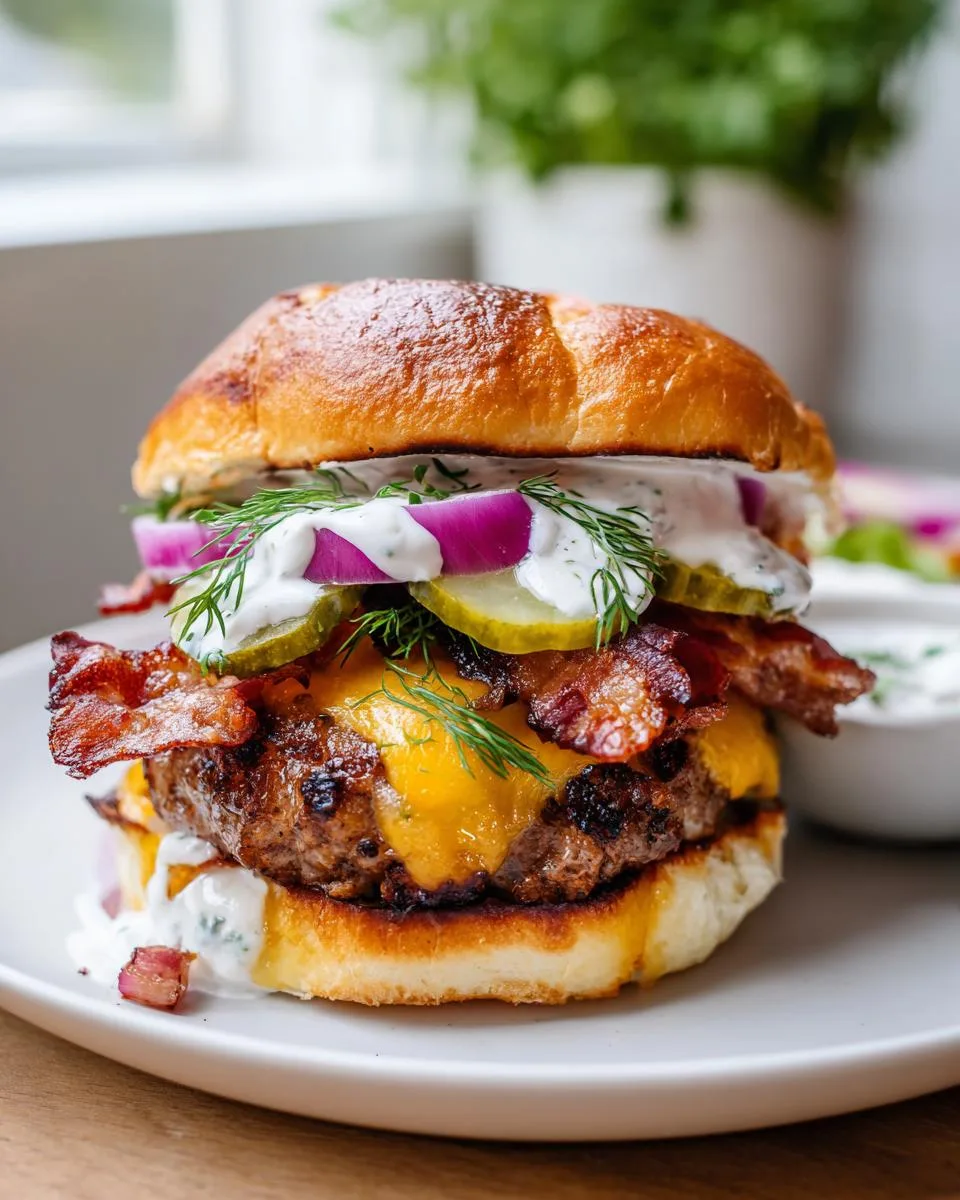
Table of Contents
Table of Contents
Why You Will Love These Cheesy Bacon Ranch Burger Sliders
I first threw these together for my nephew’s birthday party last summer. I was scrambling, honestly. But the moment that tray hit the table, they were gone in what felt like 60 seconds flat. The best part? From start to finish, you’re looking at about 35 minutes for a whole dozen sliders. That’s it!
The magic is in the combo—it’s like three of the best flavors decided to have a party in one perfect little bite. You get the juicy, ranch-seasoned beef, that crispy, salty bacon, and a creamy, tangy ranch sauce with just a little kick. It’s quick, it’s totally foolproof, and I promise it’ll make you the hero of any gathering.
Trust me, once you make these, they’ll become your go-to. They just hit all the right notes for real-life cooking.
- They’re seriously fast. About 35 minutes total means you can go from “I have nothing to eat” to a full platter of deliciousness without it taking over your whole evening.
- The flavor payoff is huge. We’re not talking about a subtle hint of ranch here. That seasoning is right in the beef, and the sauce doubles down on it. Every single bite is packed with savory, cheesy, bacon-y goodness.
- They are the ultimate party food. I make these for game days, backyard BBQs, you name it. Cooking the beef as two big rectangles means you can feed a crowd all at once—no standing at the grill flipping a dozen tiny patties!
- The prep is so simple. Just mix, shape, and grill. There’s no fancy technique, which means less stress and more time hanging out with your guests.
Ingredients for Cheesy Bacon Ranch Burger Sliders
Gathering everything is the first step to slider heaven. I like to organize my ingredients by what they do in the recipe—it just makes the whole process smoother. Here’s exactly what you’ll need.
- For the Signature Sauce:
- 1/2 cup ranch dressing (not dip—I’ll explain why below!)
- 1 tablespoon hot sauce, like Frank’s RedHot
- For the Burger Patties:
- 1 1/2 pounds ground beef (an 80/20 blend is my pick for juiciness)
- 1 tablespoon dry ranch seasoning mix (from a packet)
- 1/4 teaspoon kosher salt
- 1/2 teaspoon freshly ground black pepper
- For the Toppings & Assembly:
- 8 slices bacon
- 8 slices Cheddar cheese
- 1/4 cup finely diced red onion
- 12 dill pickle slices (the “sandwich stacker” kind are perfect)
- 1 (12 count) package Hawaiian sweet rolls
Ingredient Notes & Smart Swaps
Okay, let’s chat about a few of these items because I’ve learned some swaps the hard way!
First, the ranch. For the sauce, you want ranch dressing, not the thicker dip. The dressing is pourable and blends beautifully with the hot sauce. The dip can be too gloppy and won’t drizzle right. For the seasoning, that’s the dry powder from a packet—it’s what gives the beef that incredible flavor punch.
Now, for swaps! Don’t have regular bacon? Turkey bacon works just fine. Want more kick? Swap the Cheddar for pepper jack cheese. You can even use ground turkey or chicken instead of beef—just watch the cooking time as it can cook faster. And if you need gluten-free, your favorite gluten-free slider buns will work great instead of the Hawaiian rolls. The recipe is super friendly!
Essential Equipment
You really don’t need anything fancy for these sliders, just a few basic kitchen tools. I promise it’s nothing you don’t already have! Here’s your quick checklist:
- A large mixing bowl for the burger meat
- A small bowl for mixing the ranch sauce
- A skillet for cooking the bacon to crispy perfection
- Your outdoor grill, or a large grill pan/skillet for the burgers
- A good spatula for flipping
- A sharp serrated knife—this is key for slicing the whole pack of rolls in one clean cut
- Paper towels for draining that glorious bacon grease
See? Simple stuff. Now let’s get cooking!
How to Make Cheesy Bacon Ranch Burger Sliders: Step-by-Step Guide
Alright, let’s do this! The process is really straightforward and flows perfectly. We’ll make our zippy sauce first, get the burger patties ready, cook up that bacon, and then everything comes together on the grill for the big finish. It’s like a delicious little assembly line.
Step 1: Prepare the Signature Ranch Sauce
This is where the magic starts! Grab a small bowl and mix together your 1/2 cup of ranch dressing with 1 tablespoon of hot sauce. I love Frank’s for that classic tang, but use whatever you’ve got. Give it a good stir and then just set it aside. Letting it hang out lets the flavors really get to know each other. And hey, if you like more heat, add another splash of hot sauce—you’re the boss here!
Step 2: Mix and Shape the Burger Patties
Now, take your large bowl and add the ground beef. Sprinkle over that 1 tablespoon of dry ranch seasoning, the kosher salt, and the black pepper. Here’s my big tip: use your hands to gently mix it all together. You want it just combined—don’t overwork it, or your burgers can get a bit tough. Once it’s mixed, divide the meat in half and press each half into a rectangle, about 7 inches by 5 inches. Shaping them like this means every single slider will be the same size, and it’s so much easier than messing with a dozen little patties!
Step 3: Cook the Bacon and Prep the Grill
Time for bacon! While your hands are still a little messy from the beef, get your skillet going over medium-high heat. Lay out those 8 slices and let them cook for about 10 minutes, flipping occasionally, until they’re nice and crispy. Transfer them to some paper towels to drain. Once they’re cool enough to handle, give them a rough chop. Now, here’s the multitasking part: while the bacon is cooking, go ahead and preheat your outdoor grill to medium-high heat. (No grill? No sweat! A large grill pan or even a regular skillet on the stove works just as well for the burgers.)
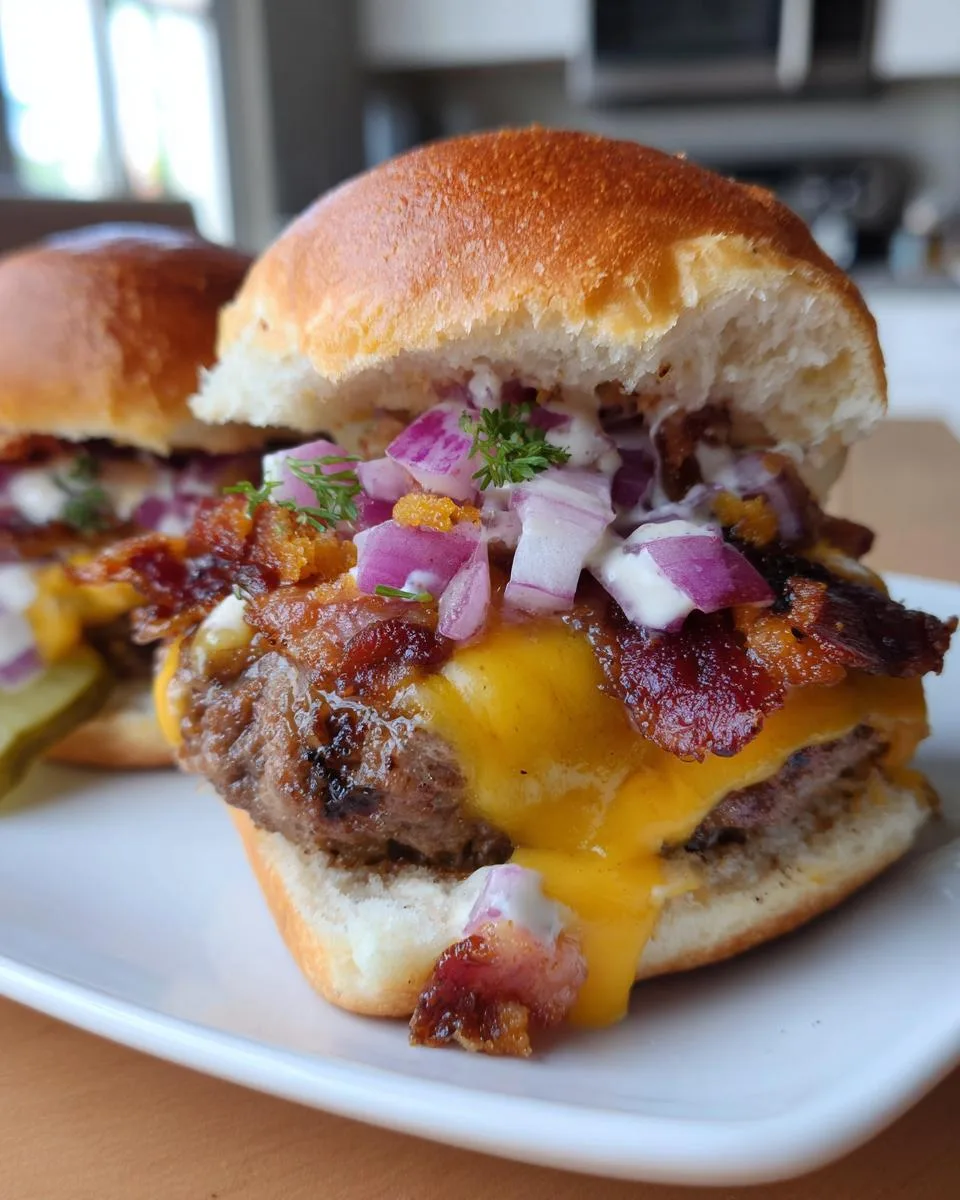
Step 4: Toast the Hawaiian Rolls
Take your whole package of Hawaiian rolls and, with that sharp serrated knife, slice the entire thing in half horizontally so you have a top “sheet” and a bottom “sheet” of buns. Place them cut-side down right on the hot grill grates. You only want them on there for about 10 seconds—just long enough to get a hint of toasty color and warmth. Seriously, don’t walk away! They can burn in a flash. Once they’re kissed by the grill, take them off and set them aside on a platter.
Step 5: Grill the Cheesy Bacon Ranch Burger Patties
Here we go! Place your two big burger rectangles right on the hot grill. Let them cook, undisturbed, for about 4 minutes to get a good sear. Then, carefully flip them with your spatula and cook for another 4 minutes on the other side (or a little longer if you like your burgers more well-done). The moment they come off the grill, lay 4 slices of Cheddar cheese over each patty. This is the crucial part: cover the grill for about 1 minute. That trapped heat will melt the cheese into a perfectly gooey blanket. It makes all the difference!
Step 6: Assemble Your Cheesy Bacon Ranch Burger Sliders
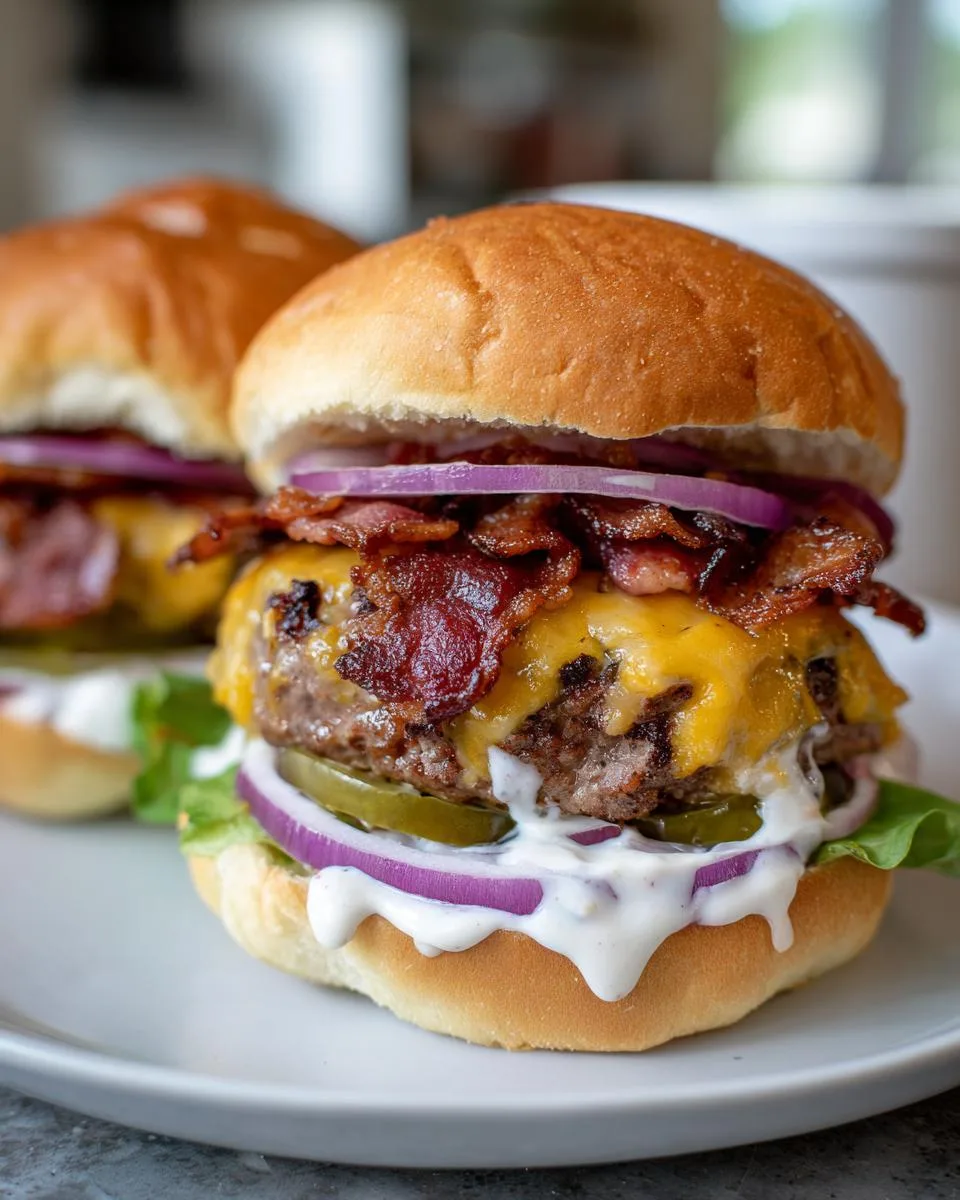
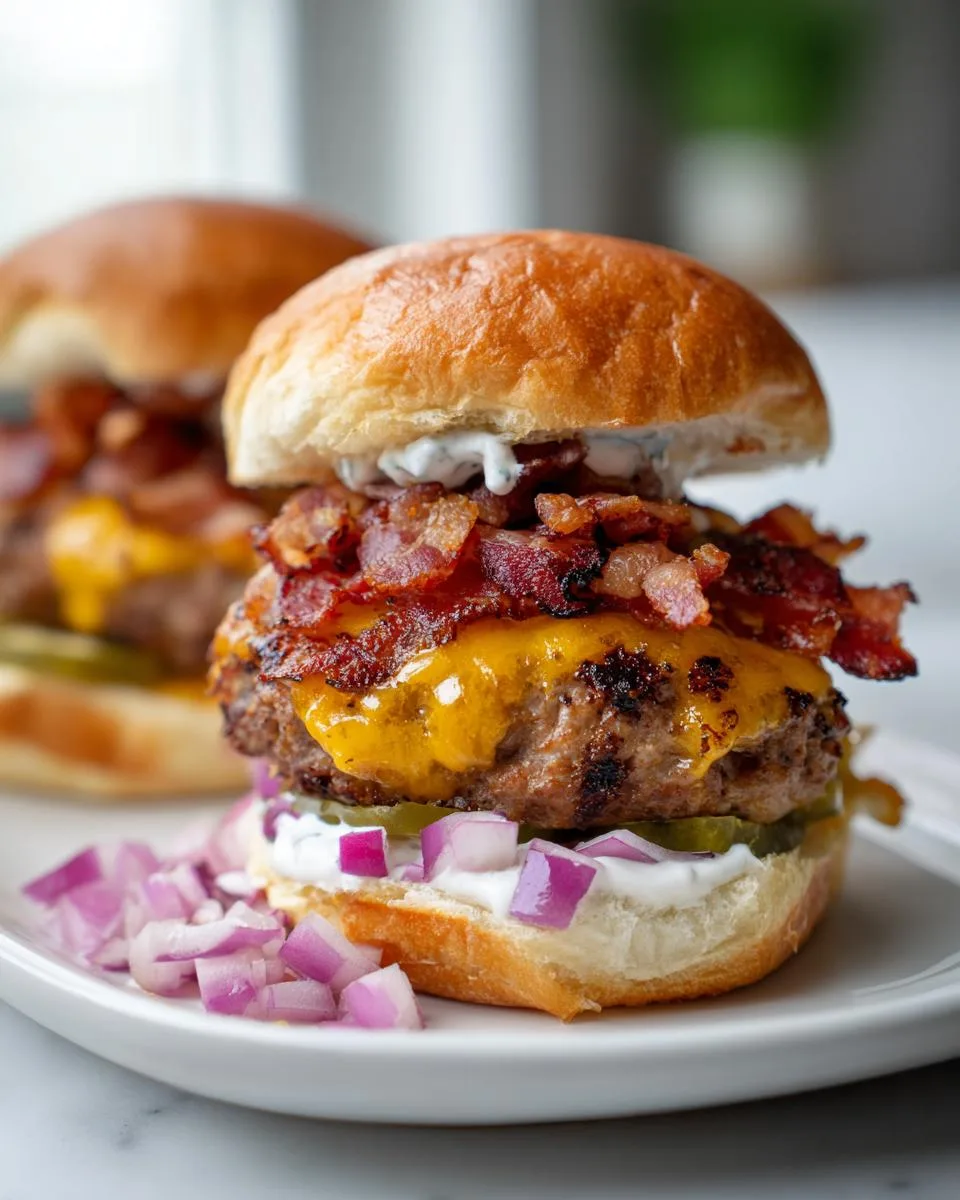
The fun part! Take the bottom halves of your toasted rolls and spread about half of that ranch sauce evenly over them. Now, carefully place one cheesy burger rectangle on top of each saucy bun half. Load them up! Sprinkle the chopped bacon evenly over both patties, followed by the diced red onion and those dill pickle slices. Now, take the rest of your ranch sauce and drizzle it right over all those beautiful toppings. Place the top bun halves on, and press down gently. Finally, use your sharp knife to slice along the roll perforations, creating 12 perfect, individual sliders. Get ready for the compliments!
Print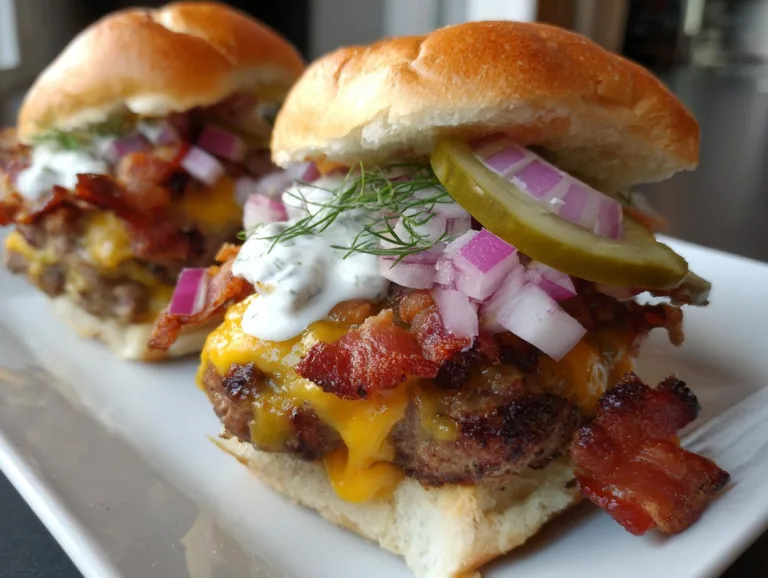
Perfect 35-Minute Cheesy Bacon Ranch Burger Sliders
A quick recipe for flavorful burger sliders with cheese, bacon, and a ranch kick.
- Total Time: 35 minutes
- Yield: 12 sliders 1x
Ingredients
- 1/2 cup ranch dressing
- 1 tablespoon hot sauce, or to taste
- 1 1/2 pounds ground beef
- 1 tablespoon ranch seasoning
- 1/4 teaspoon salt
- 1/2 teaspoon freshly ground black pepper
- 8 slices bacon
- 1 (12 count) package Hawaiian rolls
- 8 slices Cheddar cheese
- 1/4 cup diced red onion
- 12 dill pickle slices
Instructions
- Mix ranch dressing and hot sauce in a small bowl. Set it aside.
- Combine ground beef, ranch seasoning, salt, and pepper in a large bowl. Shape the meat into two large rectangles, about 7 by 5 inches each.
- Cook bacon in a skillet over medium-high heat for about 10 minutes until crispy. Drain on paper towels, then chop.
- Preheat your outdoor grill to medium-high heat.
- Slice the package of Hawaiian rolls in half horizontally. Place them cut-side down on the grill for about 10 seconds to toast. Remove and set aside.
- Place the burger patties on the grill. Cook for about 4 minutes, then flip and cook for another 4 minutes, or to your preferred doneness.
- Top each patty with 4 slices of cheese. Cover the grill for about 1 minute to melt the cheese.
- Spread half of the ranch mixture on the bottom halves of the toasted rolls.
- Place the cheesy burgers on the rolls. Top with chopped bacon, diced red onion, and pickle slices.
- Drizzle the remaining ranch mixture over the toppings. Place the bun tops on the sliders.
- Cut into 12 individual sliders and serve.
Notes
- You can cook the burgers in a skillet if you do not have a grill.
- Adjust the amount of hot sauce to your taste.
- Let the bacon cool before chopping it.
- Prep Time: 15 minutes
- Cook Time: 20 minutes
- Category: Main Dish
- Method: Grilling
- Cuisine: American
- Diet: Low Lactose
Nutrition
- Serving Size: 1 slider
- Calories: 380
- Sugar: 5g
- Sodium: 720mg
- Fat: 24g
- Saturated Fat: 10g
- Unsaturated Fat: 12g
- Trans Fat: 1g
- Carbohydrates: 22g
- Fiber: 1g
- Protein: 19g
- Cholesterol: 70mg
My Top Tips for Perfect Cheesy Bacon Ranch Burger Sliders
I’ve made these sliders more times than I can count, and I’ve picked up a few tricks along the way that really make a difference. Trust me, these little tips are game-changers!
- Let the bacon cool before you chop it. I know it’s tempting to dive right in, but hot bacon will burn your fingers and it tends to tear into mushy pieces. Letting it cool on the paper towels for a few minutes gives you those perfect, crispy bits.
- Don’t overwork the beef. When you’re mixing in the ranch seasoning, just combine it gently with your hands until everything is evenly distributed. Over-mixing makes the burgers dense and tough.
- Get that grill good and hot. A properly preheated grill is the secret to a great sear on your burger patties. If it’s not hot enough, you’ll steam them instead of getting those delicious caramelized edges.
- Use a serrated knife for the rolls. A sharp, saw-toothed knife glides right through the soft Hawaiian rolls without squashing them, giving you a clean cut every single time.
- Taste your sauce as you go! That ranch and hot sauce mixture is your creation. Start with a tablespoon of hot sauce, give it a taste, and add more if you want more kick. It’s your slider, make it how you like it!
- No grill? No problem. You can absolutely cook the burger patties in a large skillet over medium-high heat. Just follow the same cook times. The result is just as tasty!
Serving Suggestions for Cheesy Bacon Ranch Burger Sliders
Okay, you’ve got this amazing platter of sliders, but what do you serve with them? I love turning this into a complete, no-fuss meal that feels special. Honestly, these sliders are so flavorful, you don’t need anything too complicated. Here are my go-to sides that always disappear just as fast as the main event.
- A big basket of crispy fries. You can’t go wrong! Classic french fries or sweet potato fries are perfect for dipping in any extra ranch sauce that might sneak out of the sliders.
- Something fresh to balance it out. A simple green salad with a light vinaigrette or a tangy, creamy coleslaw cuts through the richness beautifully and makes the whole meal feel a bit more put-together.
- Classic cookout sides. If you’re really feeding a crowd, a pot of baked beans or some crunchy potato chips scattered on the table are always a hit. It’s all about that easy, hands-on eating vibe.
- And of course, extra ranch for dipping! I always put a little bowl of the ranch sauce on the side, too. Because let’s be honest, you can never have too much.
Mix and match a couple of these, and you’ve got a full spread that’s guaranteed to make everyone happy.
How to Store and Reheat Leftover Sliders
Got a couple of sliders left over? It happens! To store them, just pop the assembled sliders into an airtight container in the fridge. They’ll keep for up to 2 days.
When you’re ready to eat, wrap them loosely in foil and warm them in a 300°F oven for 10-15 minutes, just until the cheese gets melty again. A little heads-up: the bun will soften a bit, but they’ll still taste fantastic. Honestly, for the absolute best results, I like to store the burger patties, bacon, and buns separately and re-assemble fresh—but the foil method is perfect for a quick and easy fix!
Cheesy Bacon Ranch Burger Sliders FAQ
You’ve got questions, I’ve got answers! Here are the ones I get asked the most about this recipe.
Q1. Can I make these sliders in the oven?
Absolutely! If the weather’s bad or you just don’t feel like grilling, the oven works great. Bake your shaped burger rectangles on a baking sheet at 400°F for about 15-18 minutes, or until cooked through. Add the cheese for the last minute to melt. You can toast the rolls under the broiler for a few seconds, but watch them like a hawk!
Q2. What can I use instead of Hawaiian rolls?
No Hawaiian rolls on hand? No problem. Any soft, slightly sweet roll works wonderfully. I’ve used potato rolls, classic slider buns, or even mini brioche buns with fantastic results. The key is just getting something that’s tender and holds up to all the juicy toppings.
Q3. Can I prepare the burger meat ahead?
You sure can! This is a great party trick. Mix the beef with the ranch seasoning, salt, and pepper, then shape it into the two rectangles. Wrap them tightly in plastic wrap and pop them in the fridge. They’ll be perfectly fine for up to a day before you need to cook them.
Q4. Are these sliders good for a party?
Are they ever! This recipe was practically designed for a crowd. Cooking the beef as two big sheets means you’re feeding everyone at once, and the assembly is so simple. I make them for game days, potlucks, and backyard barbecues all the time. They disappear fast and make you look like a total rock star.
Estimated Nutritional Information
Okay, let’s talk numbers for a minute! I always like to have a rough idea of what I’m eating, so here’s a basic breakdown for one of these glorious sliders. Just a friendly reminder: these are estimates. The exact numbers can change depending on the specific brand of ranch, the fat content of your beef, and even how much bacon you pile on (no judgment here!).
Generally, per slider, you’re looking at about 380 calories, with 24g of fat, 19g of protein, and 22g of carbs. They do have a bit of a sodium kick from the ranch and bacon—around 720mg—so if you’re watching that, you can always use a low-sodium ranch dressing. It’s all about making it work for you!
Share Your Slider Creation
I really hope you give these a try! If you do, I’d love to hear how it went. Leave a star rating below to let me know, and if you snap a photo of your cheesy, bacon-loaded masterpiece, please share it! Got any other questions? Just drop them in the comments. Happy cooking!
Follow us on Facebook for more delicious recipes!