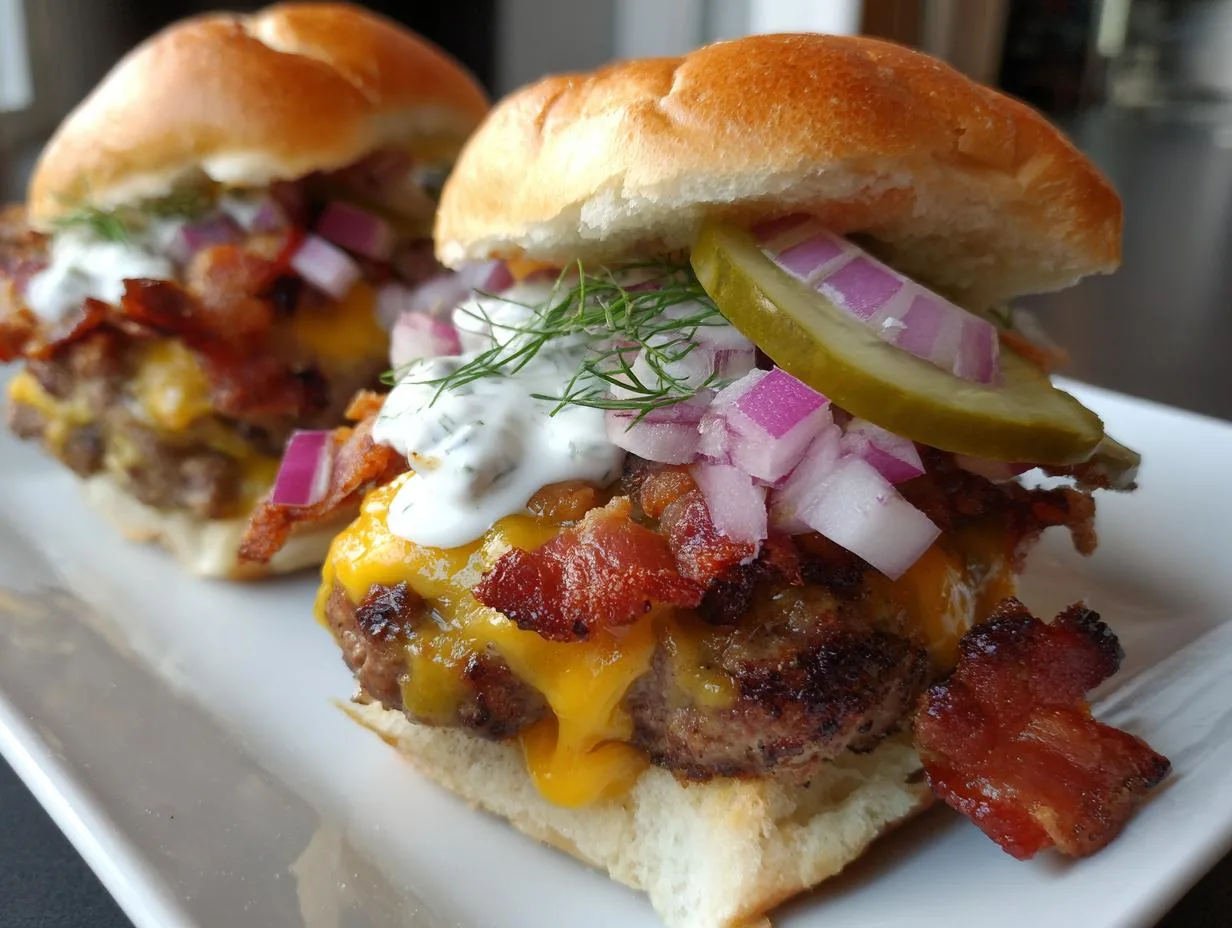
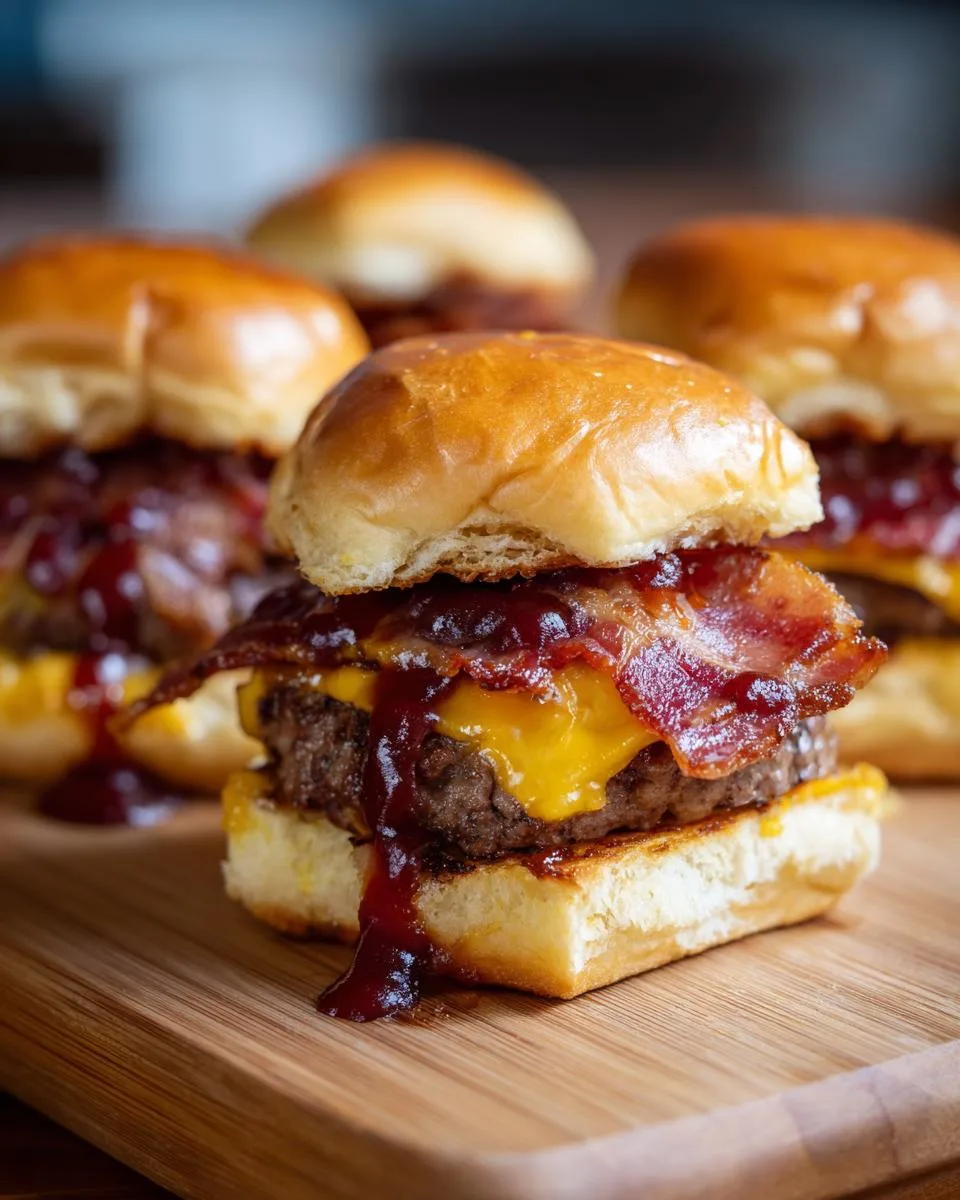
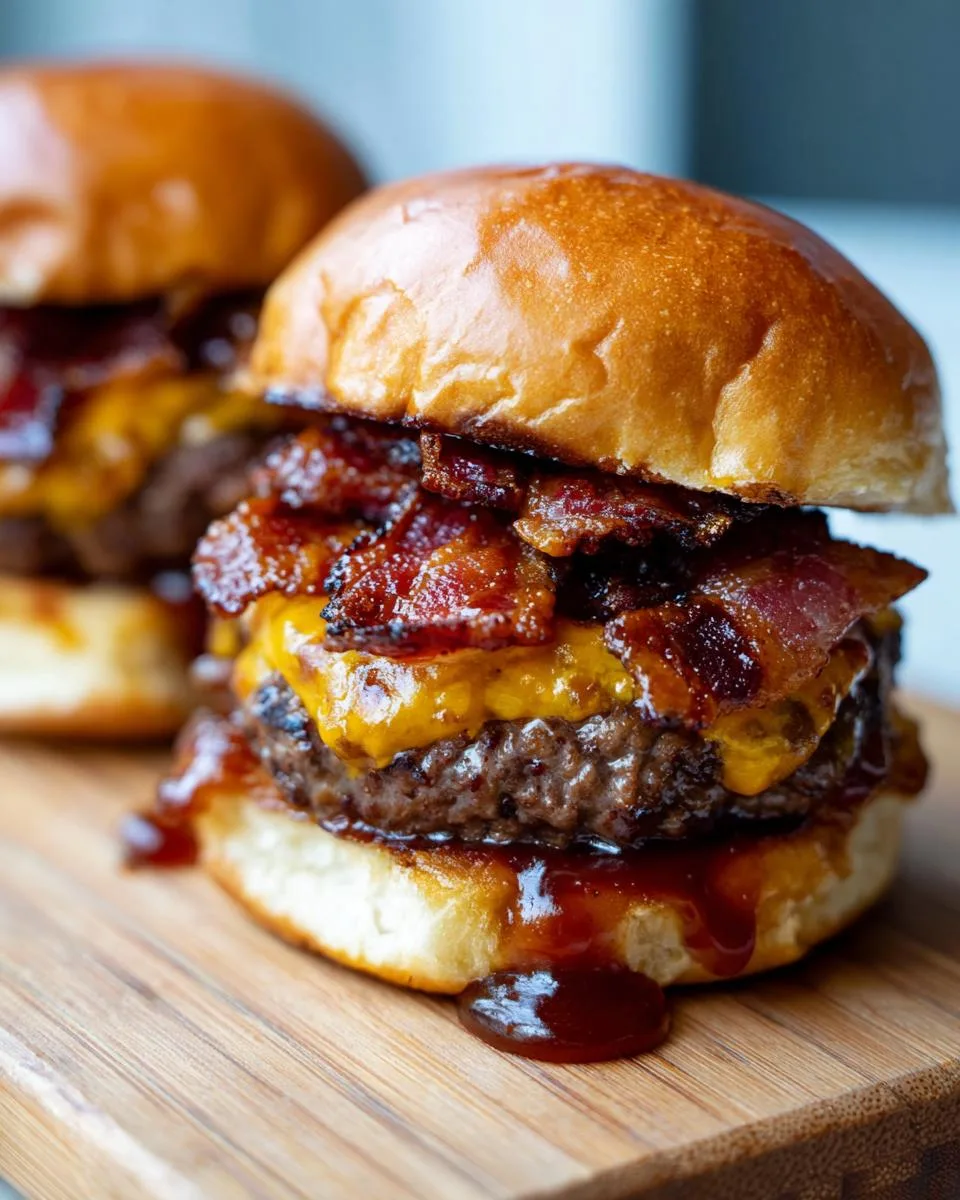
Oh my gosh, you guys – these BBQ Bacon Cheeseburger Sliders are my absolute go-to when I need something quick, delicious, and guaranteed to disappear at parties! I’m talking juicy beef patties stuffed with melty cheddar, crispy bacon, and that sweet-tangy barbecue sauce all hugged by soft Hawaiian rolls. The best part? You can whip these up in just 18 minutes flat.
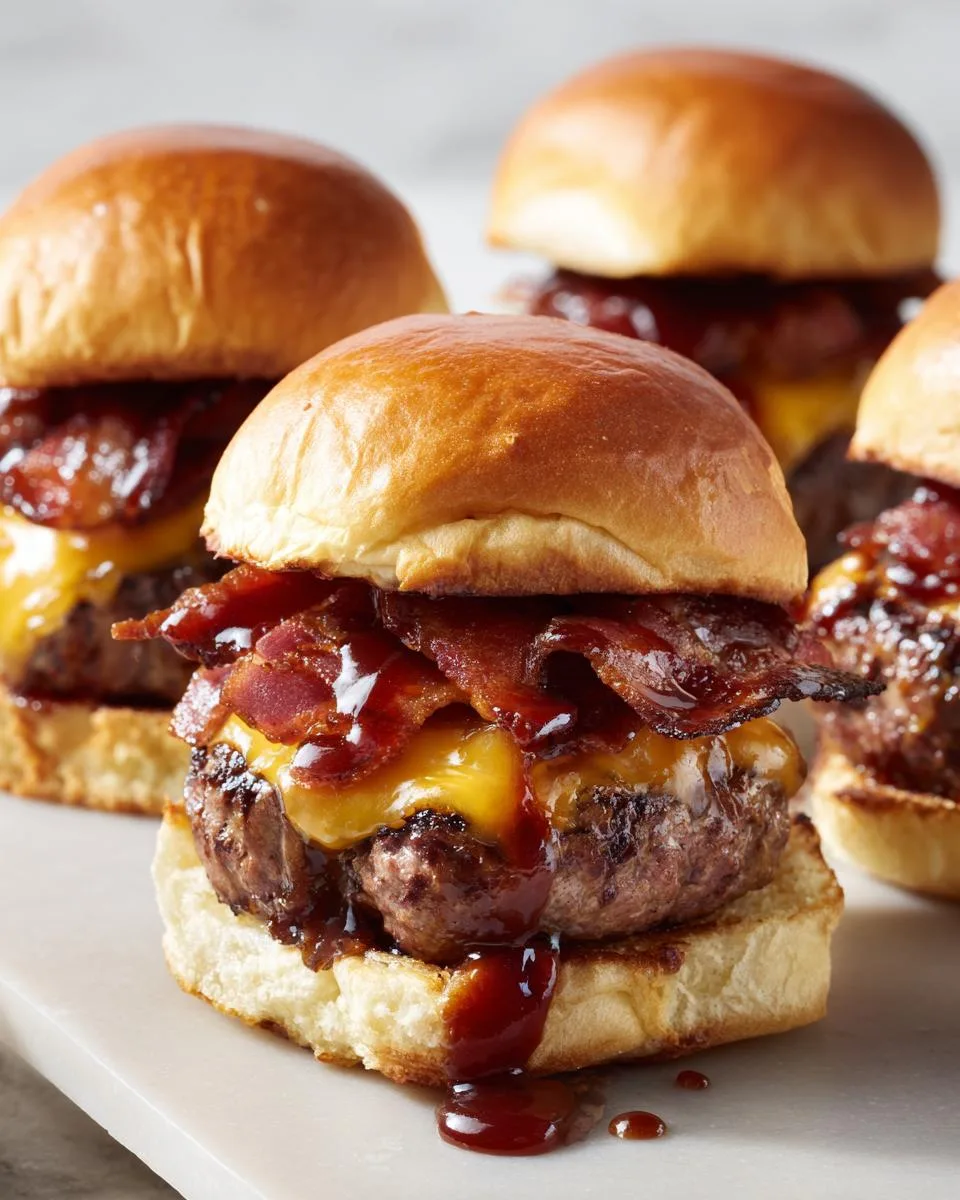
Table of Contents
Table of Contents
Why You’ll Love These BBQ Bacon Cheeseburger Sliders
I first made these for my nephew’s birthday cookout last summer, and now they’re requested at every family gathering. There’s something magical about that combo of smoky bacon, sharp cheese, and the slight sweetness from the rolls. And don’t even get me started on how the barbecue sauce caramelizes just a bit when it hits the hot patties – pure perfection!
Listen, I don’t just make these sliders because they’re delicious—though trust me, they are. I make them because they solve all my hosting problems! Here’s why they’ll become your new favorite too:
- Quick magic: From fridge to table in under 20 minutes? Yes please. I’ve made these when surprise guests showed up and looked like a kitchen rockstar.
- Crowd pleasers: Kids go wild for the sweet rolls, adults love that smoky bacon kick—everyone wins.
- Party perfection: One batch makes eight sliders that disappear fast. I always double the recipe now after the Great Football Sunday Incident of 2022 (never again).
- Customize away: Swap cheddar for pepper jack, add pickled jalapeños, or drizzle with ranch—these babies play well with whatever toppings you’ve got.
Seriously, these sliders are like edible confetti—they just make everything more fun!
Ingredients for BBQ Bacon Cheeseburger Sliders
Alright, let’s talk ingredients – and I mean the good stuff! This isn’t one of those “oh just throw whatever’s in your fridge” recipes. The magic happens when you use just the right amounts of quality ingredients. Here’s what you’ll need (and yes, I’ve learned all these measurements by heart because I make these sliders so often!):
- 1 pound ground beef (80% lean): That 20% fat is your flavor ticket – don’t go too lean or your sliders will be sad and dry.
- ½ cup extra sharp shredded cheddar cheese: I buy the block and shred it myself – those pre-shredded bags have weird anti-caking stuff that changes the texture.
- 1 tablespoon barbecue sauce + 8 tablespoons for serving: Yes, we’re using it twice! Mix some in the patties, then drown those bad boys when assembling. My secret? Stubbs Original – just the right tang.
- ½ tablespoon Worcestershire sauce: That umami bomb that makes people go “what is that amazing flavor?” without being able to pinpoint it.
- 1 tablespoon onion powder & 1 tablespoon garlic powder: No fresh onions here – we want that flavor distributed evenly without crunchy bits.
- Dash liquid smoke: My little cheat for that “grilled all day” taste when I’m using a stovetop grill pan.
- Pinch salt: Just enough to make all the flavors pop without going overboard.
- 8 King’s Hawaiian Rolls: Sliced horizontally – do this while they’re still stacked to save time. The sweet fluffiness is non-negotiable!
- 2 slices extra sharp cheddar cheese: Cut into quarters – we’re putting one piece on each slider after flipping.
- 4 slices cooked bacon: Thick-cut, crispy but still slightly bendable, cut in half – because nobody wants just a sad bacon crumb on their slider!
See? Nothing too fancy, but every ingredient has a purpose. The first time I made these, I tried skipping the Worcestershire sauce – big mistake. My husband took one bite and said “it’s good but… missing something.” Never again!
How to Make BBQ Bacon Cheeseburger Sliders
Okay, ready for the fun part? Making these sliders is seriously easy, but I’ve got some tricks up my sleeve to make them perfect every time. Let’s break it down step by step – I promise you’ll be flipping sliders like a pro by the time we’re done!
Mixing the Patty Ingredients
First things first – ditch the wooden spoon! For the juiciest sliders, you want to use your hands to mix everything. I know, I know, it’s messy, but it’s the best way to get everything evenly distributed without overworking the meat.
Dump all your patty ingredients in a big bowl – the ground beef, shredded cheese, barbecue sauce, Worcestershire sauce, onion powder, garlic powder, liquid smoke, and that pinch of salt. Now here’s my secret: mix it just until everything comes together. Overmixing makes tough sliders, and nobody wants that! You’ll know it’s ready when you don’t see any streaks of unmixed ingredients.
Shaping and Grilling the Sliders
Time to make those perfect little patties! Divide your mixture into 8 equal portions (I use a kitchen scale for precision, but eyeballing works too). Roll each into a ball, then gently flatten into discs slightly larger than your Hawaiian rolls – they’ll shrink a bit while cooking.
Get your cast iron grill pan screaming hot – I test mine by flicking a few water droplets on it. If they sizzle and dance, you’re good to go! Grill those patties for 3-4 minutes per side – resist the urge to press them down (we’re keeping those juices inside!). Right after flipping, slap on those quartered cheese slices and watch them melt into gooey perfection.
Assembling the BBQ Bacon Cheeseburger Sliders
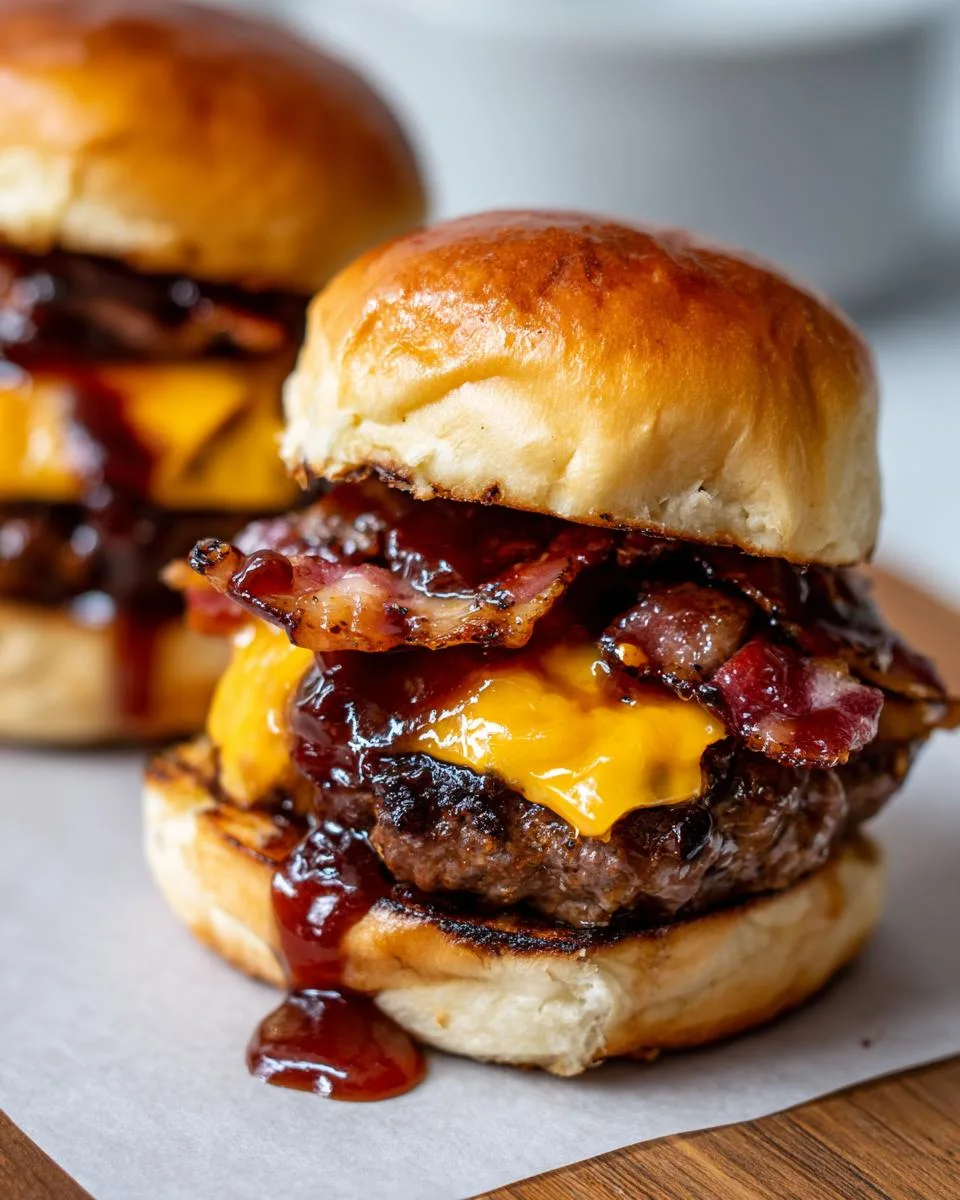
Now for the best part – building your sliders! Lay out the bottom halves of your Hawaiian rolls on a platter. Transfer each cheesy patty onto a roll, then top with two half-slices of crispy bacon. Here’s where I go a little crazy – drizzle about a tablespoon of barbecue sauce on each one (more if you’re feeling wild!).
Gently press the top buns on and watch as that sauce oozes out the sides just slightly. That’s when you know they’re perfect! Serve them immediately while everything’s still hot and melty – I usually just put the whole platter in the middle of the table and let everyone dig in.
Print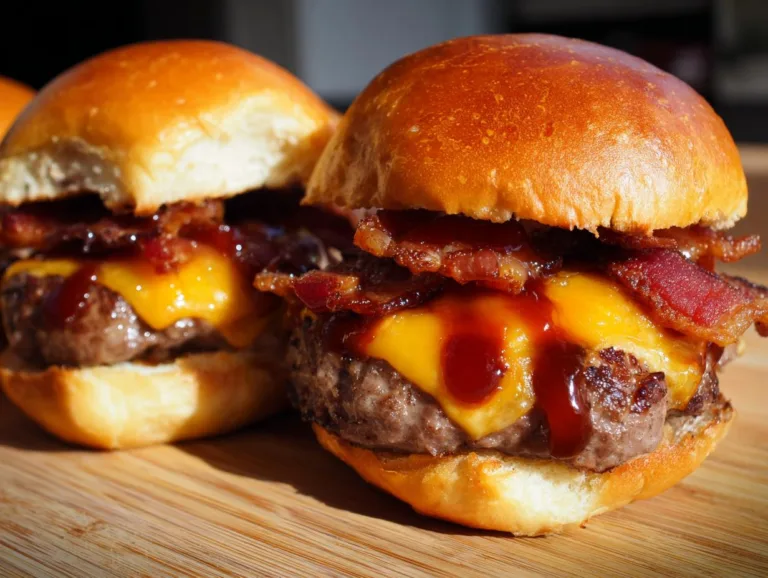
Irresistible BBQ Bacon Cheeseburger Sliders in 18 Minutes
Delicious BBQ Bacon Cheeseburger Sliders made with juicy beef patties, sharp cheddar, crispy bacon, and sweet barbecue sauce on Hawaiian rolls.
- Total Time: 18 minutes
- Yield: 8 sliders 1x
Ingredients
- 1 pound ground beef (80% lean)
- ½ cup extra sharp shredded cheddar cheese
- 1 tablespoon barbecue sauce
- ½ tablespoon Worcestershire sauce
- 1 tablespoon onion powder
- 1 tablespoon garlic powder
- Dash liquid smoke
- Pinch salt
- 8 King’s Hawaiian Rolls (sliced)
- 2 slices extra sharp cheddar cheese (cut into quarters)
- 4 slices cooked bacon (cut in half)
- 8 tablespoons barbecue sauce
Instructions
- Prepare the slider patties. Mix ground beef, shredded cheese, barbecue sauce, Worcestershire sauce, onion powder, garlic powder, liquid smoke, and salt in a bowl. Shape into 8 patties.
- Preheat a cast iron grill pan over medium-high heat. Place the bottom halves of the Hawaiian rolls on a serving platter.
- Grill sliders for 3-4 minutes per side, adding cheese after flipping. Cook until internal temperature reaches 160°F.
- Transfer patties to rolls, top with bacon and barbecue sauce, then cover with roll tops. Serve immediately.
Notes
- Use thick-cut bacon for extra crispiness.
- Adjust cooking time based on patty thickness.
- Hawaiian rolls add sweetness, but brioche works too.
- Prep Time: 10 minutes
- Cook Time: 8 minutes
- Category: Appetizer
- Method: Grilling
- Cuisine: American
- Diet: Low Lactose
Nutrition
- Serving Size: 1 slider
- Calories: 320
- Sugar: 8g
- Sodium: 450mg
- Fat: 18g
- Saturated Fat: 7g
- Unsaturated Fat: 9g
- Trans Fat: 0.5g
- Carbohydrates: 22g
- Fiber: 1g
- Protein: 19g
- Cholesterol: 55mg
Tips for Perfect BBQ Bacon Cheeseburger Sliders
After making these sliders about a million times (okay maybe thirty, but who’s counting?), I’ve learned a few tricks that take them from good to oh-my-gosh-give-me-the-recipe status:
- Cast iron is your friend: That heavy pan gives you perfect grill marks and even heat – I swear it makes the bacon flavor seep into the patties better!
- Thermometer truth: Don’t guess – stick that instant-read thermometer in the side of a patty. 160°F means juicy perfection, no hockey pucks here.
- Roll revival: If your Hawaiian rolls aren’t as fresh as you’d like, pop the bottoms in the oven at 350°F for 2 minutes before assembling. Just enough to crisp them slightly without losing that signature sweetness.
Oh! And one more thing – when shaping the patties, make a slight dimple in the center with your thumb. This keeps them from puffing up like little meatballs while cooking. You’re welcome!
Common Questions About BBQ Bacon Cheeseburger Sliders
Okay, let’s tackle those burning questions I always get when these sliders hit the table! I’ve made enough batches to have all the answers down pat. Here’s what people ask most:
How Long Do Cheeseburger Sliders Take to Cook?
Eight minutes total – that’s the magic number! Three to four minutes per side on a hot grill pan does the trick. But here’s my pro tip: use an instant-read thermometer to check for 160°F inside. Last week my niece kept flipping hers every 30 seconds – we ended up with hockey pucks. Don’t be like my niece!
What Bacon Works Best?
Thick-cut bacon, no contest! I like mine cooked until it’s crispy but still has a little chew – that perfect balance between crunch and bend. Thin bacon disappears into the slider, but thick-cut holds its own against all that beefy goodness. Applewood smoked? Even better!
Can I Make These Ahead of Time?
Absolutely! I prep the patties up to a day in advance and keep them in the fridge. Just make sure to separate them with parchment paper so they don’t stick together. The bacon can be cooked ahead too – warm it up for 30 seconds before assembling. But assemble right before serving unless you want soggy rolls (yuck!).
Why Hawaiian Rolls?
That sweet fluffiness is the perfect contrast to the smoky, savory filling! I tried brioche once – too rich. Regular burger buns? Too dry. Hawaiian rolls are just sturdy enough to hold everything without stealing the show. Plus, their small size makes them perfect slider vessels!
Serving Suggestions
Oh, you’ll want to eat these sliders straight off the grill, trust me! But if you’re feeling fancy, here’s how I love to serve them:
- Pickle party: The tangy crunch cuts through all that rich, smoky goodness beautifully. I put out a big bowl of dill spears and watch them disappear.
- Cool coleslaw: That creamy crunch is the yin to the slider’s yang. My quick hack? Bagged slaw mix + mayo + apple cider vinegar.
- Sweet potato fries: Bake ’em extra crispy for dipping in leftover barbecue sauce. Kids go nuts for this combo!
Pro tip: Lay out all the components buffet-style and let everyone build their perfect bite. The messier, the better!
Storage and Reheating
Okay, let’s talk leftovers – because let’s be real, it’s rare but possible with these addictive sliders! Here’s how I keep them tasting fresh-off-the-grill amazing:
- Separate is sacred: Store patties and rolls in different containers – nothing worse than soggy bread! I use airtight containers for patties and wrap rolls in foil.
- Quick fridge revival: For next-day lunch, I microwave patties for 30 seconds THEN pop them in a 350°F oven for 5 minutes. That double method keeps them juicy while crisping up that bacon again.
- Freezer hack: Lay uncooked patties on parchment paper, freeze solid, then transfer to freezer bags. They’ll last a month! Thaw in fridge overnight before grilling.
Pro tip: If your rolls dry out, brush them with melted butter before reheating – gives them that fresh-baked magic again!
Nutrition Information
Okay friends, let’s talk numbers – but don’t let this scare you off! I’m all about balance, and these sliders pack some serious nutritional punches along with their incredible flavor. Here’s the breakdown per slider (because let’s be real, who stops at just one?):
- 320 calories: Perfect little energy bundles – great for game day fueling or post-swim practice snacks!
- 18g fat (7g saturated): That’s where all the juicy flavor lives – and remember, we’re using quality 80/20 beef and real cheese.
- 19g protein: More than an egg! Keeps you full through entire football games (trust me, tested this extensively).
- 22g carbs: Mostly from those heavenly Hawaiian rolls – they’re worth every sweet, fluffy bite.
Now, full disclosure – these numbers are estimates. Your exact counts might vary based on:
- How much barbecue sauce you glob on (no judgment here!)
- Whether your bacon slices are “generous” like mine or “measured” like my nutritionist sister’s
- If you use low-sodium Worcestershire like I sometimes do when watching salt intake
Pro tip: If you’re counting macros, you can tweak this recipe easily – 90% lean beef instead of 80%, turkey bacon, or reduced-fat cheese. But personally? I say life’s too short not to enjoy the full-fat, full-flavor version sometimes!
Rate This Recipe
Alright, folks – the moment of truth! Did these BBQ Bacon Cheeseburger Sliders bring as much joy to your kitchen as they do to mine? I live for your feedback (seriously, it makes my day when people tag me in their slider photos!). Drop your thoughts below and let me know:
- Did your family go crazy for them like mine does?
- Any clever tweaks you made that turned out amazing?
- How many batches disappeared before you even got to sit down?
Your ratings help other home cooks know this recipe’s a winner, so don’t be shy! And if you snapped a pic of your slider masterpiece, I’d absolutely love to see it. Happy cooking, friends – can’t wait to hear your slider stories! I live for your feedback.