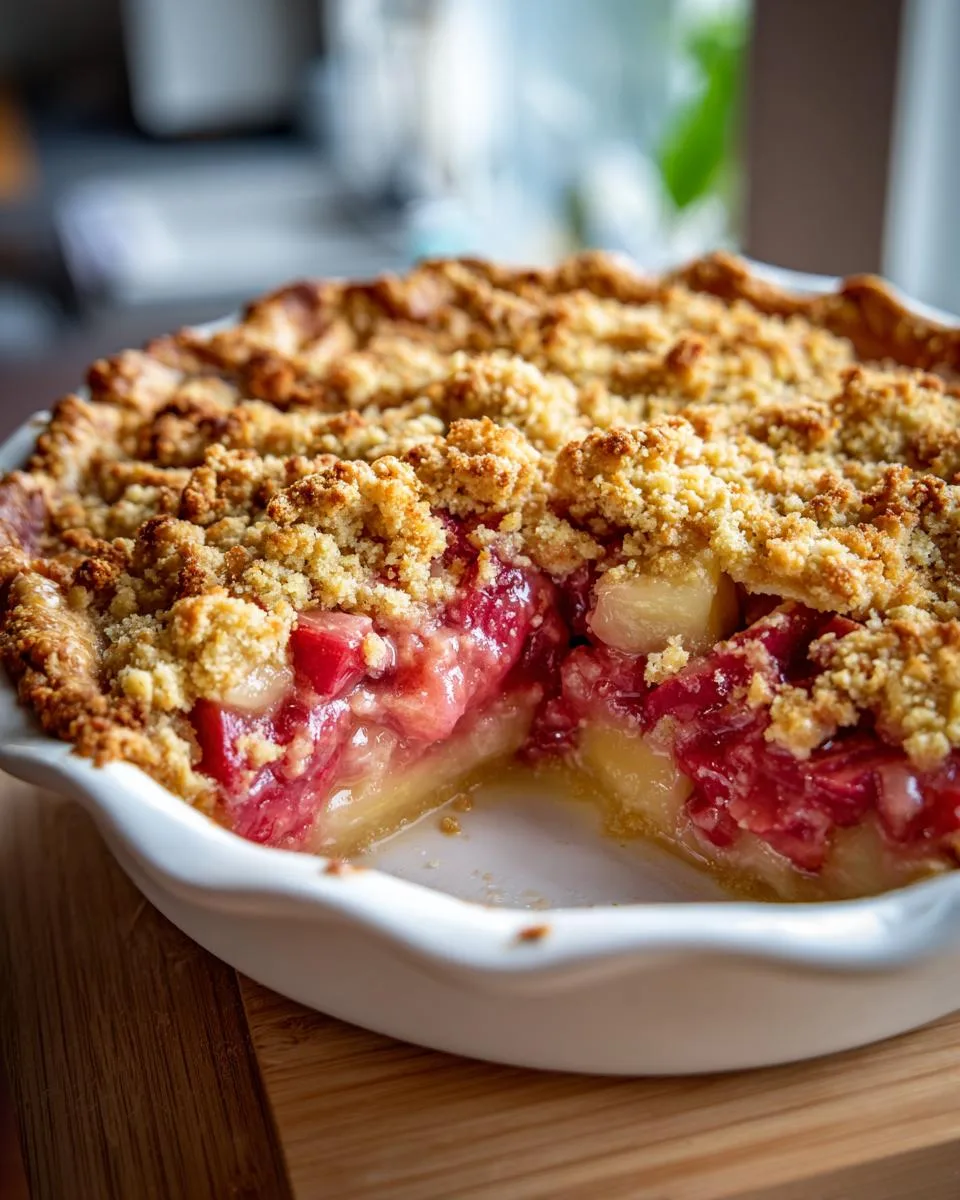
There’s nothing quite like the first bite of an old fashioned rhubarb pie – that perfect balance of tart and sweet wrapped in a flaky crust takes me right back to my grandma’s kitchen every spring. She’d make this pie with rhubarb fresh from her garden, and the whole house would smell like cinnamon and butter while it baked. I can still picture her wiping flour-dusted hands on her apron as she pulled the golden-topped pie from the oven.
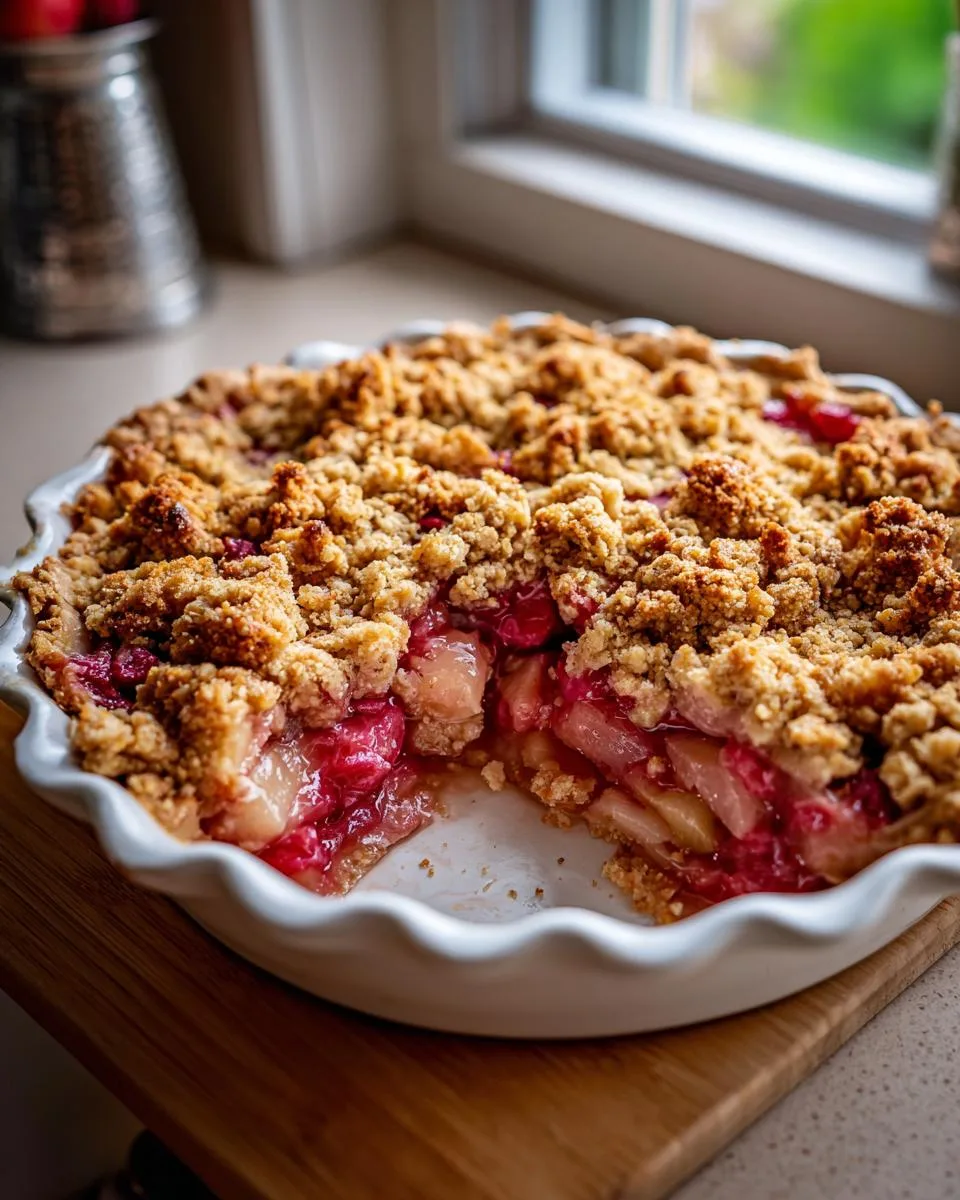
Table of Contents
Table of Contents
Why You’ll Love This Old Fashioned Rhubarb Pie Recipe
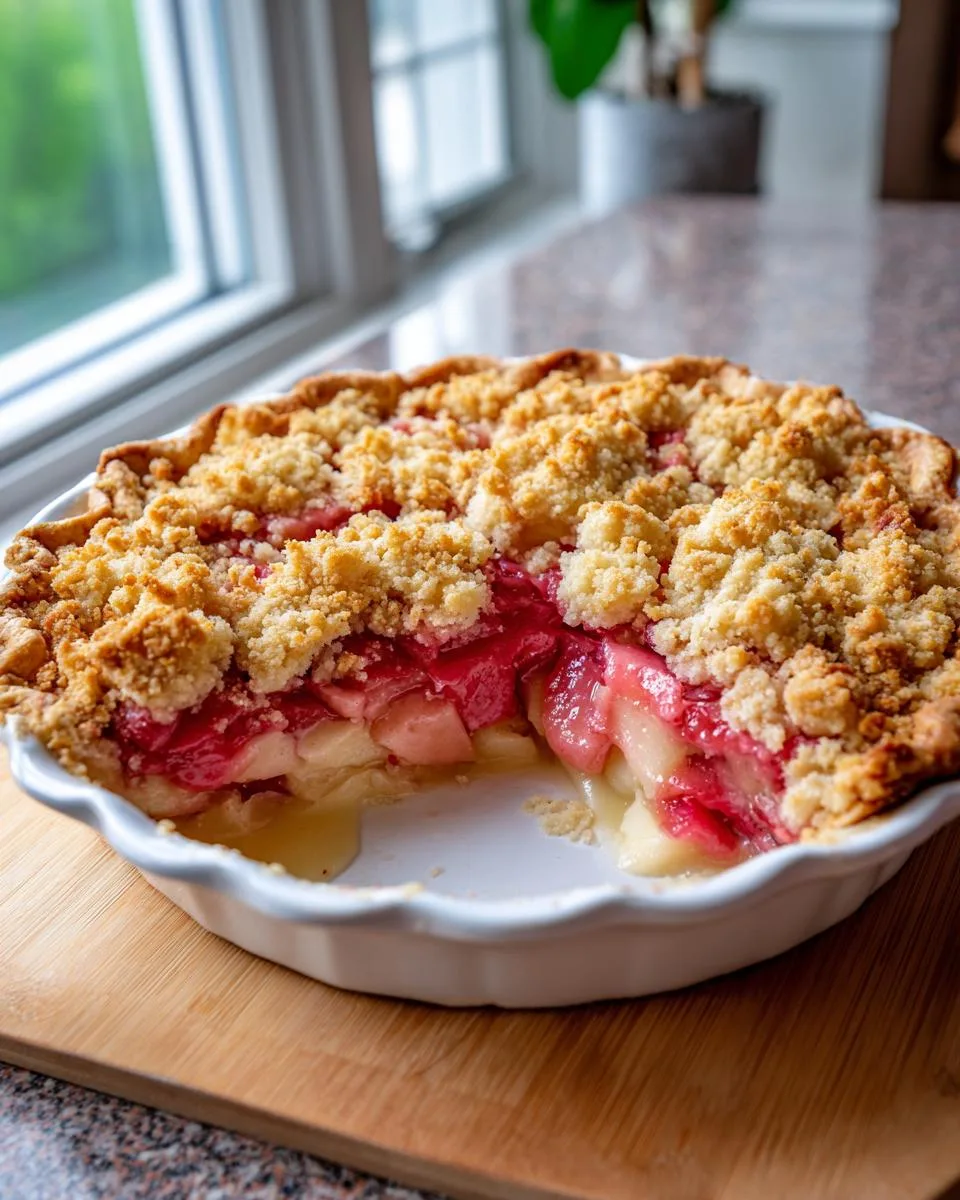
This recipe is the real deal – the kind that’s been passed down through generations with its creamy sour cream filling and irresistible crumb topping. It’s simpler than you might think, but oh my, does it deliver that classic flavor we all crave. Whether you grew up eating rhubarb pie or you’re discovering it for the first time, this old fashioned rhubarb pie recipe will become your new favorite way to celebrate the season.
This isn’t just any rhubarb pie – it’s the kind that makes people ask for seconds (and the recipe!). Here’s what makes it so special:
- The creamy sour cream filling balances the rhubarb’s tang perfectly – no mouth-puckering tartness here!
- That buttery crumb topping adds the most delicious crunch to every bite
- It comes together with simple ingredients you probably already have in your kitchen
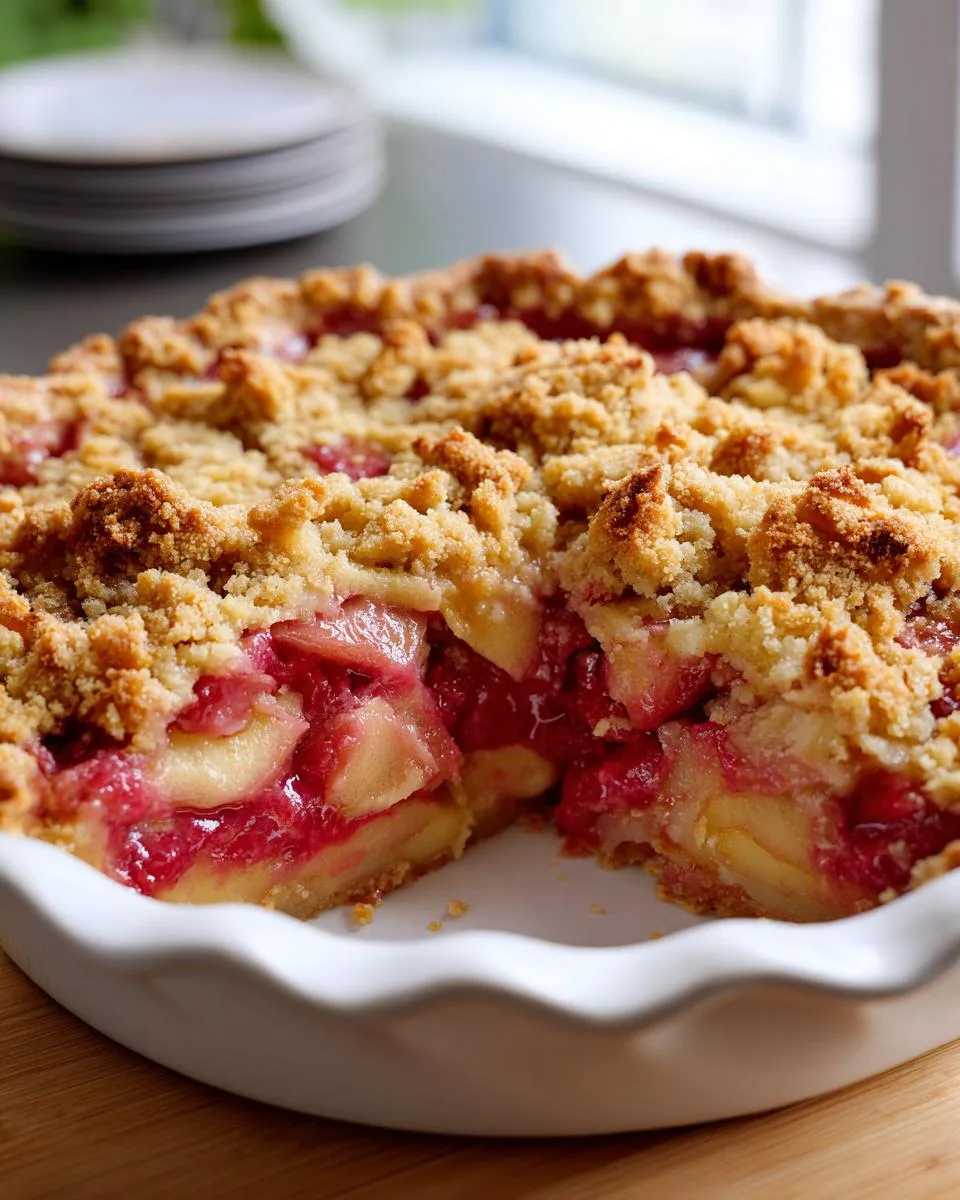
- The filling sets up beautifully when cooled – no runny slices ruining your plate
- It tastes like nostalgia in pie form – one bite will transport you to simpler times
Trust me, once you try this version, you’ll never go back to plain rhubarb pie again!
Ingredients for Old Fashioned Rhubarb Pie
Gathering your ingredients is the first step to pie perfection! Here’s exactly what you’ll need – and I promise, it’s all pretty straightforward. Just measure everything out before you start, and you’ll be golden.
- 1 (9-inch) unbaked pie crust – homemade or store-bought, I won’t judge!
- 4 cups chopped fresh rhubarb – about 1/2-inch pieces (and no, you don’t need to peel it!)
- 1 large egg – straight from the fridge is fine
- 1 ½ cups white sugar – this balances the rhubarb’s tartness beautifully
- 1 cup sour cream – full-fat gives the best texture, trust me
- ⅓ cup all-purpose flour – for the filling
- ½ cup all-purpose flour – for the crumb topping
- ½ cup brown sugar – light or dark both work great
- ¼ cup butter, melted – unsalted is my preference
Ingredient Notes & Substitutions
Now, let’s talk about why these ingredients work so well together – and what you can swap if you’re in a pinch!
First, that sour cream – it’s the secret weapon here! The acidity helps cut through the sweetness while making the filling incredibly creamy and rich. If you absolutely must substitute, plain Greek yogurt will work, but the texture might be slightly less luxurious.
When it comes to the rhubarb, fresh is always best if you can get it. But if it’s not in season, frozen works too! Just thaw it completely and drain off any excess liquid – otherwise your pie might get too watery. And don’t even think about using canned rhubarb – it turns to mush!
As for the sugar – I know 1 ½ cups seems like a lot, but rhubarb is seriously tart! You can reduce it slightly if you prefer, but don’t go below 1 cup or your pie will make you pucker. For a deeper flavor, you could use all brown sugar instead of white in the filling.
And that butter in the topping? Real butter makes all the difference here. Margarine just doesn’t give you that same rich, crumbly texture. If you’re out of brown sugar for the topping, white sugar with a teaspoon of molasses mixed in will work in a pinch!
Equipment You’ll Need for Old Fashioned Rhubarb Pie
Okay, let’s talk tools! The beauty of this old fashioned rhubarb pie is that you don’t need any fancy equipment – just the basics that you probably already have hiding in your kitchen cabinets.
- A 9-inch pie pan – glass is my favorite because you can see the bottom getting golden, but metal works great too
- Two mixing bowls – one medium-sized for the filling, one small for the crumb topping
- A trusty whisk – for getting that filling smooth and lump-free
- Measuring cups and spoons – because baking is a science, and rhubarb pie deserves precision!
Now, here’s my little optional tip: if you want to make the crumb topping extra perfect, a pastry cutter works wonders for getting those buttery crumbs just right. But honestly? Your clean fingers work just as well – that’s how my grandma always did it, and I still do it that way most times! The only other thing you might want is a cooling rack for afterward, but the countertop works in a pinch.
See? Nothing complicated here. Now let’s get baking!
How to Make Old Fashioned Rhubarb Pie
Alright, let’s get to the fun part – actually making this beautiful pie! Don’t let the multiple steps scare you – it’s really just a matter of putting things together in the right order. I’ve made this so many times I could probably do it in my sleep, but I’ll walk you through every step just like my grandma did for me.
Step 1: Get That Oven Hot and Ready
First things first – preheat your oven to 450°F (220°C). I know it seems high, but trust me, that initial blast of heat is what gives us that beautifully set crust and helps the topping get crispy. While that’s heating up, fit your pie crust into that 9-inch pan and make it look pretty with whatever edge crimping you like. I’m partial to a simple fork-pressed edge myself!
Step 2: Layer That Rhubarb
Take your chopped rhubarb and spread it evenly in the bottom of the crust. You want a nice, even layer – no big piles in one spot and bare spots in another. The rhubarb pieces should be about ½-inch thick so they cook through properly but still have a little texture.
Step 3: Whisk Up That Magical Filling
In a medium bowl, whisk together the egg, white sugar, sour cream, and that ⅓ cup of flour. Whisk it until it’s completely smooth – no lumps allowed! This creamy mixture is what makes this pie so special compared to regular fruit pies. Pour it evenly over the rhubarb, making sure to cover all those beautiful pink stalks.
Step 4: Create the Crumbly Topping
In a smaller bowl, mix together the ½ cup flour and brown sugar. Then drizzle in that melted butter and stir until you get these wonderful, crumbly bits. I like to use my fingers toward the end to really work it into perfect pea-sized crumbs. Sprinkle this evenly over the entire pie – don’t leave any filling exposed!
Step 5: The Two-Temperature Bake
Here’s the key to perfection: bake at 450°F for 15 minutes first. This high heat gets everything started right. Then, reduce the heat to 350°F (175°C) and bake for another 40 minutes. You’ll know it’s done when the edges are puffed up and that topping is golden brown. The center might still jiggle a bit – that’s totally normal!
Step 6: The Hardest Part – Waiting!
Take the pie out and let it cool completely on a wire rack. I know, I know – it smells amazing and you want to dive right in. But patience is key here! Letting it cool completely is what allows the filling to set up properly so you get clean slices instead of a runny mess.
Tips for Perfect Old Fashioned Rhubarb Pie
After making this pie more times than I can count, I’ve learned a few tricks that make all the difference:
- Don’t skip the high-temperature start – that initial blast helps set the crust and prevents a soggy bottom
- Really let that filling cool completely – I usually wait at least 4 hours, sometimes overnight. The filling continues to set as it cools
- Watch for visual cues – the pie is done when the topping is golden and the edges are visibly puffed up away from the pan
- Use a glass pie plate if you can – being able to see the bottom crust turn golden brown takes the guesswork out
- If the topping browns too quickly, just loosely tent it with aluminum foil for the remaining baking time
Follow these tips, and you’ll have the most perfect old fashioned rhubarb pie that would make my grandma proud!
Print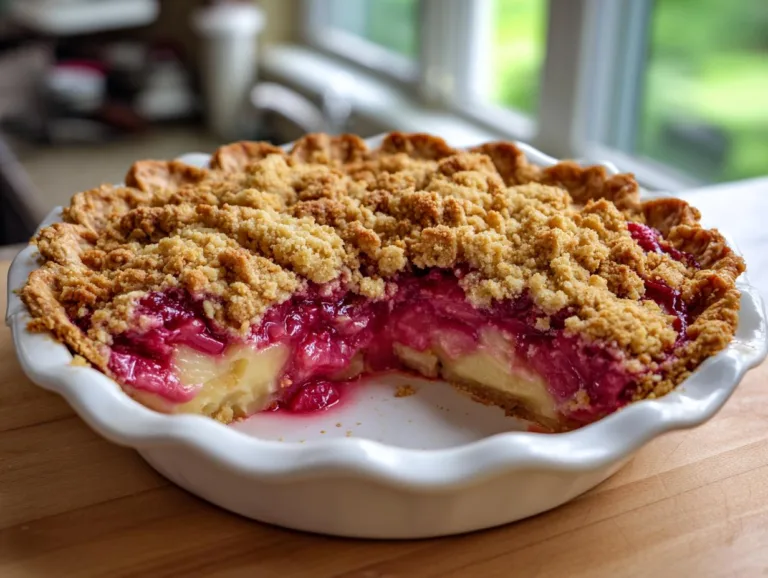
Irresistible Old Fashioned Rhubarb Pie Recipe in 6 Steps
A classic old-fashioned rhubarb pie with a creamy filling and crumbly topping.
- Total Time: 1 hour 10 minutes
- Yield: 1 (9-inch) pie 1x
Ingredients
- 1 (9-inch) unbaked pie crust
- 4 cups chopped fresh rhubarb
- 1 large egg
- 1 ½ cups white sugar
- 1 cup sour cream
- ⅓ cup all-purpose flour
- ½ cup all-purpose flour
- ½ cup brown sugar
- ¼ cup butter, melted
Instructions
- Preheat the oven to 450 degrees F (220 degrees C).
- Arrange pie crust in a 9-inch pie pan. Spread rhubarb in an even layer in the bottom of the crust.
- Whisk egg, white sugar, sour cream, and 1/3 cup of flour together in a medium bowl until smooth. Pour over rhubarb.
- Mix 1/2 cup of flour and brown sugar together in a small bowl; stir in melted butter until mixture is crumbly. Sprinkle over top of the pie.
- Bake for 15 minutes in the preheated oven, then reduce the heat to 350 degrees F (175 degrees C). Continue to bake until the edges have puffed, and the topping is golden, about 40 minutes. The center may still be slightly jiggly.
- Cool completely before slicing and serving.
Notes
- Prevent a runny pie by ensuring the filling sets completely before slicing.
- No need to peel rhubarb—just wash and chop it.
- The pie is done when the edges puff and the topping turns golden.
- Cooling helps the filling firm up for clean slices.
- Prep Time: 15 minutes
- Cook Time: 55 minutes
- Category: Dessert
- Method: Baking
- Cuisine: American
- Diet: Vegetarian
Nutrition
- Serving Size: 1 slice
- Calories: 320
- Sugar: 28g
- Sodium: 120mg
- Fat: 14g
- Saturated Fat: 7g
- Unsaturated Fat: 5g
- Trans Fat: 0g
- Carbohydrates: 45g
- Fiber: 2g
- Protein: 3g
- Cholesterol: 45mg
Serving Suggestions for Old Fashioned Rhubarb Pie
Now comes the best part – eating this glorious pie! While it’s absolutely delicious all on its own, I’ve got some favorite ways to serve it that take it over the top. My family always fights over who gets the last slice – especially when it’s served one of these ways!
A scoop of vanilla ice cream melting into the warm pie is pure heaven – the cold creaminess against the tart-sweet filling is magic. If you want to get fancy, try cinnamon or honey vanilla ice cream for extra flavor. Freshly whipped cream is another classic topping – I like to sweeten mine just slightly with powdered sugar and a splash of vanilla.
This pie shines at any gathering! It’s perfect for:
- Spring picnics – just pack it whole and slice on-site
- Mother’s Day brunch – pair with coffee or tea
- Summer barbecues – a refreshing contrast to grilled meats
- Holiday dinners – it’s especially lovely at Easter
For breakfast (yes, I absolutely eat pie for breakfast!), try it with Greek yogurt instead of ice cream – makes it almost healthy! And if you really want to impress, drizzle each slice with a little caramel sauce or sprinkle with chopped toasted pecans for extra crunch.
Honestly though? Sometimes I just sneak forkfuls straight from the pan when no one’s looking – no toppings needed!
Storing and Reheating Old Fashioned Rhubarb Pie
Okay, let’s talk about what to do with any leftovers – though in my house, we’re usually fighting over the last slice! This pie keeps beautifully if you store it right. First things first – always let it cool completely before you even think about covering it. If you put a lid on it while it’s still warm, you’ll trap steam and end up with a soggy topping, and nobody wants that!
Once it’s cool, I just cover the whole pie plate with plastic wrap or foil and pop it in the refrigerator. It’ll keep perfectly for up to 3 days this way. The filling actually sets up even more as it chills, making the slices even cleaner the next day. If you want to keep individual slices, wrap them tightly in plastic wrap – they make the best grab-and-go treats!
Now, for reheating – here’s my golden rule: skip the microwave! I know it’s tempting because it’s quick, but it’ll make the crust soft and the topping lose its wonderful crunch. Instead, pop individual slices on a baking sheet and warm them in a 350°F oven for about 10 minutes. This brings back that fresh-from-the-oven warmth and crispness. If the topping starts getting too dark, just cover it loosely with foil.
You can also enjoy it cold straight from the fridge – it’s delicious both ways! The tartness comes through a bit more when it’s cold, which I actually love. Just don’t try to freeze this pie – the sour cream filling doesn’t freeze well and can separate when thawed. Trust me, I learned that lesson the hard way!
Old Fashioned Rhubarb Pie FAQs
I get so many questions about this pie every time I share it! Here are the ones that pop up most often – along with my tried-and-true answers from years of making this recipe.
How do I prevent a runny rhubarb pie?
The secret is patience, honestly! Letting the pie cool completely is the single most important step. That sour cream filling needs time to set up as it cools – usually about 4 hours at room temperature or overnight in the fridge. Also, make sure you’re using the right amount of flour in the filling (that ⅓ cup is crucial!) and if using frozen rhubarb, thaw and drain it really well first.
Do I need to peel rhubarb?
Nope! That’s the beauty of fresh rhubarb – just give it a good wash and chop it up. The skin is tender and adds lovely color to your pie. The only time I’d consider peeling is if you have really thick, tough stalks from an older plant, but for most garden rhubarb, peeling is just extra work.
How do I know when the pie is done baking?
Look for three things: the edges should be puffed up and pulling away from the pan slightly, the crumb topping should be golden brown (not pale), and the center will still have a slight jiggle when you gently shake the pan. That jiggle is totally normal! It sets up as it cools. If the topping is browning too fast, just tent it with foil.
Why must I cool the pie completely before slicing?
I know it’s torture waiting when your kitchen smells amazing, but this is non-negotiable! That cooling time is when the magic happens – the filling firms up into that perfect creamy texture that holds its shape when sliced. If you cut into it warm, you’ll have a delicious but soupy mess. Trust me, it’s worth the wait!
Can I make this pie ahead of time?
Absolutely! In fact, I think it’s even better the next day. Just bake it completely, let it cool to room temperature, then cover and refrigerate. The flavors meld together beautifully overnight. Serve it cold or reheat slices in the oven to bring back that fresh-baked warmth.
Nutritional Information
Now, let’s be real – we’re not eating pie for its health benefits! But I know some folks like to keep track, so here’s the nutritional breakdown per slice (based on cutting the pie into 8 servings). Remember, these are estimates – your exact numbers might vary slightly depending on your specific ingredients.
Each delicious slice contains about:
- 320 calories – perfect for treating yourself!
- 28g sugar – but remember, that’s balancing rhubarb’s natural tartness
- 14g fat – mostly from that glorious butter and sour cream
- 45g carbohydrates – hey, it’s pie after all!
- 2g fiber – thank you, rhubarb!
- 3g protein – from the egg and dairy
A few quick notes: these values assume you’re using full-fat sour cream and real butter – because why wouldn’t you? If you use lower-fat alternatives, the numbers will change slightly. And of course, if you add ice cream or whipped cream (which I highly recommend!), you’ll need to account for those extras.
At the end of the day, this is a special occasion dessert meant to be enjoyed. My philosophy? Savor every bite and worry about the numbers tomorrow!
Share Your Experience
Nothing makes me happier than hearing about your rhubarb pie adventures! Did yours turn out perfectly golden? Did your family go crazy for it? I want to know everything – the triumphs, the mishaps, and especially those “oh wow” first bite reactions.
Drop a comment below to tell me how it went – I read every single one! If you snapped a photo of your beautiful creation (we all know that crumb topping deserves its close-up), share it with me on Instagram and tag me @rhubarblover. Your pie might just inspire someone else to bake their first rhubarb masterpiece!
And hey – if you tweaked the recipe and discovered an amazing variation, spill the beans! Did you add cinnamon? Try it with vanilla bean? Maybe you found the perfect ice cream pairing? We’re all friends here, and great recipes only get better when we share our kitchen wisdom. You can also check out more of my family’s favorite recipes over on Facebook!
Most importantly – enjoy every bite of that homemade goodness. There’s something magical about carrying on these old fashioned recipes, and I’m so honored you chose mine to bake. Now go forth and share the rhubarb love!