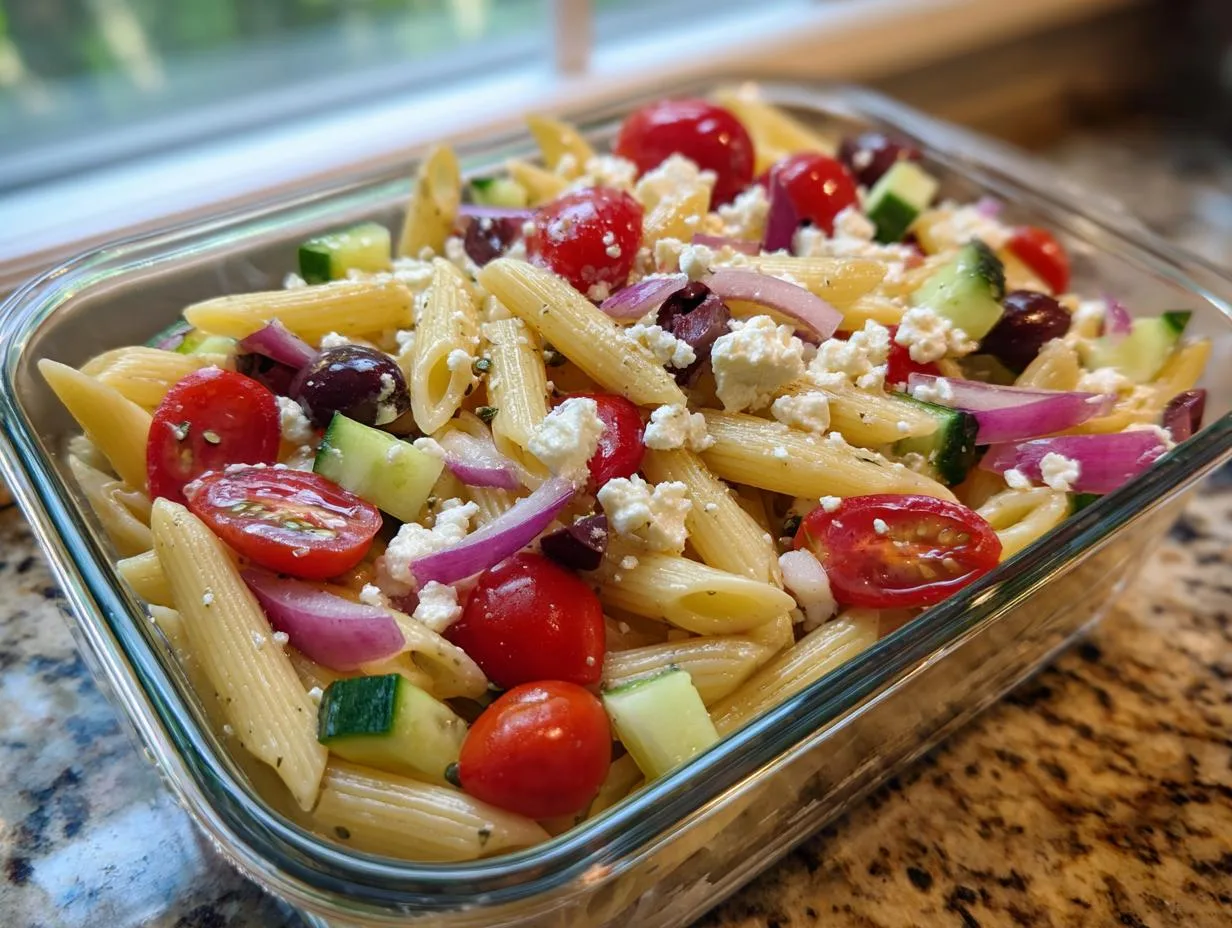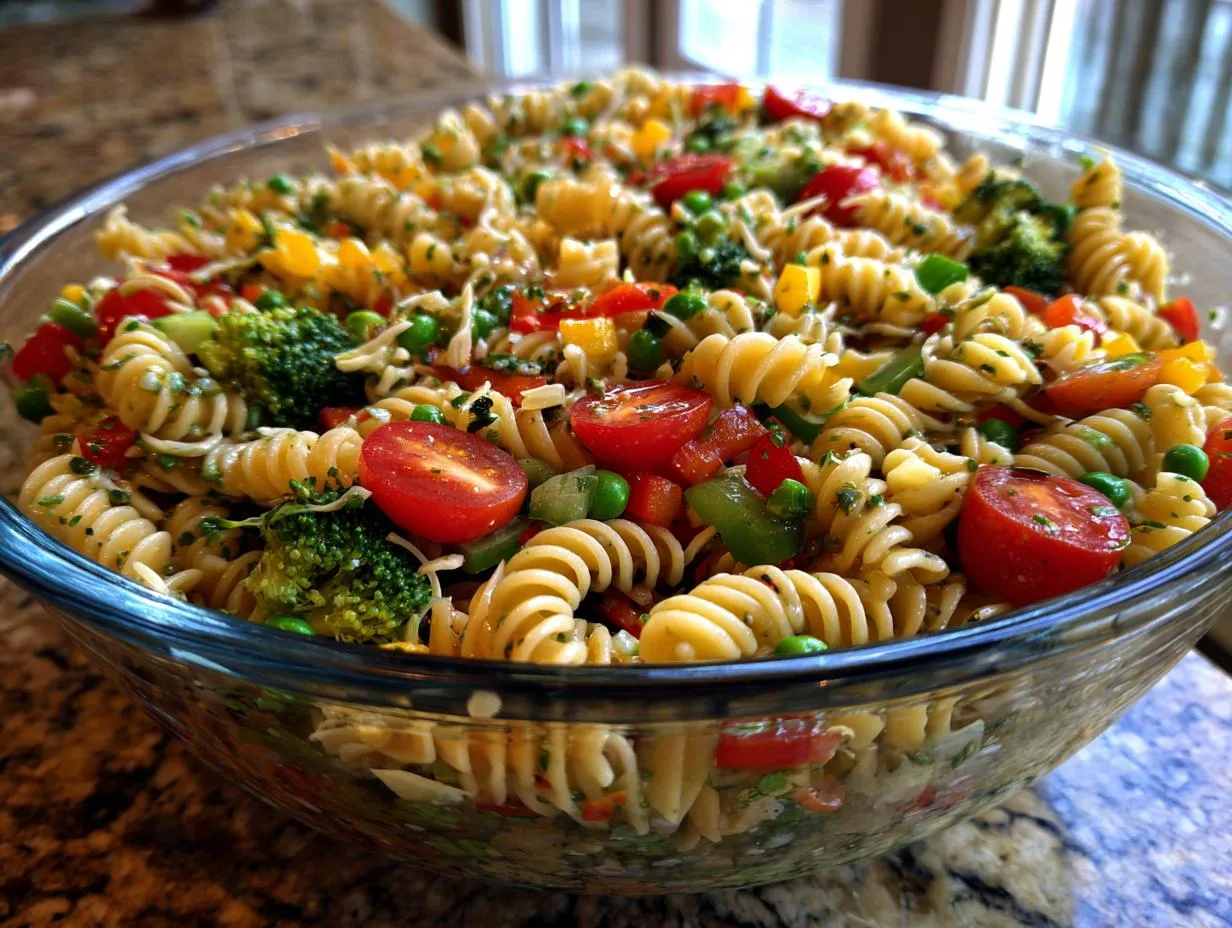
You know that feeling? The sun’s out, you’re spreading a blanket on the grass, and you just know the food is going to make the day. For me, that moment is always tied to my ultimate picnic pasta salad side dish. It’s the one I’m always asked to bring, and honestly, I love making it. After years of testing recipes for every potluck and backyard bash, I’ve landed on this version: a bright, herby, make-ahead wonder absolutely loaded with crunchy, colorful vegetables. It’s the salad that disappears first from the table every single time. Best part? It couldn’t be easier to throw together, and it travels like a dream—no last-minute fuss, just pure, portable joy.
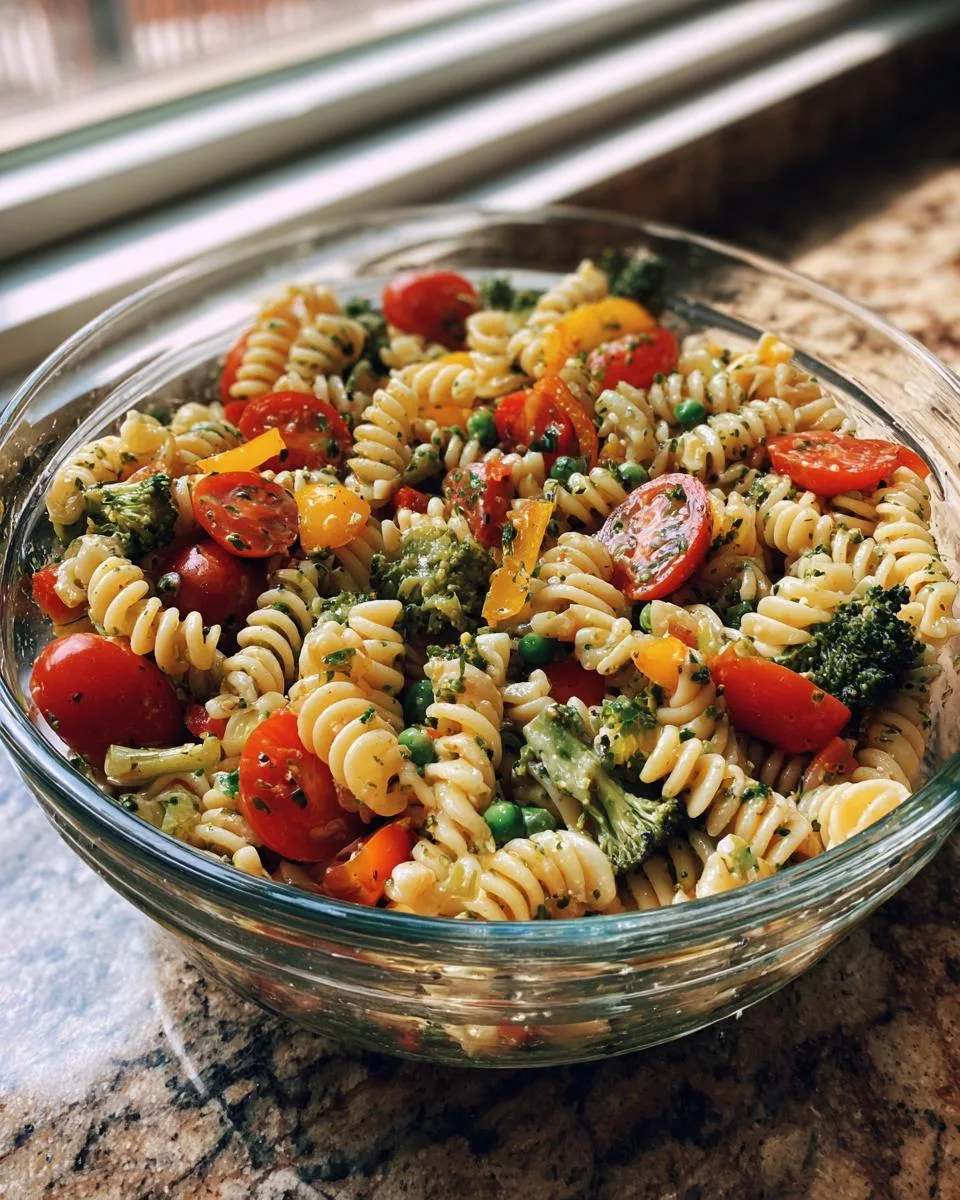
Table of Contents
Table of Contents
Why This Picnic Pasta Salad Side Dish Is a Must-Make
Trust me, this isn’t your average, gloppy pasta salad. This recipe has earned its permanent spot in my summer rotation for a few very good reasons:
- It’s a make-ahead dream. You want to make it hours ahead, so there’s zero stress on the day of your picnic or party.
- The flavor is unbelievably fresh and vibrant. That herby vinaigrette with all the fresh dill, tarragon, and parsley is a total game-changer.
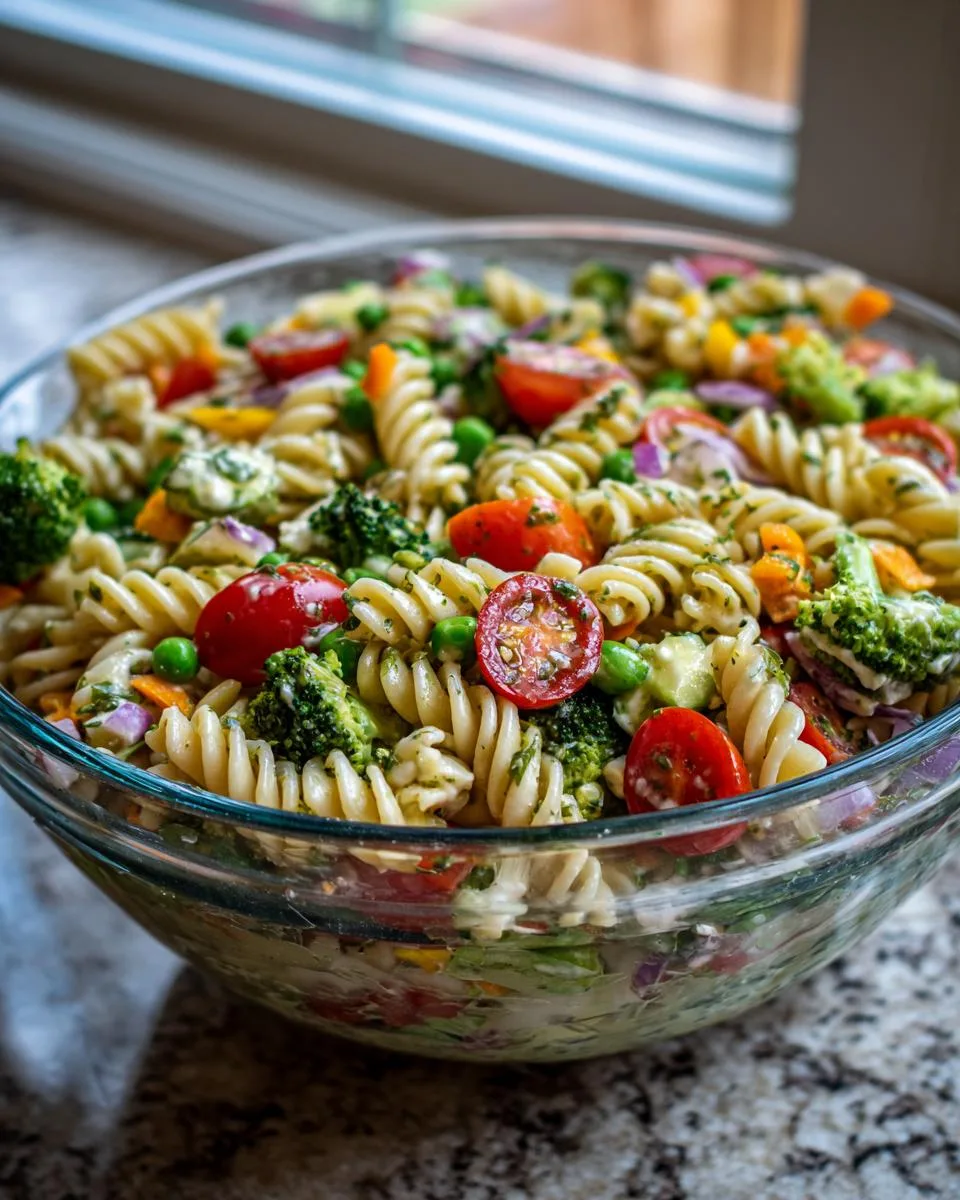
- It’s packed with colorful, crunchy veggies. Every bite has a different texture and a little burst of sweetness or crunch.
- It travels and performs perfectly. It holds up beautifully at room temperature and never gets soggy, making it the most reliable guest at any outdoor gathering.
Ingredients for Your Picnic Pasta Salad Side Dish
Gathering everything is the first fun part! Here’s your shopping list for this bright, herby masterpiece. I promise, it looks like a lot, but it all comes together so easily.
- 3 tablespoons Dijon mustard
- 1/4 cup cider vinegar
- 1/4 cup rice vinegar
- 1 teaspoon kosher salt
- 2 teaspoons white sugar
- 1 pinch cayenne pepper
- 1 cup olive oil
- 2 teaspoons chopped fresh tarragon
- 2 teaspoons chopped fresh dill
- 2 teaspoons chopped fresh Italian parsley
- 1 teaspoon chopped fresh chives
- 1 teaspoon chopped fresh thyme
- 1 pound rotini (corkscrew) pasta
- 1 cup sliced snow peas
- 1 cup thinly sliced carrots
- 1/2 cup shelled English peas
- 1 cup broccoli florets
- 1/2 cup diced bell peppers
- 1 cup sliced cherry tomatoes
- 1/4 cup finely diced red onion
- 2 tablespoons sliced green onions
- 1 teaspoon kosher salt, or to taste
A quick note before you start: chop all those beautiful herbs fresh. I know it’s an extra step, but it makes all the difference in the world for that garden-fresh flavor. Trust me on this one!
Ingredient Notes & Smart Substitutions
Okay, let’s talk ingredients! First, the pasta. I love rotini because all those little corkscrews grab onto the dressing and veggies perfectly. But really, any short pasta like fusilli, farfalle, or even small shells will work great.
Now, the herbs. Fresh is absolutely best here—they’re the soul of the dressing. But if you’re in a real pinch, you can use dried. Just use about one-third the amount (so about ½ to ¾ teaspoon dried for each teaspoon of fresh), and add them right into the dressing to let them soften up.
For the veggies, have fun! This is a fantastic clean-out-the-fridge recipe. No snow peas? Try thin asparagus or green beans. Not a fan of raw red onion? Soak the diced pieces in cold water for 10 minutes to mellow them out. The dressing itself is pretty flexible, too. If you don’t have rice vinegar, an equal amount of white wine vinegar works beautifully. The key is that tangy-sweet balance with the mustard.
Essential Equipment
Don’t worry, you don’t need anything fancy for this picnic pasta salad side dish. Just gather these basic kitchen tools, and you’re all set to go!
- A large pot for boiling your pasta and veggies
- A colander to drain everything
- One big mixing bowl for making the dressing and tossing the salad
- A trusty whisk for that perfect vinaigrette
- Measuring cups and spoons
- A sharp knife and a sturdy cutting board for all that fresh veggie prep
See? Nothing out of the ordinary. Now let’s get cooking!
How to Make the Perfect Picnic Pasta Salad Side Dish
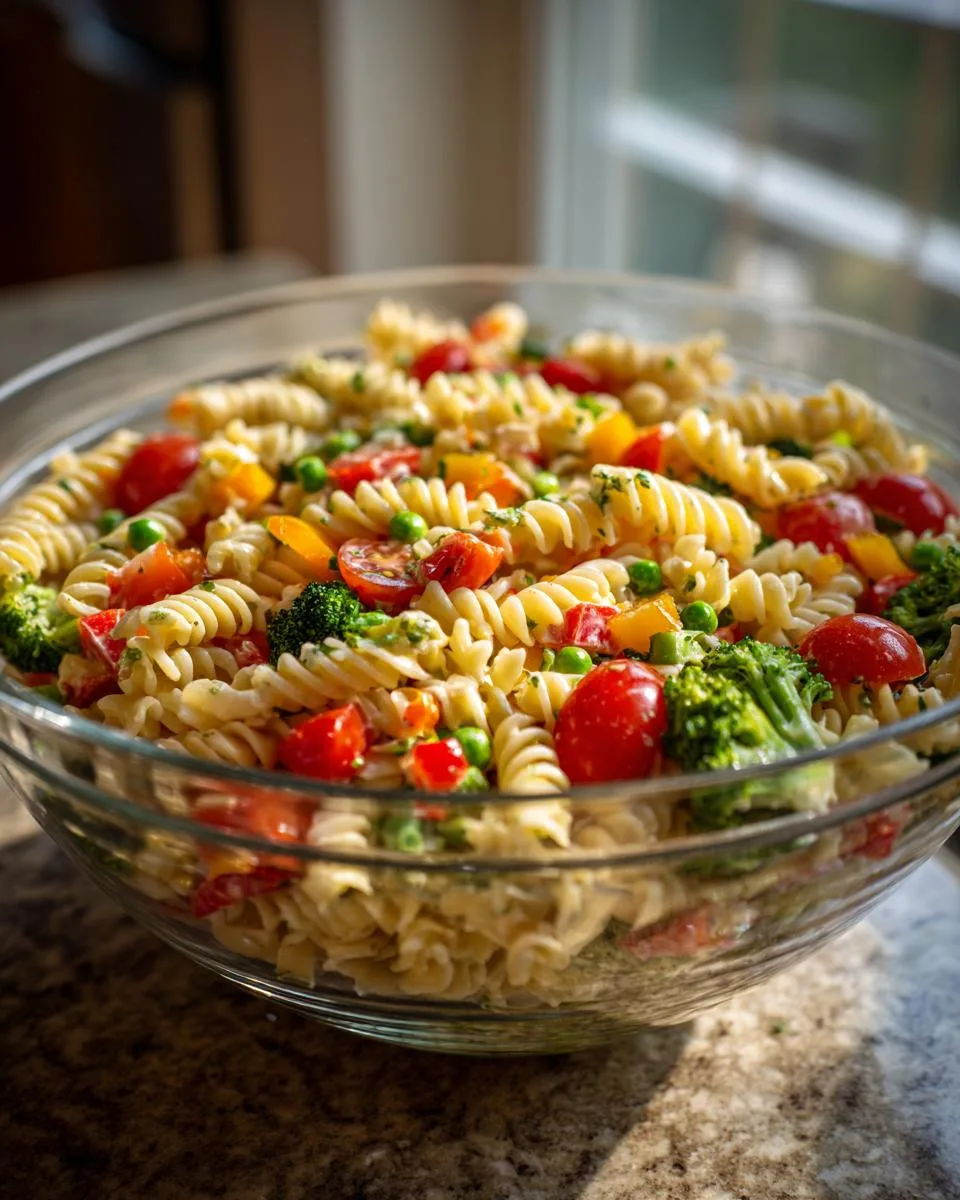
Alright, here’s where the magic happens! I know a recipe with a few steps can seem like a lot, but I promise this one flows like a dream. I’ve made this picnic pasta salad side dish so many times I could do it in my sleep, and I’ll walk you through every little trick. The key is taking it one simple stage at a time—dressing, pasta, rest, finish. Let’s dive in!
Step 1: Crafting the Herby Vinaigrette
We start with the dressing, because it’s the heart and soul of the whole dish. Grab that big mixing bowl and your whisk. First, you’ll whisk together the Dijon mustard, both vinegars, the salt, sugar, and that pinch of cayenne. Whisk it for a good 30 seconds—you want everything dissolved and friendly.
Now, here’s my secret for a dressing that doesn’t separate: add the olive oil slowly. I mean it! Start with just a teaspoon, whisking like crazy until it’s completely blended in. Then add another, and another. It feels a little fussy, but it builds this beautiful, creamy emulsion that clings to every noodle. Once all the oil is in, you can whisk in all those gorgeous chopped fresh herbs. Adding them last keeps their flavor super bright and fresh. Now, this is important: pour about half of this amazing dressing into a small bowl and set it aside. We’ll use it later!
Step 2: Cooking the Pasta and Vegetables
Time to get your big pot of water boiling. Don’t forget to salt it well—it should taste like the sea! This is your only chance to season the pasta itself. Cook your rotini according to the package, but here’s my favorite trick: about 2 minutes before the pasta is done, toss in the snow peas, carrots, English peas, and broccoli florets. You’re basically giving those harder veggies a quick blanch right in the same pot. They come out perfectly crisp-tender.
When everything’s ready, drain it all in your colander. And listen to me on this one: do not rinse it! I know it’s tempting, but you need that residual heat and the starchy coating on the pasta. That’s what helps the dressing soak in and stick. Just give it a good shake to get rid of the excess water.
Step 3: Combining and Resting Your Picnic Pasta Salad Side Dish
This next step is where the flavor really gets locked in. Immediately take that hot pasta and veggie mixture and dump it right into the big bowl with the half of the dressing you didn’t set aside. Toss it really, really well, making sure every corkscrew gets coated. The heat from the pasta will wake up all the flavors in the vinaigrette.
Now, walk away for 5 minutes. Seriously! Come back and give it another good toss. Then, over the next 15-20 minutes, just toss it occasionally as it cools down to almost room temperature. This resting period lets the pasta drink up that dressing and the flavors start to become best friends.
Step 4: Final Assembly and Chilling for Best Flavor
You’re in the home stretch! Once the pasta mixture isn’t hot anymore, stir in all your remaining fresh, crunchy veggies—the bell peppers, cherry tomatoes, red onion, and green onions. Add the other teaspoon of salt and, most importantly, pour in that reserved dressing you saved. Toss it all together one more time.
You can absolutely eat this picnic pasta salad side dish right now, and it’ll be delicious. But if you want the “wow” factor, cover the bowl with plastic wrap and pop it in the fridge for 4 to 6 hours, or even overnight. This chill time is non-negotiable for the best flavor—it lets everything mellow and marry perfectly. Right before you pack it up or serve it, give it a final toss and taste it. You might want another pinch of salt. And that’s it! You’ve just made the star of the picnic.
Print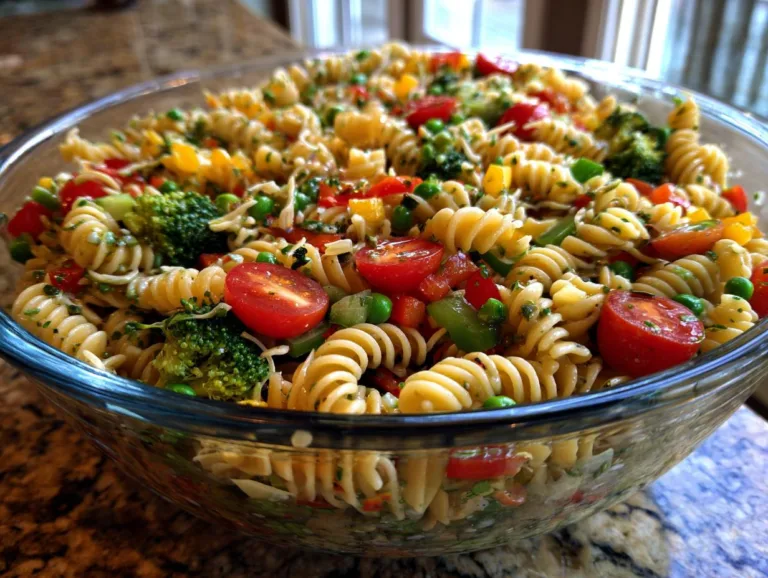
Perfect Picnic Pasta Salad: A 6-Hour Marvel Side Dish
A bright and herby pasta salad loaded with fresh vegetables, perfect for picnics and gatherings.
- Total Time: 5 hours 10 minutes
- Yield: 8 servings 1x
Ingredients
- 3 tablespoons Dijon mustard
- 1/4 cup cider vinegar
- 1/4 cup rice vinegar
- 1 teaspoon kosher salt
- 2 teaspoons white sugar
- 1 pinch cayenne pepper
- 1 cup olive oil
- 2 teaspoons chopped fresh tarragon
- 2 teaspoons chopped fresh dill
- 2 teaspoons chopped fresh Italian parsley
- 1 teaspoon chopped fresh chives
- 1 teaspoon chopped fresh thyme
- 1 pound rotini (corkscrew) pasta
- 1 cup sliced snow peas
- 1 cup thinly sliced carrots
- 1/2 cup shelled English peas
- 1 cup broccoli florets
- 1/2 cup diced bell peppers
- 1 cup sliced cherry tomatoes
- 1/4 cup finely diced red onion
- 2 tablespoons sliced green onions
- 1 teaspoon kosher salt, or to taste
Instructions
- Whisk Dijon mustard, cider vinegar, rice vinegar, salt, sugar, and cayenne together in a large bowl for about 30 seconds.
- Whisk in olive oil in 1-teaspoon increments until the dressing is emulsified.
- Whisk in tarragon, dill, parsley, chives, and thyme.
- Remove and reserve 1/2 of the dressing in a separate small bowl.
- Bring a large pot of lightly salted water to a boil.
- Cook pasta at a boil until tender yet firm to the bite, about 8 minutes.
- Add snow peas, carrots, peas, and broccoli about 2 minutes before the pasta is done.
- Drain the pasta and veggies well. Do not rinse them.
- Transfer the hot pasta mixture to the vinaigrette in the large mixing bowl and toss well to combine.
- Let the mixture rest for 5 minutes and toss again.
- Toss occasionally until the mixture is almost room temperature, 15 to 20 minutes.
- Add bell peppers, cherry tomatoes, red onion, green onions, salt, and the reserved dressing. Toss well.
- You can serve this right away, but for best results, cover with plastic wrap and chill in the refrigerator for 4 to 6 hours.
- Toss and adjust seasoning before serving.
Notes
- This salad tastes better after chilling for several hours.
- Keep it cold in an insulated cooler for picnics.
- Grilled chicken or shrimp make a good side for this salad.
- Pasta salad is an excellent picnic food because it travels well.
- Prep Time: 30 minutes
- Cook Time: 10 minutes
- Category: Side Dish
- Method: No-Cook, Boiling
- Cuisine: American
- Diet: Vegetarian
Nutrition
- Serving Size: 1 cup
- Calories: 320
- Sugar: 4g
- Sodium: 380mg
- Fat: 18g
- Saturated Fat: 2.5g
- Unsaturated Fat: 14g
- Trans Fat: 0g
- Carbohydrates: 35g
- Fiber: 3g
- Protein: 6g
- Cholesterol: 0mg
Pro Tips for Your Picnic Pasta Salad Side Dish
After making this salad more times than I can count, I’ve picked up a few little tricks that take it from great to absolutely unforgettable. Here are my top tips to make sure your picnic pasta salad side dish is a total hit.
- Double it for a crowd. This recipe scales up beautifully. Just use your biggest bowl (or two!) and you’ll have the perfect dish for a potluck or big family reunion.
- Pack it cold for your picnic. An insulated cooler with a couple of ice packs is your best friend. I like to nestle the salad container right in the middle to keep it perfectly chilled until you’re ready to eat.
- Let it breathe before serving. If it’s been in the fridge, take the lid off and let it sit on the counter for about 15 minutes before you dig in. It just softens the olive oil a bit and wakes up all the flavors.
- Make the spice level yours. That pinch of cayenne is a gentle warmth, but feel free to add more if you like a kick, or leave it out entirely for a kid-friendly version.
- Garnish for a gorgeous finish. Right before you serve, sprinkle a handful of extra chopped fresh herbs over the top. It looks so pretty and adds one last burst of fresh flavor.
Serving and Storing Your Picnic Pasta Salad Side Dish
Okay, you’ve made this gorgeous, herby masterpiece. Now, let’s talk about the best ways to enjoy it and keep any leftovers (if you’re lucky enough to have any!).
Serving Suggestions for Your Picnic Pasta Salad
This picnic pasta salad side dish is the ultimate team player. It goes with practically everything! My absolute favorite way is to pack it up next to some simply grilled chicken breasts, juicy burgers, or veggie skewers. It’s that perfect, refreshing counterpoint to anything smoky from the grill. Of course, it shines as the star of any picnic spread or potluck table—it’s so portable and always a crowd-pleaser. And honestly, on a really hot day, I’ll just scoop a big portion into a bowl, add a handful of chickpeas or some crumbled feta, and call it a delicious, light lunch all on its own.
Storage and Reheating Instructions
This salad gets better as it sits, so leftovers are a gift! Just pop any extra into an airtight container and keep it in the fridge. It’ll stay fresh and tasty for up to 3 days. A quick note: this is meant to be served cold, so there’s no need to reheat it at all. Sometimes, the pasta can soak up a bit more of the dressing overnight. If it looks a little dry when you go for the leftovers, just give it a good toss and maybe add a tiny splash of vinegar or a drizzle of olive oil to wake it right back up.
Picnic Pasta Salad Side Dish Nutrition Information
Just a quick note about the nutrition for this picnic pasta salad side dish! The numbers you see are always just an estimate. They can change quite a bit depending on the exact brands of olive oil, pasta, or vegetables you use. I always say, focus on all the fresh, colorful veggies and herbs—that’s where the real goodness is!
Your Picnic Pasta Salad Side Dish Questions Answered
I get asked about this recipe all the time, so I figured I’d answer the most common questions right here! Trust me, I’ve been there with all the same thoughts.
What’s a good main dish to serve with this pasta salad?
Oh, it goes with everything! It’s the perfect picnic side dish next to grilled classics. I love it with juicy burgers, lemon-herb chicken thighs, or even simple veggie burgers. The bright, herby flavor cuts through anything rich and smoky.
How do you keep pasta salad cold at a picnic?
This is key! I use an insulated cooler with a couple of frozen gel packs. I nestle the sealed container right in the middle of the cooler—never on top. If it’s a long day, I’ll even keep a separate cooler just for drinks so the salad one isn’t opened constantly.
Can I make this the night before?
You absolutely should! Making this picnic pasta salad the night before is my #1 tip. Those 4-6 hours (or overnight) in the fridge let the flavors get to know each other and become something truly magical.
What other vegetables can I use?
Have fun with it! This is a great clean-out-the-fridge recipe. Thin asparagus or green beans work instead of snow peas. Zucchini, cucumbers, or radishes add great crunch. Use what’s fresh and in season.
Is pasta good for picnics?
It’s the best! A pasta salad like this one travels incredibly well, doesn’t get soggy, and tastes fantastic at room temperature. It’s the ultimate no-fuss, feed-a-crowd summer salad for any outdoor adventure.
Make This Picnic Pasta Salad Side Dish Today
So, what are you waiting for? Grab that big bowl and get chopping! I promise, this bright, herby picnic pasta salad side dish will become your new secret weapon for every summer gathering. It’s the one recipe I truly count on to make people smile. I’d love to hear how it turns out for you! When you make it, come back and tell me all about it—leave a comment with your favorite vegetable swap or let me know if it was the hit of your picnic. Now go make some delicious memories!
For more delicious recipes and cooking inspiration, check out our recipes section. You can also find more great ideas from sources like Grandma and Me Cooking.