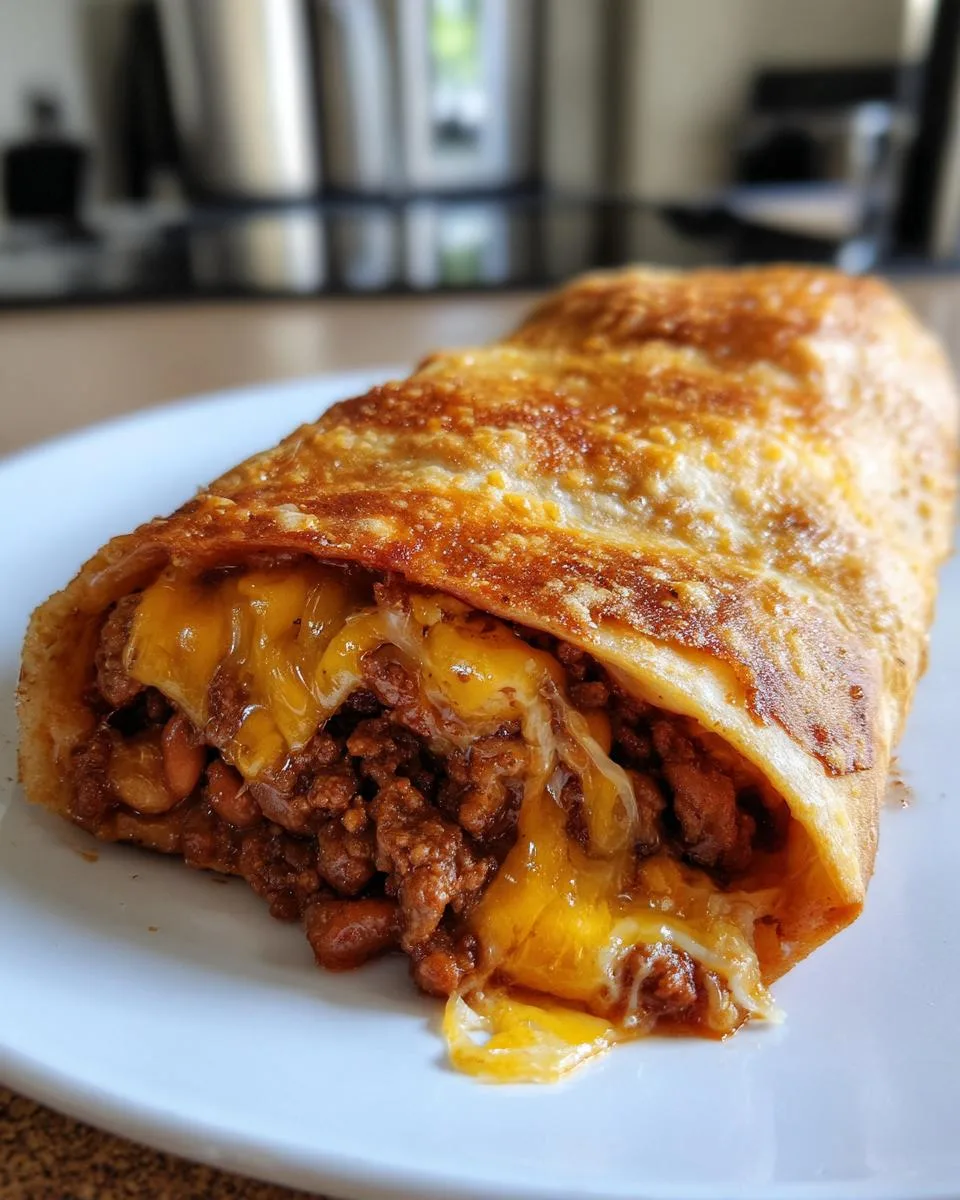
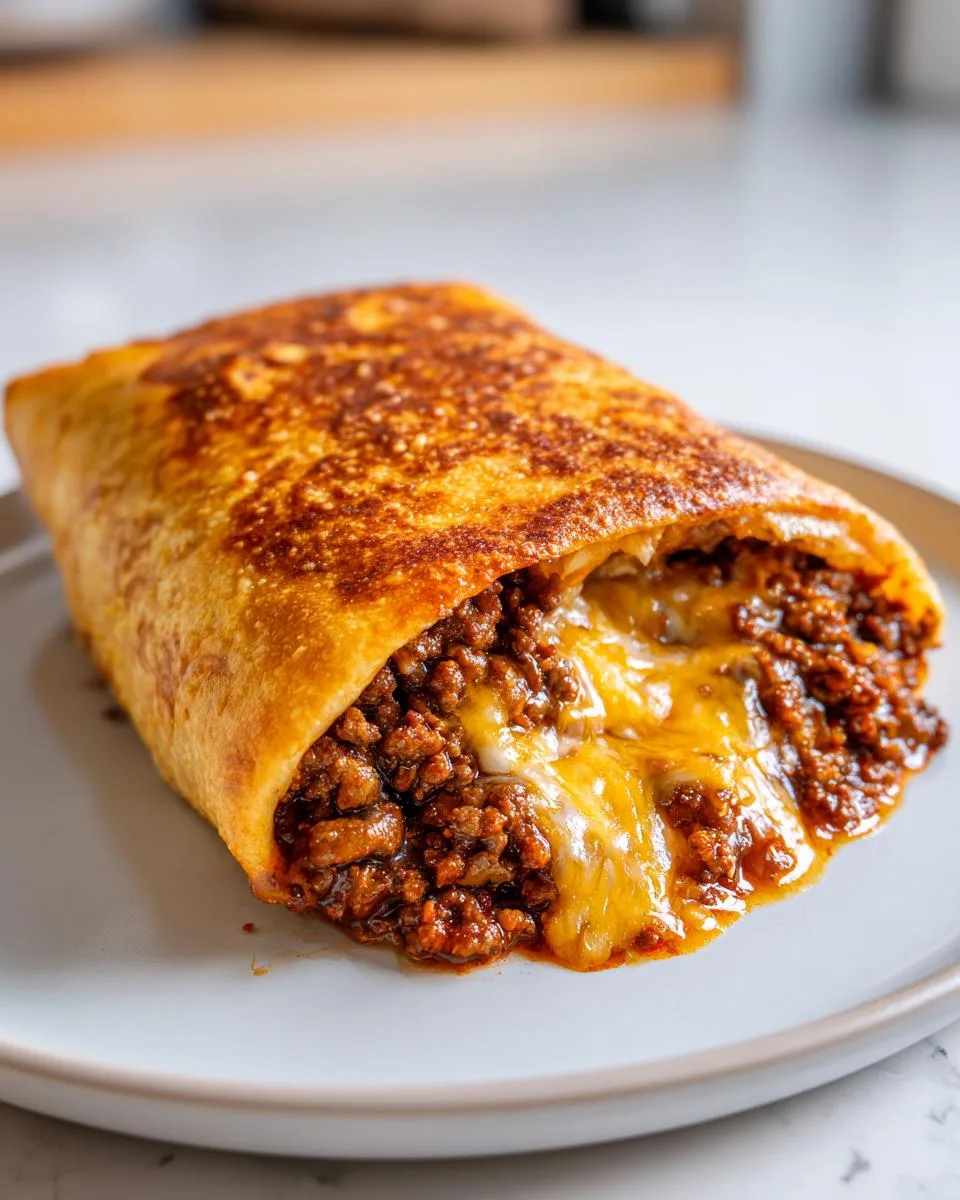
Oh my gosh, you have to try these Beef Cheese Chimichangas! They’re my go-to recipe when I want something crispy, cheesy, and packed with flavor without spending hours in the kitchen. I first made them for a game night years ago, and now my friends beg me to bring them to every gathering. There’s just something magical about that golden-brown tortilla crunch giving way to melty cheese and savory beef filling. Plus, they’re way easier than they look – trust me, if I can make these after a long workday, anyone can! Whether you bake or fry them, these chimichangas always disappear faster than I can make them.
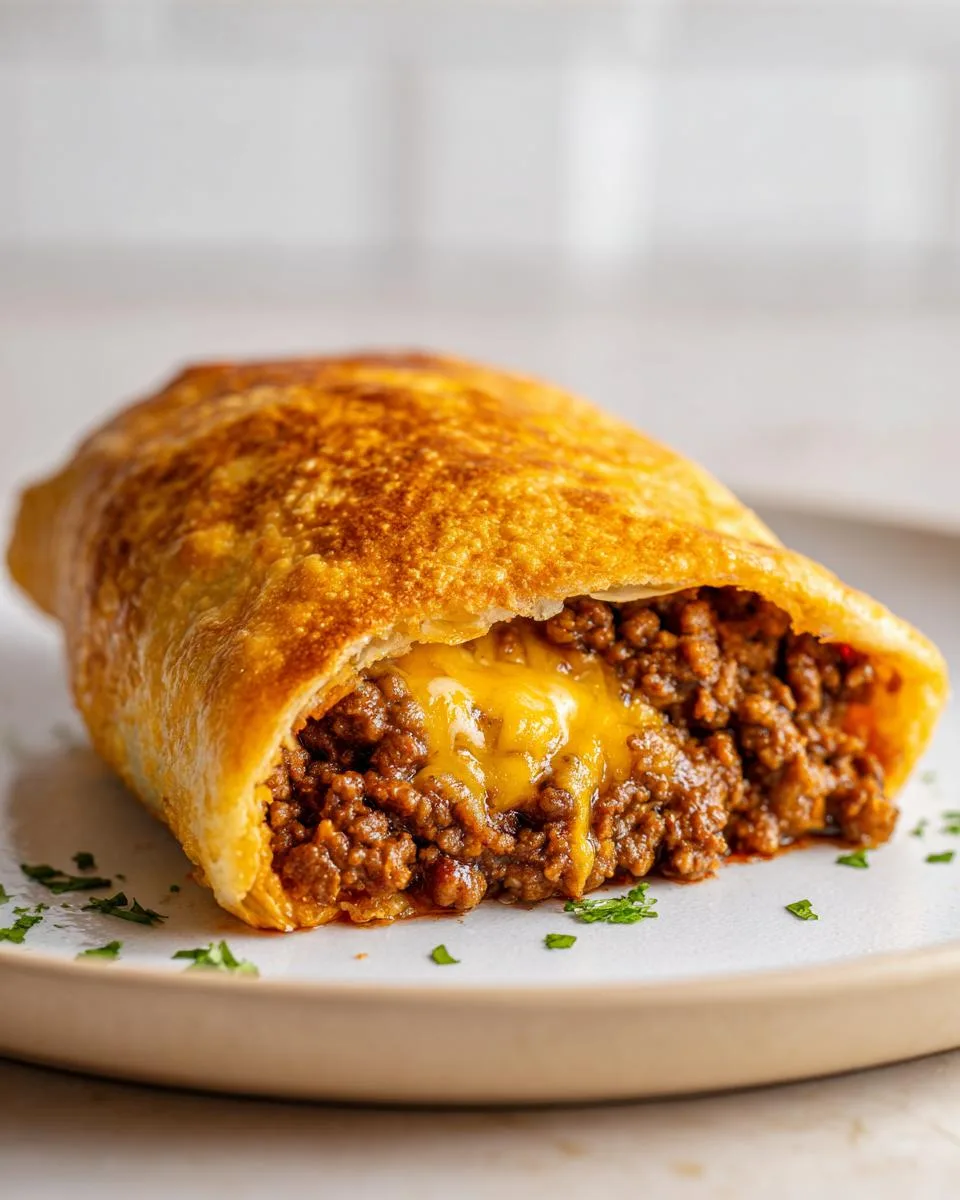
Table of Contents
Table of Contents
Why You’ll Love These Beef Cheese Chimichangas
Listen, these aren’t just any chimichangas – they’re little pockets of joy that hit all the right notes. Here’s why they’ll become your new favorite:
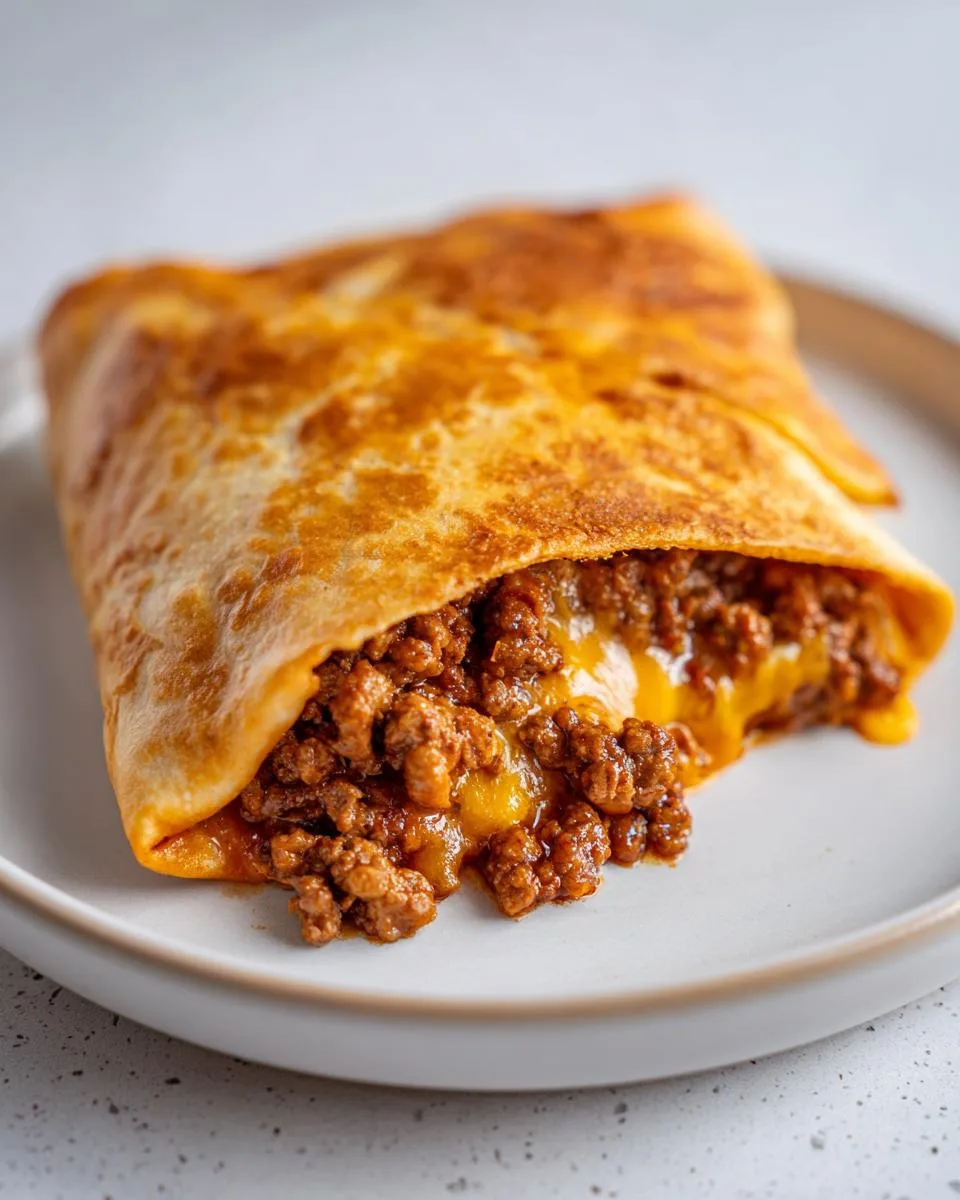
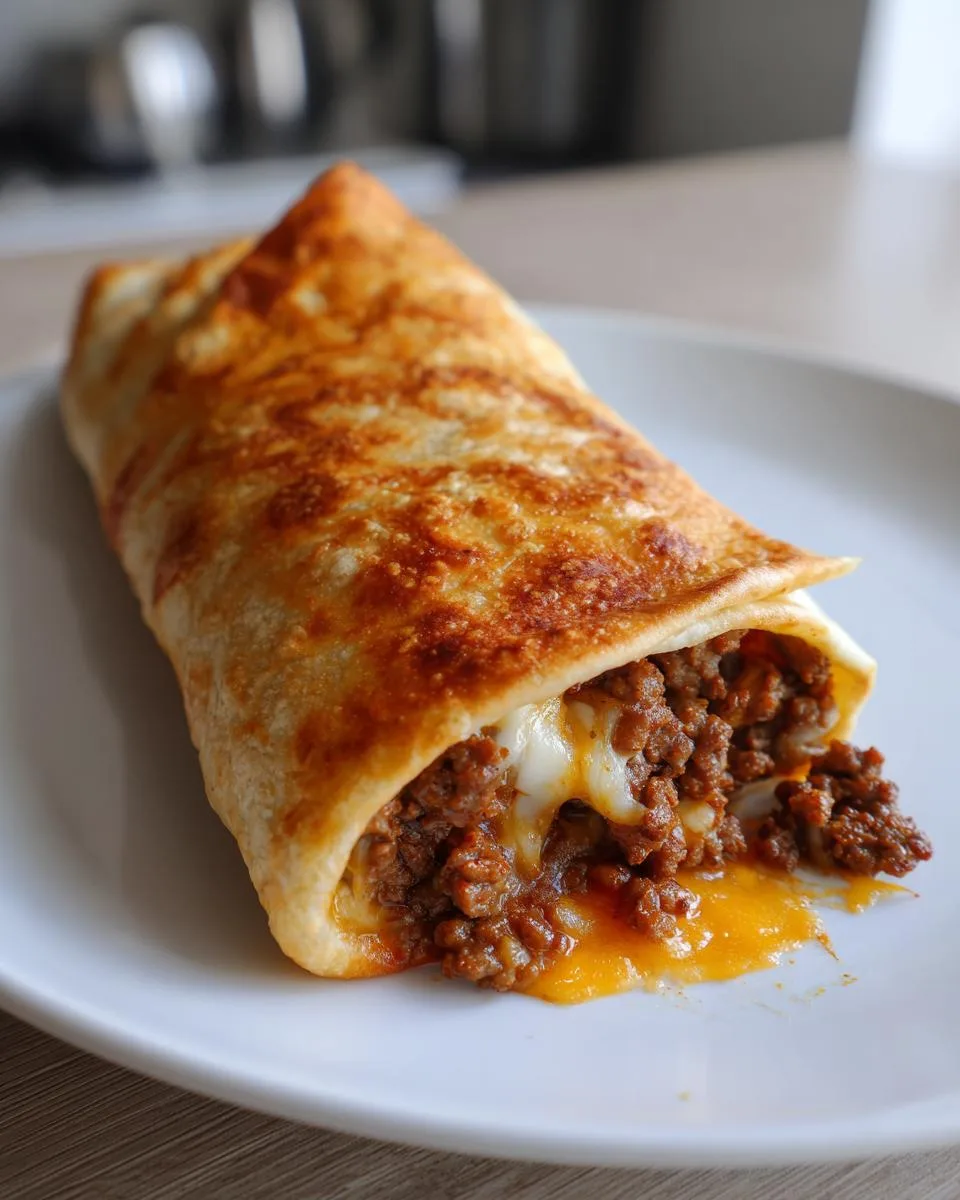
- That perfect crunch: Golden-brown tortillas stay crispy outside while staying tender where they hug the filling
- Cheese pull magic: Every bite oozes with melty cheddar or Mexican blend (I won’t judge if you add extra)
- Weeknight easy: From fridge to table in 35 minutes – faster than ordering takeout
- Make them yours: Swap in different cheeses, add jalapeños, or go wild with toppings
Seriously, these disappear faster than cookies at a bake sale. You’ve been warned!
Ingredients for Beef Cheese Chimichangas
Here’s everything you’ll need to make these crispy delights – and trust me, every ingredient plays a special role in creating that perfect chimichanga magic:
- 1 lb ground beef (80/20 works best for flavor, but leaner is fine)
- 1 small onion, finely diced (about ½ cup – white or yellow both work)
- 2 cloves garlic, minced (or 1 teaspoon pre-minced if you’re in a rush)
- 1 packet (1 oz) taco seasoning (or use 2 tablespoons homemade mix)
- ½ cup salsa (your favorite kind – I use medium for a little kick)
- 1 cup refried beans (packed – canned works great, but homemade is divine)
- 1 ½ cups shredded cheese (cheddar, Mexican blend, or pepper jack for spicy fans)
- 6 large flour tortillas (burrito-size, about 10-inch – must be fresh so they don’t crack)
- 2 tablespoons vegetable oil (for brushing or frying – olive oil works too)
Quick swaps: Ground turkey instead of beef works beautifully, and you can skip the beans if you’re not a fan (but they add such great texture!). Just promise me you’ll use freshly grated cheese – the pre-shredded stuff never melts quite right.
How to Make Beef Cheese Chimichangas
Okay, let’s get rolling – literally! These chimichangas come together in three simple steps. Don’t let the fancy name fool you – this is just a crispy, cheesy beef burrito with attitude. Follow these steps, and you’ll have restaurant-quality chimichangas without leaving your kitchen.
Step 1: Cook the Beef Filling
First things first – let’s make that amazing beef filling that’ll have everyone begging for seconds. Grab your favorite skillet (I use my trusty cast iron) and crank it to medium heat. Toss in the ground beef and diced onion – you’ll know it’s ready when the meat loses its pink color and the onions turn translucent (about 5-6 minutes).
Now here’s a crucial step: drain that excess grease! I tilt the skillet and use a spoon to scoop it out into an old can. Then stir in the garlic, taco seasoning, and salsa. Let everything simmer together for about 3-4 minutes until the kitchen smells incredible. Your filling should be moist but not watery – if it looks too wet, let it cook another minute.
Step 2: Assemble the Chimichangas
Time for the fun part! Lay out your tortillas and spread about 2 tablespoons of refried beans down the center of each one – I use the back of a spoon to make an even layer. Next, pile on that glorious beef mixture (don’t be shy!), then top with a generous handful of cheese. Pro tip: leave about 2 inches at the top and bottom of the tortilla.
Now for the folding: pull the sides in first, then roll tightly from the bottom up. Think burrito technique here – you want them snug but not bursting. If your tortillas are too stiff, pop them in the microwave for 10 seconds wrapped in a damp paper towel.
Step 3: Bake or Fry to Crispy Perfection
Here’s where the magic happens – turning those wrapped bundles into crispy golden pockets of joy. For the oven method (my weekday go-to): preheat to 400°F, place chimichangas seam-side down on a baking sheet, brush lightly with oil, and bake for 18-20 minutes (flip halfway). Want extra crispiness? Broil for the last minute!
For the skillet method (weekend treat alert): heat 2-3 tablespoons of oil in a pan over medium heat. Carefully place chimichangas seam-side down and cook for 2-3 minutes per side until beautifully golden. Either way, let them rest for 2 minutes before serving – this helps the cheese set so it doesn’t all ooze out on the first bite!
Print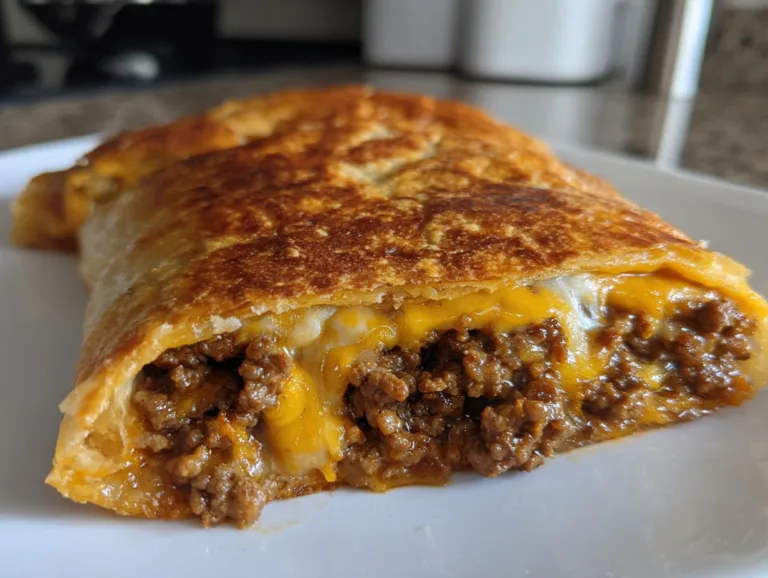
“Crispy Beef Cheese Chimichangas in Just 35 Minutes”
A crispy, cheesy beef chimichanga filled with seasoned ground beef, refried beans, and melted cheese, then baked or fried to golden perfection.
- Total Time: 35 mins
- Yield: 6 chimichangas 1x
Ingredients
- 1 lb ground beef
- 1 small onion, finely diced
- 2 cloves garlic, minced
- 1 packet (1 oz) taco seasoning (or homemade)
- ½ cup salsa
- 1 cup refried beans
- 1 ½ cups shredded cheddar cheese or Mexican blend
- 6 large flour tortillas (burrito-size)
- 2 tablespoons vegetable oil for brushing/frying
Instructions
- Cook the beef filling: In a large skillet over medium heat, cook ground beef and diced onion until the meat is browned and the onion is tender.
- Drain excess grease. Stir in garlic, taco seasoning, and salsa. Simmer for 3–4 minutes until well combined.
- Assemble the chimichangas: Spread a spoonful of refried beans down the center of each tortilla.
- Top with a generous scoop of the beef mixture and a handful of shredded cheese.
- Fold in the sides and roll up tightly like a burrito.
- Cook the chimichangas: Oven method (healthier): Preheat oven to 400°F (200°C). Place chimichangas seam-side down on a baking sheet. Brush lightly with vegetable oil and bake for 18–20 minutes, flipping once, until golden and crispy.
- Skillet method (crispier): Heat 2–3 tablespoons of oil in a skillet over medium heat. Place chimichangas seam-side down and cook 2–3 minutes per side until golden and crisp.
- Serve: Remove from heat and let rest for 2 minutes before serving. Add toppings such as sour cream, guacamole, lettuce, or salsa if desired.
Notes
- Use freshly grated cheese for better melting.
- You can substitute ground turkey for beef.
- Serve immediately for best crispiness.
- Store leftovers in an airtight container in the fridge for up to 3 days.
- Prep Time: 15 mins
- Cook Time: 20 mins
- Category: Main Course
- Method: Baking/Frying
- Cuisine: Mexican-American
- Diet: Low Lactose
Nutrition
- Serving Size: 1 chimichanga
- Calories: 450
- Sugar: 3g
- Sodium: 850mg
- Fat: 25g
- Saturated Fat: 10g
- Unsaturated Fat: 12g
- Trans Fat: 0.5g
- Carbohydrates: 32g
- Fiber: 4g
- Protein: 24g
- Cholesterol: 75mg
Expert Tips for the Best Beef Cheese Chimichangas
After making hundreds of these babies (okay, maybe dozens – but still!), I’ve picked up some tricks that’ll take your chimichangas from good to “oh-my-gosh-what’s-your-secret?” amazing:
- Freshly grate your cheese – Those pre-shredded bags contain anti-caking agents that mess with the melt. A block of sharp cheddar grated right before using makes all the difference.
- Patience is cheesy – Let them rest 2 minutes after cooking. I know it’s hard to wait, but this helps the cheese set so it doesn’t all gush out on the first bite.
- Leftover magic – Store cooled chimichangas in an airtight container with parchment between layers. Reheat in the air fryer at 375°F for 5 minutes to bring back that crunch!
- Tortilla trick – If your wraps crack when rolling, microwave them between damp paper towels for 15 seconds to make them pliable.
Serving Suggestions for Beef Cheese Chimichangas
Now for my favorite part – decking out these crispy wonders! A chimichanga is like a blank canvas just begging for colorful toppings. Here’s how I love to serve them:
-
- The Classic Trio: A dollop of cool sour cream, chunky guacamole, and fresh pico de gallo piled high on top
Cheese Lover’s Dream: Extra shredded cheese melted over the top (because can you ever have too much?)
- Crunchy Finish: Shredded lettuce and diced tomatoes for texture contrast noche
For sides, I always make cilantro-lime rice (so easy!) or charro beans. And don’t forget the margaritas – these babies were made for fiesta nights! You can find more fun recipes like this over on my Facebook page.
Storing and Reheating Beef Cheese Chimichangas
Here’s the deal – these chimichangas taste best fresh, but if you somehow have leftovers (no judgment if you don’t!), here’s how to keep them delicious. Let them cool completely first – nobody wants a soggy chimichanga. Pop them in an airtight container separated by parchment paper, and they’ll keep in the fridge for up to 3 days.
When reheating, skip the microwave unless you like sad, limp tortillas. Instead, use your oven or air fryer at 375°F for 5-7 minutes. That blast of hot air brings back that gorgeous crispiness we all love. Trust me, it’s worth the extra minute!
Beef Cheese Chimichangas FAQs
I get asked about these crispy delights all the time! Here are the answers to the questions that pop up most often in my kitchen:
What’s the best cheese for beef chimichangas?
My holy grail combo is sharp cheddar for punchy flavor and Monterey Jack for that dreamy melt. Mexican blend works great too – just avoid pre-shredded cheese if you can. Freshly grated makes all the difference in texture!
Can I make these ahead?
Absolutely shift into meal prep mode! The beef filling keeps beautifully in the fridge for 3 days. Assemble chimichangas up to the baking step, wrap tightly in plastic, and refrigerate overnight. Just add a few extra minutes when baking from cold. If you are looking for more great dinner ideas, check out my full list of recipes.
Why are they called chimichangas?
The legend goes that a Sonoran chef accidentally dropped a burrito in hot oil and shouted a Spanish exclamation (ahem) that got cleaned up to “chimichanga.” Basically, they’re fried burritos with flair!
How do I keep them from getting soggy?
Two secrets: 1) Let your filling cool slightly before assembling 2) Don’t skip that oil brush before baking – it creates the perfect crisp barrier. And always serve immediately!
Nutritional Information
Just so you know – these numbers are estimates and will change based on your exact ingredients and toppings. But here’s the general breakdown per chimichanga:
- Calories: Around 450
- Protein: 24g (that beef packs a punch!)
- Carbs: 32g (mostly from those delicious tortillas)
- Fat: 25g (hey, cheese and beef aren’t diet foods – but so worth it)
Want to lighten it up? Try lean ground turkey and reduced-fat cheese. But honestly? Sometimes you just need that full-flavored, crispy, cheesy goodness!
Final Thoughts
Alright, now you’ve got all my secrets for perfect Beef Cheese Chimichangas! I can’t wait for you to try them – they’re seriously foolproof and always impress. When you do make them (and you totally should!), snap a picture and tag me. I love seeing your crispy, cheesy creations! Warning though – once you taste these, regular tacos might never satisfy again.