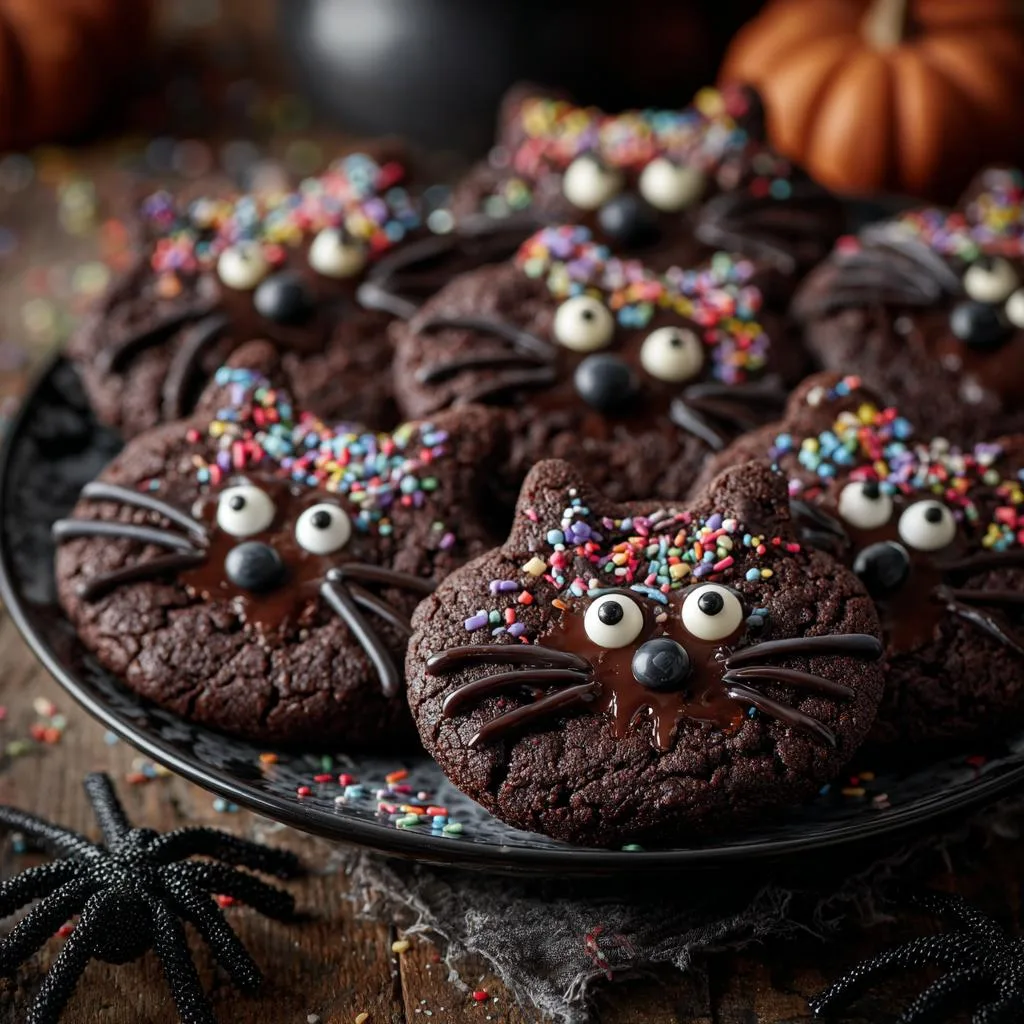
Listen, I don’t care if it’s Halloween or just a random Tuesday—these Chocolate Black Cat Cookies are always a hit in my kitchen! Picture this: rich, fudgy cookies shaped into adorable little cat faces, complete with chocolate chip eyes and tiny red candy noses. They’re ridiculously easy to make—seriously, even my niece could whip these up (and she once confused salt for sugar). The best part? They start with a boxed cake mix, so you’re basically cheating your way to cookie perfection. Every year, my friends beg me to bring these to parties, and honestly? I don’t blame them. One bite of these playful, peanut-buttery treats, and you’ll be hooked.
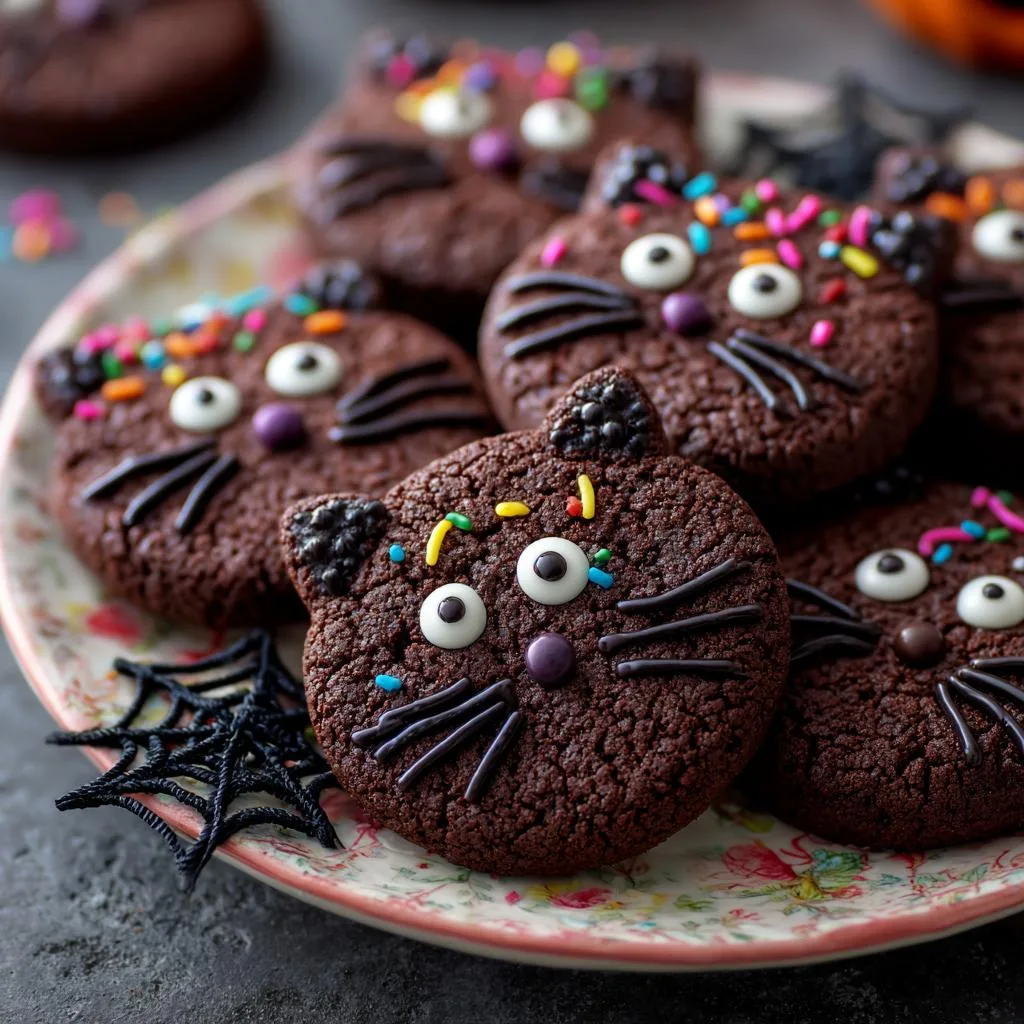
Table of Contents
Table of Contents
Why You’ll Love These Chocolate Black Cat Cookies
Trust me, these cookies aren’t just cute—they’re downright addictive! Here’s why they’ve become my go-to treat:
- Super simple: No fancy techniques here—just mix, roll, and squish into adorable cat faces. Even baking newbies nail these on the first try!
- Kid-approved fun: My little cousins go wild decorating these (though half the M&M noses mysteriously disappear before baking).
- Halloween magic: That fudgy chocolate base with peanut butter? Pure comfort food—but shaped like spooky kitties? Genius.
- Pantry-friendly: Cake mix + peanut butter = cheater’s dream cookies that taste like you spent hours baking.
Seriously, these disappear faster than a black cat in a dark alley!
Ingredients for Chocolate Black Cat Cookies
Okay, let’s raid your pantry – here’s what you’ll need for these purr-fect cookies:
- 1 box chocolate cake mix – any brand works, but I’m partial to the extra dark chocolate varieties
- 1 cup creamy peanut butter – don’t use the natural kind that separates (been there, done that, made a crumbly mess)
- 2 large eggs – room temperature makes mixing easier
- ¼ cup water – plus maybe an extra splash if your dough feels stiff
- ½ cup granulated sugar – for that magical crackly coating
- ¾ cup chocolate chips – semisweet works great for the eyes
- 42 red mini M&Ms – or similar candies for the cute little noses
Allergy note: Swap peanut butter for sunflower butter if needed – I’ve done it when baking for school parties, and the cookies still turn out fantastic!
Equipment You’ll Need
Grab these basic tools—you probably have most hiding in your kitchen already:
- Large mixing bowl – for that glorious cookie dough
- Baking sheet – no fancy pans needed, just trusty old sheet pans
- Silicone mat or parchment paper – unless you enjoy scrubbing cookie remnants (hard pass)
- Small scoop or spoon – for portioning dough balls without sticky fingers
- Flat-bottomed drinking glass – my secret weapon for perfect cookie squishing
- Fork – to create those signature cat whiskers in seconds
That’s it! No stand mixers, no special gadgets—just good old-fashioned cookie-making magic.
How to Make Chocolate Black Cat Cookies
Alright, let’s get baking! These cookies come together so fast you’ll think you missed a step – but nope, they’re just that easy. Follow these foolproof instructions:
- Preheat your oven to 325°F – no guessing here, use that oven thermometer if yours runs hot like mine!
- Mix the dough: In your big bowl, stir together the peanut butter, cake mix, eggs and ¼ cup water until you’ve got a thick, fudgy dough. If it’s crumbly, add water teaspoon by teaspoon until it holds together.
- Sugar coating: Pour that ½ cup sugar into a shallow dish. Scoop dough into 1½” balls (I use a small cookie scoop – lifesaver!) and roll them in sugar until coated.
- Flatten time: Place sugared balls on your lined baking sheet about 2″ apart. Grab your trusty drinking glass and gently press each ball to about ¼” thick – don’t go too thin or they’ll crisp up!
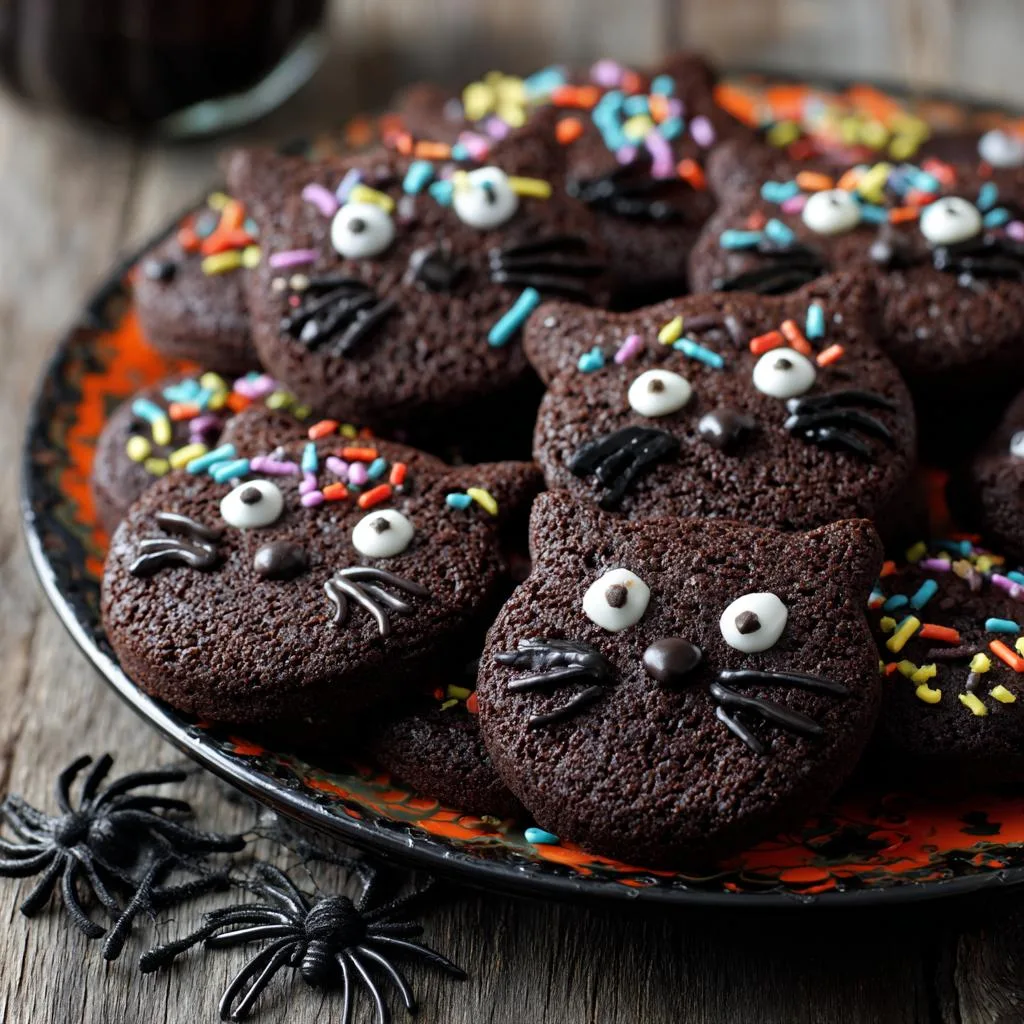
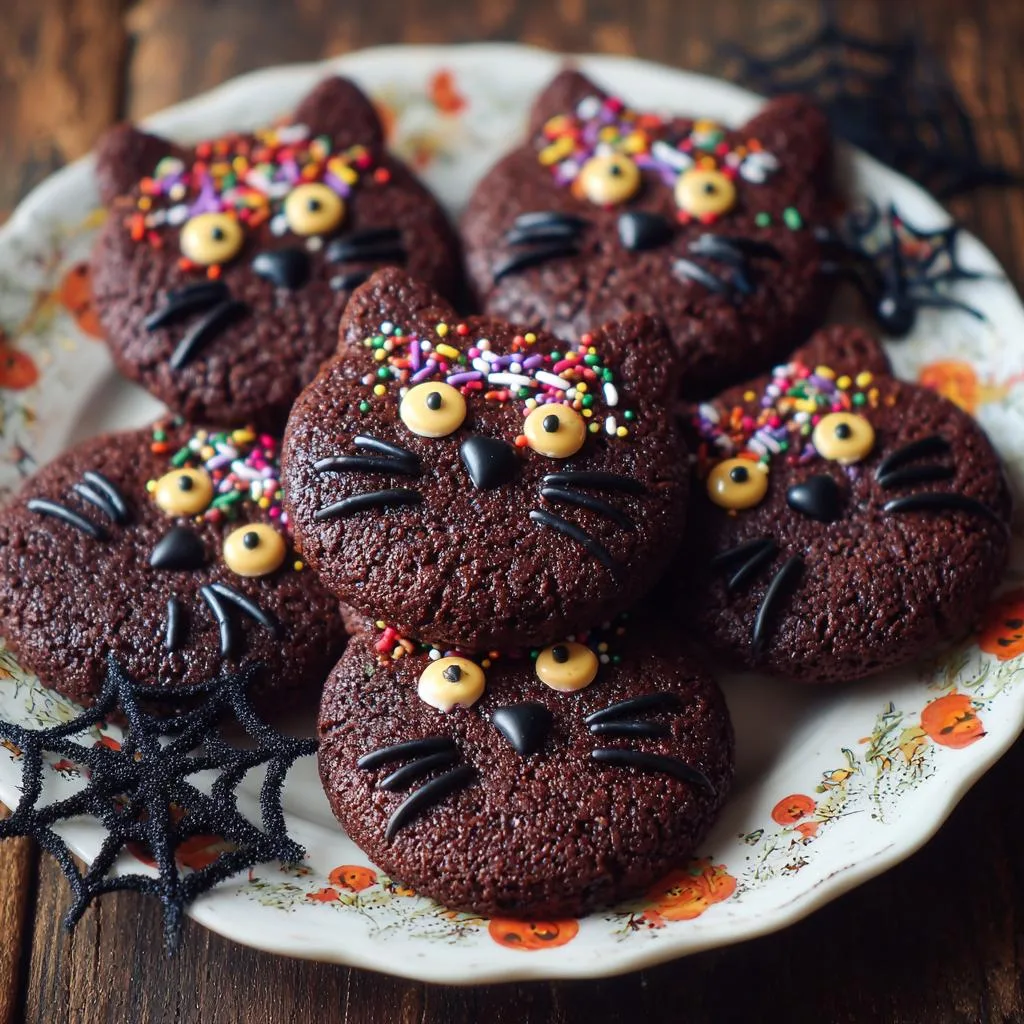
- Cat transformation: Now the fun part! Pinch two little ears at the top of each cookie. Press in two chocolate chips for eyes and one red candy for the nose. Use fork tines to gently press whisker lines on each side.
- Bake: Pop them in the oven for 7-8 minutes – they’ll look soft when done but firm up as they cool. No overbaking!
Shaping the Cat Faces
Here’s my trick for perfect cat faces every time: lightly wet your fingers before pinching the ears – stops the dough from sticking! Make quick, confident pinches at the top to form pointy ears. Press chocolate chips pointy-side down so they look like pupils. For whiskers, gently drag fork tines outward in three quick strokes – looks fancy but takes seconds!
Baking and Cooling Tips
Don’t panic when you pull these from the oven – they’ll be soft as kittens! Let them cool on the baking sheet for exactly 1 minute (set a timer!) before transferring to a rack. They firm up beautifully as they cool. Pro tip: If any decorations shift, gently nudge them back while cookies are still warm!
Print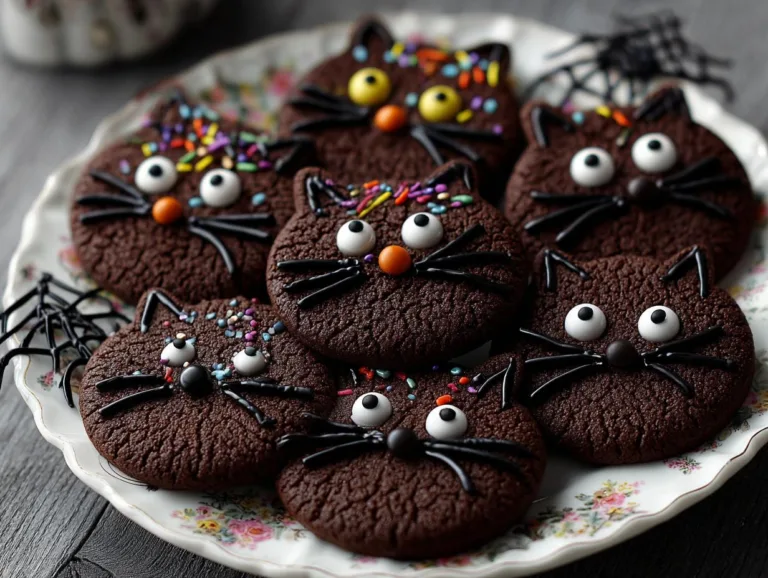
12 Irresistible Chocolate Black Cat Cookies That Steal Hearts
Easy-to-make chocolate black cat cookies perfect for Halloween or any occasion.
- Total Time: 23 minutes
- Yield: 42 cookies 1x
Ingredients
- 1 box chocolate cake mix
- 1 cup creamy peanut butter (you could also substitute another nut butter or sun butter)
- 2 large eggs
- ¼ cup water
- ½ cup granulated sugar
- ¾ cup chocolate chips
- 42 pieces red mini-chocolate candies (We use the mini M&Ms)
Instructions
- Preheat oven to 325ºF.
- In a large bowl, mix together peanut butter, cake mix, eggs and ¼ cup water using a spoon or rubber spatula.
- Add more water as needed if dough is too stiff.
- Place ½-cup granulated sugar in a shallow bowl. Then, using a small scoop or spoon, roll dough into 1 ½” balls. Roll ball in sugar and place on baking sheet lined with silicone baking mat or parchment paper or use a non-stick baking sheet.
- Using a drinking glass with a flat bottom, press the dough ball flat with bottom of the glass to about ¼-inch thick.
- To form cat faces, use finger to pinch two ears at the top of flattened cookie dough.
- Add two chocolate chips for the eyes and one red chocolate candy for the nose.
- Use the tines of a fork to form the whiskers on either side of face.
- Bake 7-8 minutes. They will be soft to the touch.
- Cool on baking sheet for one minute then remove to baking rack to cool completely.
Notes
- Store cookies in an airtight container.
- Substitute peanut butter with sunflower butter if needed.
- Prep Time: 15 minutes
- Cook Time: 8 minutes
- Category: Dessert
- Method: Baking
- Cuisine: American
- Diet: Vegetarian
Nutrition
- Serving Size: 1 cookie
- Calories: 120
- Sugar: 10g
- Sodium: 90mg
- Fat: 6g
- Saturated Fat: 2g
- Unsaturated Fat: 3g
- Trans Fat: 0g
- Carbohydrates: 15g
- Fiber: 1g
- Protein: 2g
- Cholesterol: 10mg
Tips for Perfect Chocolate Black Cat Cookies
Listen, I’ve made enough of these cookies to know all the little tricks for black cat perfection! Here are my hard-earned secrets:
- Dough too sticky? Add a tablespoon more cake mix. Too dry? A teaspoon of water at a time until it holds together.
- That flat-bottomed glass is key – dip it in sugar between presses to prevent sticking.
- Work fast! The dough dries out quickly – cover unused portions with a damp towel.
- Want glossy eyes? Use mini chocolate chips instead of regular – they stay shinier after baking.
- No M&Ms? Red icing dots work great for noses in a pinch!
Follow these, and you’ll have the most adorable cookie crew this side of Halloween!
Variations and Substitutions
These Chocolate Black Cat Cookies are crazy versatile—here’s how to mix things up when the mood strikes:
- Nut butter swap: Sunflower butter works perfectly for nut-free schools (bonus: makes orange “tabby cats” with lighter dough!).
- Holiday makeover: Use green candies for Christmas elves or pink hearts for Valentine’s Day—same cute faces, different occasions!
- Decor shortcuts: Pre-made candy eyes save time, or pipe white icing pupils on chocolate chips for dramatic “wide-eyed” kitties.
- Flavor twist: Swap chocolate cake mix for spice cake in fall—the cinnamon pairs amazingly with peanut butter!
Seriously, once you master the basic recipe, the customization options are endless—have fun with it!
Storing and Serving Chocolate Black Cat Cookies
Here’s the scoop on keeping your cookie kitties fresh and fabulous! These little guys love airtight containers – pop them in with a sheet of parchment between layers, and they’ll stay soft for up to 5 days (though let’s be real, they never last that long in my house). For parties, arrange them on a black platter with candy corn “pumpkins” – the contrast makes those chocolate faces really pop! Pro tip: Freeze undecorated cookies for up to 3 months, then add eyes and noses after thawing for last-minute Halloween magic.
Nutritional Information
Okay, let’s talk numbers – each of these Chocolate Black Cat Cookies clocks in at about 120 calories (but who’s counting when they’re this cute?). Here’s the breakdown per cookie:
- Calories: 120
- Fat: 6g (2g saturated)
- Carbs: 15g
- Protein: 2g
Fair warning – these can vary slightly depending on your cake mix brand or if you go wild with extra chocolate chips (no judgment here!). I calculate based on standard ingredients, but always check your specific products if you’re tracking closely.
Frequently Asked Questions
Can I freeze these cookies?
Absolutely! Freeze them undecorated for best results – just pop the cooled cookies in an airtight container with parchment between layers. They’ll keep beautifully for up to 3 months. When you’re ready, thaw at room temperature, then add the chocolate chip eyes and candy noses fresh!
How do I make them nut-free?
Easy swap – use sunflower butter instead of peanut butter! The cookies turn out just as delicious (and the dough gets this pretty golden color that makes great “orange tabby” cats). Just make sure all your other ingredients are nut-free too if allergies are a concern.
Can I use homemade cake mix?
You bet! If you’ve got a favorite chocolate cake recipe, just use the dry ingredients equivalent to one boxed mix (about 3¼ cups total). The texture might vary slightly, so add water gradually until your dough reaches that perfect fudgy consistency.
Final Thoughts
Now go make some cookie magic! I can’t wait to see your Chocolate Black Cat Cookies – tag me on social media so I can ooh and aah over your edible masterpieces. Happy baking, friends!
For More recipes Follow me on Facebook!