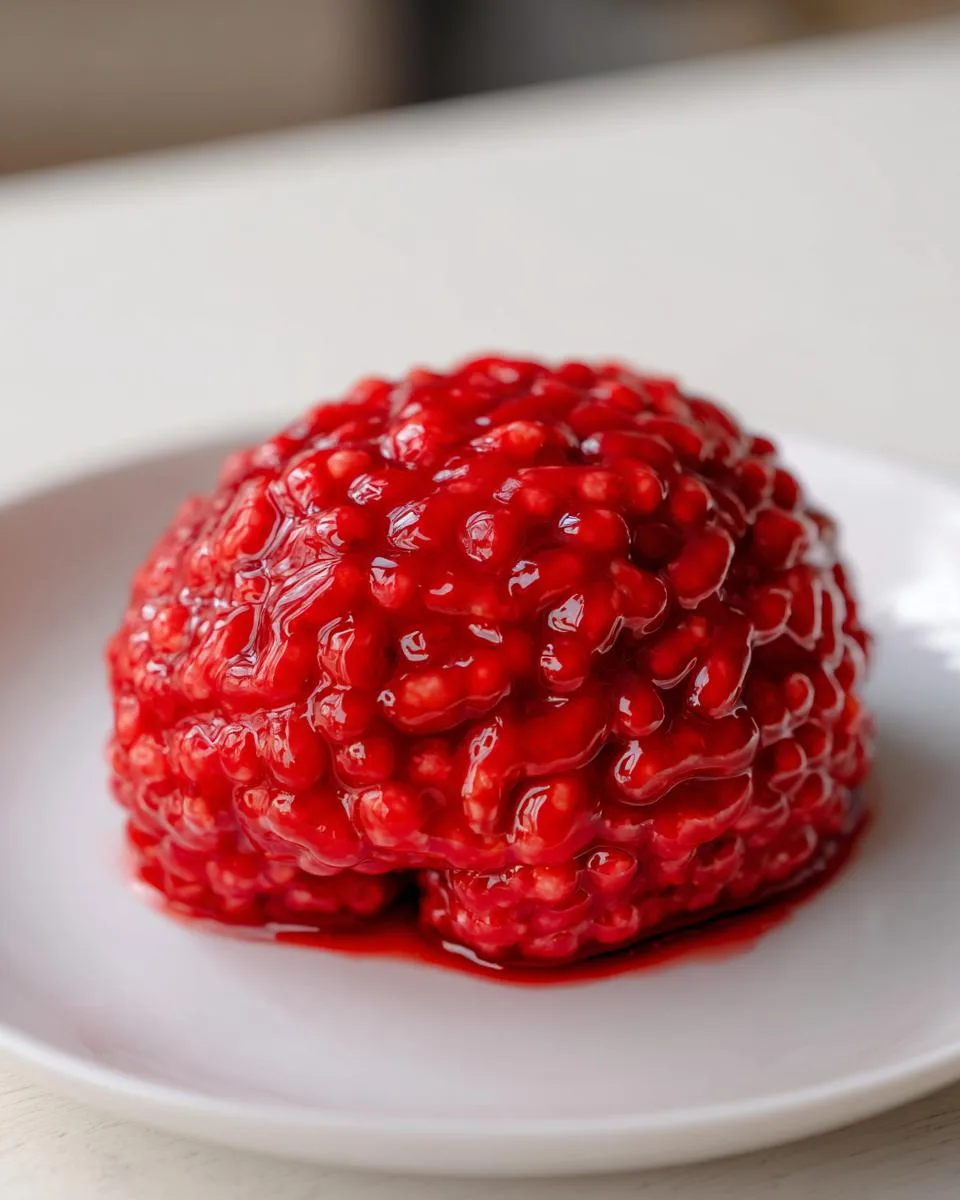
Oh my gosh, you HAVE to try these Marshmallow Rice Bubbles Halloween Brains! They’re my absolute favorite creepy-cute treat to make every October. I still remember the first time I brought them to a Halloween party – people couldn’t decide whether to be grossed out or dig in (spoiler: they disappeared FAST).
The best part? These brains are ridiculously easy to make – just marshmallows, Rice Bubbles, and some red food coloring. No baking required! Within 15 minutes, you’ll have the most gloriously gross-looking edible brains that’ll be the star of any Halloween spread. Kids go nuts for them (pun totally intended), and adults secretly love them too.
Every year, my nieces and nephews beg me to make “Auntie’s zombie brains” – we’ve turned it into our little Halloween tradition. There’s something so satisfying about shaping the sticky mixture into brain shapes and drawing on those creepy veins. Trust me, once you make these once, they’ll become your signature Halloween treat too!
Table of Contents
Table of Contents
Why You’ll Love These Marshmallow Rice Bubbles Halloween Brains
Listen, I know Halloween treats can be a pain – but these brains? They’re the exception that proves the rule. Here’s why you’ll fall head over heels for them (brain pun intended):
- Crazy quick: From start to creepy finish in under 20 minutes – perfect for last-minute party prep or when the kids suddenly announce they need a “scary snack” for school tomorrow
- No-bake magic: Just melt, mix, and shape – no oven required when you’re already busy with costumes and decorations
- Kid-approved: My little testers go wild for both making AND eating these – the grosser they look, the more they love them
- Total showstopper: That deep red color and realistic brain texture? Guaranteed to get gasps and Instagram likes
Honestly, watching people’s faces when they see these on your Halloween table? Priceless. They can’t believe something so creepy comes together so easily!
Ingredients for Marshmallow Rice Bubbles Halloween Brains
Okay, let’s gather our “mad scientist” supplies! Here’s exactly what you’ll need to create these gloriously creepy edible brains:
- 85 g unsalted butter: Please don’t use margarine – I tried it once and the texture was all wrong. You want that rich, creamy meltiness only real butter provides.
- 6 cups regular marshmallows: The standard-sized ones work best (about 40-45 marshmallows). Mini marshmallows melt faster but can disappear too quickly into the mix.
- 4 cups Rice Bubbles: That’s Rice Krispies for my American friends! Must be fresh and crispy – stale cereal makes sad, mushy brains.
- ½ tsp salt: Trust me, this tiny bit balances all the sweetness perfectly.
- Red food coloring: Gel food coloring gives the most vibrant “fresh zombie brain” hue without making the mixture too wet. I use about 1/2 teaspoon.
That’s it! Five simple ingredients that transform into something wonderfully weird. Now let’s get messy!
How to Make Marshmallow Rice Bubbles Halloween Brains
Alright, let’s make some edible brains that would make Frankenstein proud! Follow these steps carefully for perfectly creepy results every time.
Melting the Marshmallows and Butter
First, set up your Bain-Marie (that’s just a fancy way of saying “bowl over simmering water”). Boil about 1/2 cup water in a small pot, then place a large heatproof mixing bowl on top – make sure the bowl isn’t touching the water! Add your butter and marshmallows to the bowl. Now here’s the important part: whisk continuously for 2-4 minutes until you get a smooth, glossy lava-like consistency. If you stop whisking, you’ll end up with lumps – and nobody wants lumpy brains!
Mixing and Coloring the Rice Bubbles
Remove the bowl from heat (careful, it’s hot!) and immediately whisk in your salt and red food coloring. Start with about 1/2 teaspoon gel coloring – you can always add more. Pour this sticky red goo over your Rice Bubbles in a large mixing bowl. Here’s my trick: use a silicone spatula to fold everything together, scraping the sides and bottom to make sure every single bubble gets coated in that creepy red mixture. The color should be evenly distributed, like… well, freshly exposed brain matter!
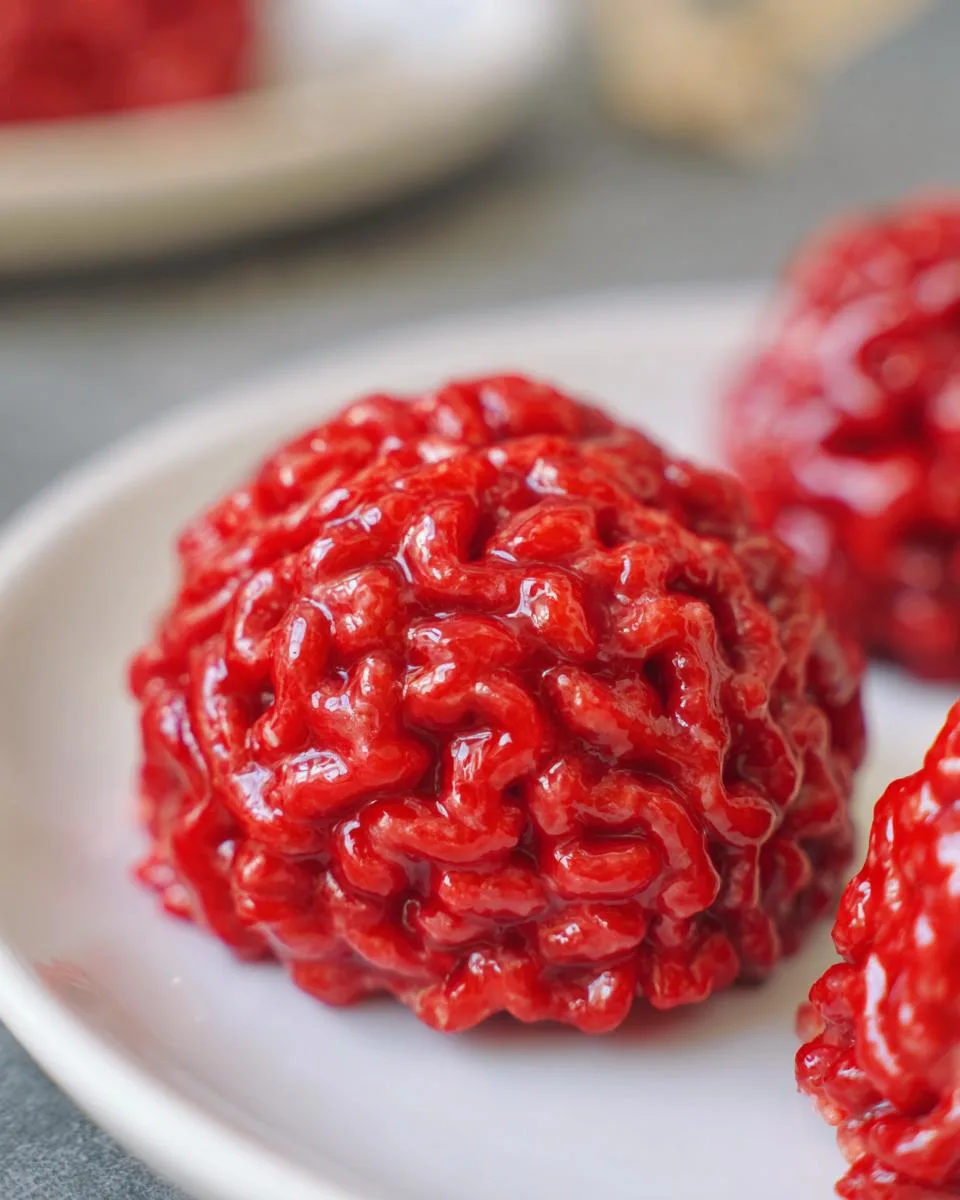
Shaping the Brains
Now the fun part! Lightly oil your hands (or wear food-safe gloves if you don’t want red fingers for days). Grab a handful of the mixture and shape it into an oval – about the size of a small avocado. Use a butter knife to make a shallow dent down the center (this is your brain’s fissure). Then take a toothpick dipped in extra red food coloring and gently draw squiggly vein lines on each side. Pro tip: look at a real brain picture for inspiration – the grosser, the better! Let them set for about 30 minutes before serving.
Print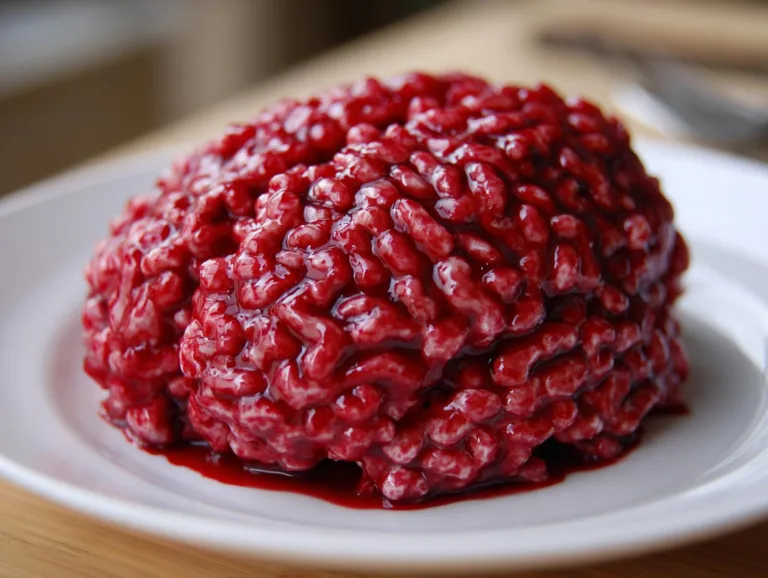
15-Minute Marshmallow Rice Bubbles Halloween Brains – Spooky & Easy
A fun and spooky Halloween treat made with marshmallows and Rice Bubbles, shaped like brains and colored red for a creepy effect.
- Total Time: 15 minutes
- Yield: 6–8 servings 1x
Ingredients
- 85 g unsalted butter
- 6 cups regular marshmallows
- 4 cups Rice Bubbles (Krispies)
- ½ tsp salt
- Red food coloring
Instructions
- Prepare a Bain-Marie by boiling 1/2 cup of water in a small pot and placing a large heatproof bowl over it.
- Add butter and marshmallows to the bowl. Whisk continuously until smooth (2-4 minutes).
- Remove the bowl from heat. Add salt and food coloring, then whisk again.
- Pour the marshmallow mixture over Rice Bubbles in a large mixing bowl. Stir until fully coated.
- Shape the mixture into ovals with oiled hands. Use a butter knife to make a dent, then draw veins with a toothpick dipped in food coloring.
- Store in an airtight container for up to a week.
Notes
- Use gloves to avoid staining your hands when shaping the brains.
- Adjust food coloring to achieve your desired shade of red.
- For a more realistic effect, add more veins with the toothpick.
- Prep Time: 10 minutes
- Cook Time: 5 minutes
- Category: Dessert
- Method: No-Bake
- Cuisine: American
- Diet: Vegetarian
Nutrition
- Serving Size: 1 brain
- Calories: 150
- Sugar: 12g
- Sodium: 100mg
- Fat: 5g
- Saturated Fat: 3g
- Unsaturated Fat: 2g
- Trans Fat: 0g
- Carbohydrates: 25g
- Fiber: 0.5g
- Protein: 1g
- Cholesterol: 10mg
Tips for Perfect Marshmallow Rice Bubbles Halloween Brains
After making these creepy creations for years, I’ve learned all the tricks for brain-making success!
- Work fast: That marshmallow mixture starts setting quickly – have your Rice Bubbles measured and ready to go before melting begins
- Glove up: Disposable food gloves save your hands from becoming permanently stained zombie-colored
- Control the red: Start with less food coloring – you can always add more to reach that perfect “freshly harvested” hue
- Keep it sticky: If the mixture cools too much while shaping, pop it in the microwave for 5-10 seconds to restore pliability
- Store smart: Layer brains between parchment paper in an airtight container – they’ll stay perfectly creepy for up to a week
Remember – imperfect brains look more realistic, so don’t stress about making them too neat!
Variations for Marshmallow Rice Bubbles Halloween Brains
Want to take your zombie brains to the next level? Here are my favorite ways to mix things up:
- Edible blood: Drizzle with strawberry syrup or thin red icing for extra “freshly harvested” gore – kids go wild for this!
- Cereal swaps: Try Cocoa Pops for “diseased” dark brains or Froot Loops for rainbow-colored alien minds (just reduce food coloring)
- Mini brains: Make bite-sized versions perfect for party platters – shape them with a melon baller for uniform creepy cuteness
- Spooky sprinkles: Press black sanding sugar into the crevices for a “dirtied” autopsy look
- Adult version: Add a tablespoon of raspberry liqueur to the marshmallow mix for boozy brains (21+ only, obviously!)
The best part? No matter how you customize them, they’ll still be deliciously disgusting!
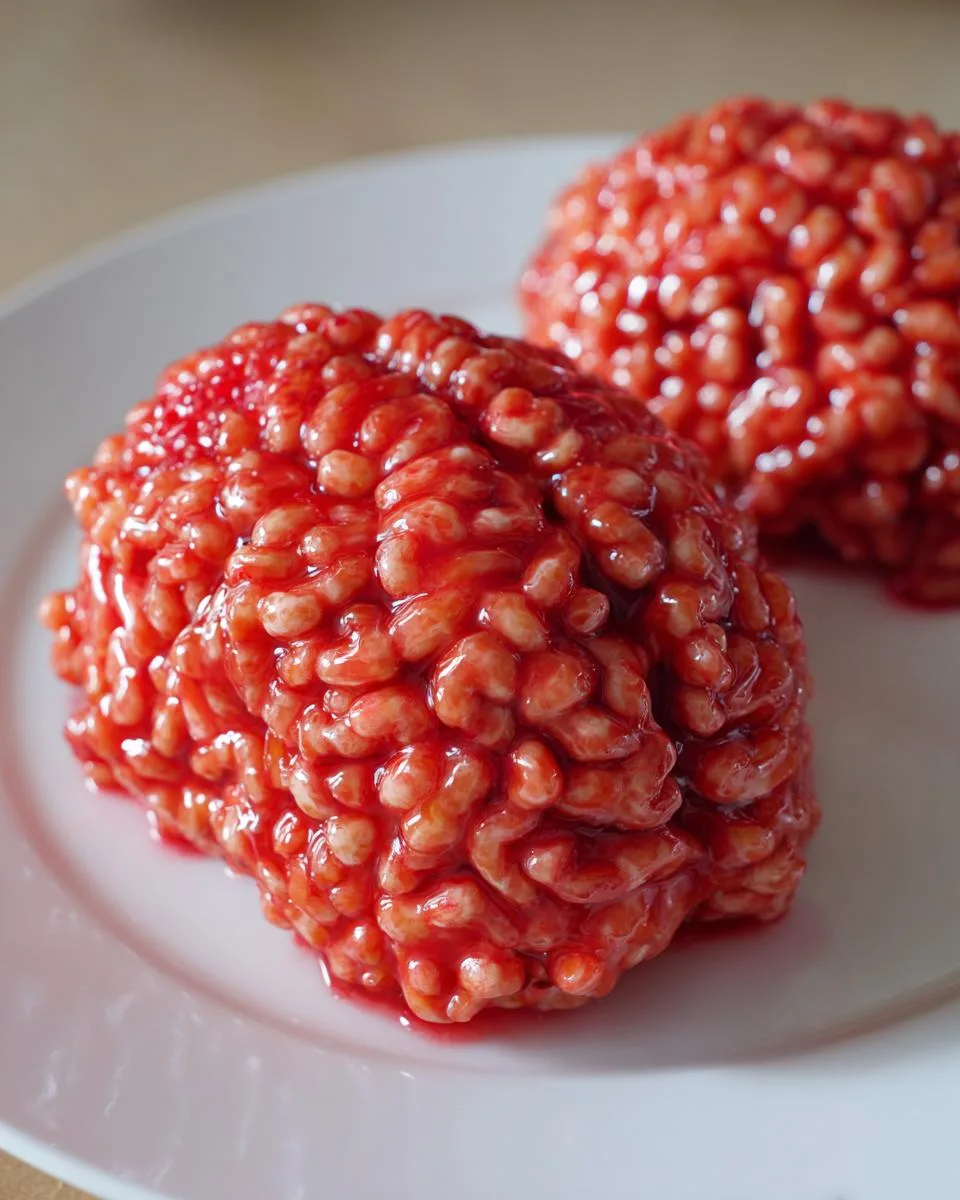
Storing and Serving Marshmallow Rice Bubbles Halloween Brains
Okay, confession time – these rarely last long enough to need storing in my house! But when they do (or when you’re making them ahead), here’s how to keep them perfectly creepy:
First, let them cool completely – about 30 minutes should do it. Then layer them between sheets of parchment paper in an airtight container. They’ll stay fresh and deliciously gross for up to a week (if they last that long!). For serving, I love arranging them on a vintage silver tray with some plastic “specimen” tags – or go full mad scientist with test tubes filled with red juice as “preservative fluid” around the edges.
Pro tip: If it’s a warm day, keep them in the fridge until just before serving – the cooler temperature helps them hold their brainy shape better. But honestly? They usually disappear before anyone notices if they’ve softened a bit!
Nutritional Information for Marshmallow Rice Bubbles Halloween Brains
Let’s be real – we’re not eating brain-shaped treats for their health benefits! But here’s the scoop per serving (about one medium brain): roughly 150 calories, 5g fat, and 25g carbs. They’ve got about 12g sugar – consider it brain fuel!
Nutrition varies based on brands/ingredients. Now go enjoy your creepy creation guilt-free!
Frequently Asked Questions
I get asked these questions ALL the time about my Marshmallow Rice Bubbles Halloween Brains – here’s everything you need to know:
Are Rice Bubbles gluten-free?
Most regular Rice Bubbles/Krispies contain malt flavoring from barley, so they’re not gluten-free. But good news! Many brands now make gluten-free versions – just check the label.
Can I use vegan marshmallows?
Absolutely! I’ve tested these with vegan marshmallows many times (my niece has allergies). They melt slightly differently, so watch them carefully – but they work great!
How long do they last?
In an airtight container, they stay perfectly creepy-good for about a week. After that, they get a bit tough – though honestly, they never last that long at our house!
What’s the difference between Rice Bubbles and Rice Krispies?
They’re the same cereal! Rice Bubbles is just what they’re called in Australia/NZ. Use whichever you can find – they’ll both make deliciously disgusting brains.
Final Thoughts
There you have it – my foolproof recipe for Marshmallow Rice Bubbles Halloween Brains that never fails to creep people out (in the best way possible)! I can’t wait for you to try them and see those shocked-then-delighted faces around your Halloween table. Snap some photos of your gory creations and tag me – I love seeing everyone’s brainy masterpieces!
If you enjoyed this recipe, you might also like some of our other delicious recipes or check out our dessert section for more sweet treats. You can also follow us on Facebook for more cooking inspiration!