
There’s something magical about the smell of fresh-baked bread filling your kitchen—warm, yeasty, and just a little sweet. That’s why I’m obsessed with this Homemade Honey Wheat Bread. It’s the kind of recipe that makes you feel like a kitchen wizard, even if you’ve never baked bread before. The honey gives it this golden sweetness, while the whole wheat keeps it hearty and wholesome. And trust me, nothing beats slicing into a still-warm loaf, slathering it with butter, and watching it melt into every nook and cranny.
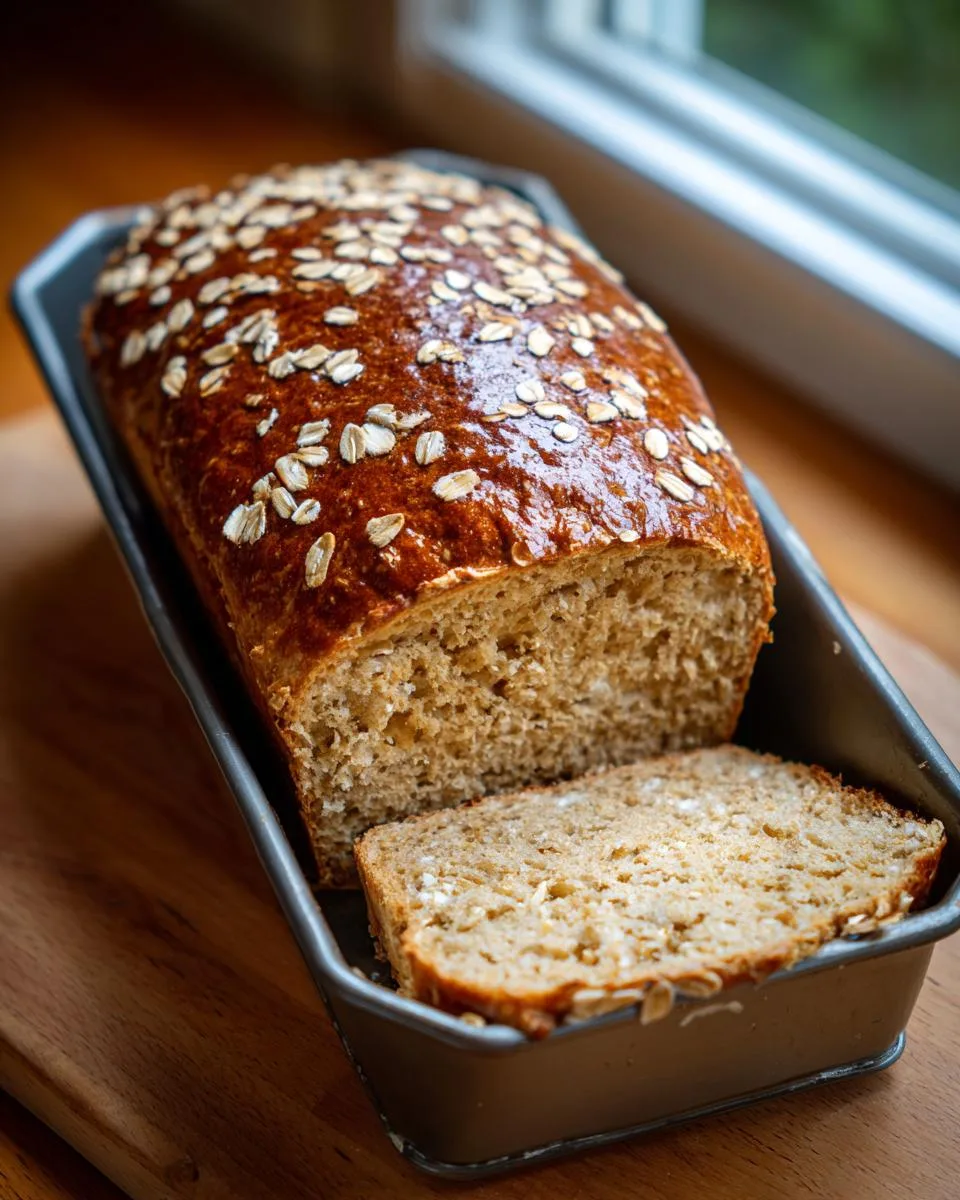
Table of Contents
Table of Contents
Why You’ll Love This Homemade Honey Wheat Bread
This isn’t some fussy, complicated recipe either. It’s simple, forgiving, and—dare I say—downright therapeutic. Kneading the dough by hand (or letting your mixer do the work) is my favorite kind of stress relief. Plus, there’s no fancy equipment needed—just a loaf pan, a little patience, and maybe a cup of coffee while you wait for it to rise. Whether you’re a seasoned baker or a total newbie, this bread is about to become your go-to. It’s perfect for sandwiches, toast, or just tearing off chunks straight from the loaf (no judgment here).
Oh, and that first bite? Pure comfort. The honey whispers sweetness without overpowering, and the whole wheat adds just enough nutty depth. It’s the kind of bread that makes you want to invite the neighbors over—or, you know, keep it all to yourself. Either way, you’re winning.
This bread isn’t just delicious—it’s downright addictive. Here’s why it’s become my kitchen staple (and probably will be yours too):
- Effortless magic: No fancy techniques here—just mix, knead, rise, and bake. Even if you’ve never baked bread before, this recipe holds your hand through every step.
- Sweetness you can feel good about: The honey isn’t just for flavor—it gives the crust that gorgeous golden color and keeps the crumb tender without refined sugar.
- Wholesome, but not “healthy-tasting”: Whole wheat adds nutty depth and fiber, but the texture stays soft—no brick-like loaves here!
- Your kitchen will smell like a bakery: That warm, yeasty aroma while it bakes? Pure happiness in bread form.
- Versatile as can be: Toast it, sandwich it, or devour it warm with butter. It even makes killer French toast the next day.
Seriously, once you taste that first slice, you’ll wonder why store-bought bread even exists.
Ingredients for Homemade Honey Wheat Bread
Gathering the right ingredients is half the battle—and luckily, this recipe keeps things simple. Here’s what you’ll need (and why each one matters):
- 1 cup warm water (105°F): Not hot, not lukewarm—think baby-bottle warm. Too hot kills the yeast; too cold won’t wake it up properly. I test it with my wrist (if it feels cozy, you’re golden).
- ¼ cup honey: The star of the show! Local honey adds the best flavor, but any kind works. Pro tip: Spray your measuring cup with oil first—the honey slides right out.
- 1 Tablespoon yeast (fresh preferred): If your yeast doesn’t foam after 5 minutes in the honey-water, it’s time for a new packet. Trust me, fresh yeast makes all the difference.
- 1 Tablespoon canola oil: Keeps the bread tender. Olive oil works too, but it’ll add a stronger flavor.
- 1 cup all-purpose flour + 1 ¾ cups whole wheat flour: The combo gives structure without heaviness. Spoon and level your flour—don’t scoop straight from the bag or you’ll pack in too much.
- 1 teaspoon sea salt: Balances the sweetness. Skip it, and your bread will taste flat.
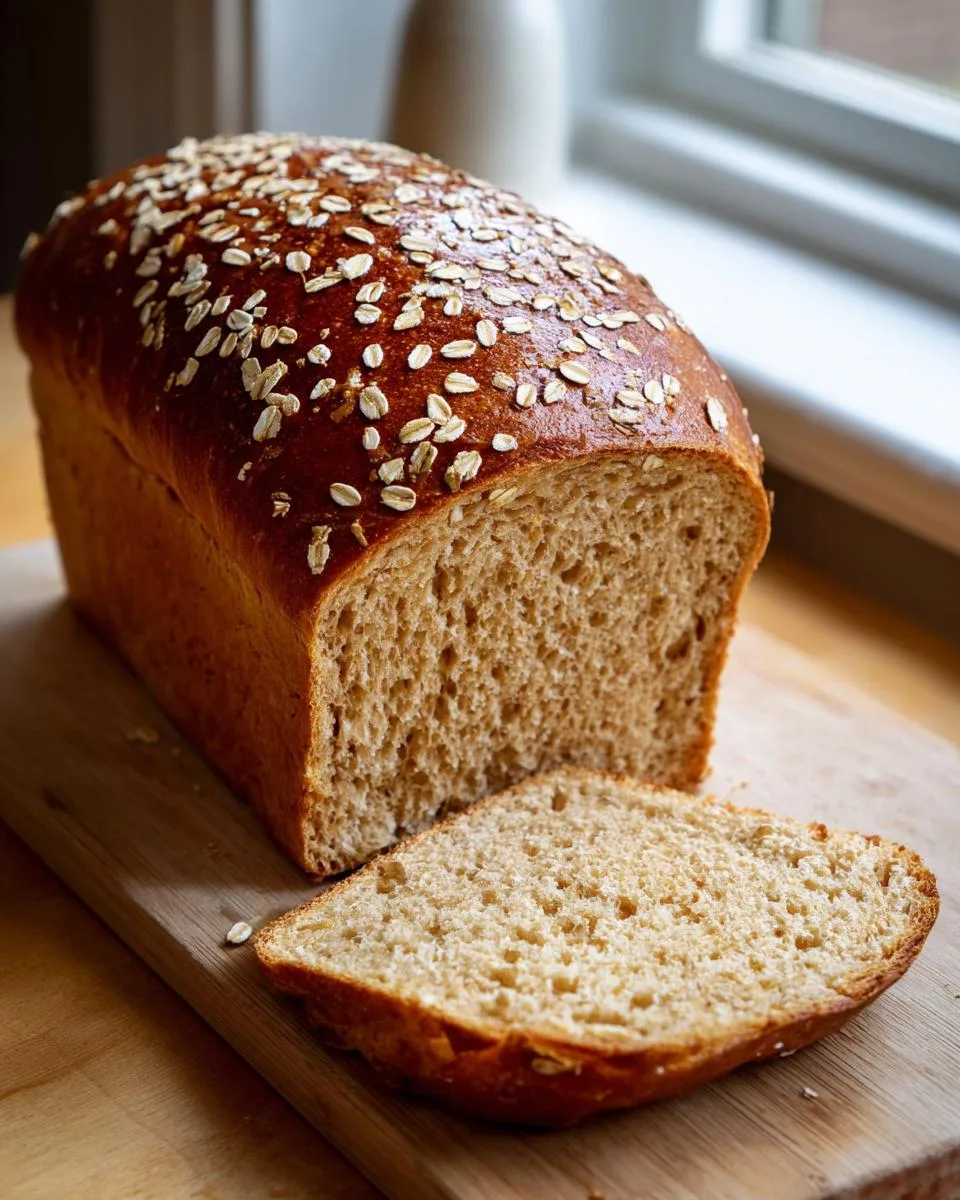
- ¼ cup old-fashioned oatmeal (for topping): Optional, but oh-so-pretty. Press it gently into the dough before baking for that rustic bakery look.
See? Nothing weird or hard-to-find. Just pantry staples that turn into something extraordinary.
How to Make Homemade Honey Wheat Bread
Okay, let’s get our hands floury! This bread comes together in simple steps, but I’ll walk you through each one like we’re baking side by side in my kitchen. Don’t worry—it’s way easier than it looks, and I’ve got all the little tricks to make sure your loaf turns out perfect.
Mixing the Dough
First, wake up that yeast! In your mixer’s bowl (or a big mixing bowl if doing this by hand), combine the warm water, honey, and yeast. Give it a quick stir and walk away for 5-10 minutes. You’re looking for a foamy, bubbly layer on top—that’s your yeast saying “Let’s bake!” If nothing happens, your yeast might be sleepy (or worse, dead). Time to start fresh.
Once your yeast is happily bubbling, add the oil, all-purpose flour, 1 cup of the whole wheat flour, and salt. Mix on low until it comes together, then crank it up to medium-high. The dough will look shaggy at first—that’s normal! Slowly add the remaining whole wheat flour ¼ cup at a time. The dough should start pulling away from the sides of the bowl and form a slightly tacky ball. If it sticks to your fingers like gum, add a tiny bit more flour. But don’t go overboard—we want it soft, not dry!
Kneading and First Rise
Now for the fun part! Turn the dough onto a lightly floured surface and knead for about 8-10 minutes. Fold, push, turn—repeat. You’ll feel it transform from sticky to smooth and elastic. If you poke it, the dough should slowly spring back. That’s when you know it’s ready.
Pop it into a lightly oiled bowl, cover with a damp towel (I use a clean kitchen towel spritzed with water), and let it rise somewhere cozy. Near a warm oven or on top of the fridge works great. In 1-2 hours, it should double in size. No rushing this—good bread takes time!
Shaping and Second Rise
Punch down the dough (my favorite stress reliever!) to release air bubbles. Shape it into a loaf by flattening it slightly, then folding the sides toward the center like an envelope. Roll it gently into a log and place it seam-side down in a greased 9×5″ loaf pan.
Cover it again and let it rise until it peeks just over the pan’s edge—about 30-45 minutes. Want that bakery-style look? Brush the top with a little water or milk and press oatmeal gently into the surface. It’ll toast up beautifully in the oven.
Baking and Cooling
Preheat your oven to 350°F while the loaf finishes rising. Bake for 25-30 minutes until the top is deep golden brown. The real test? Tap the bottom—it should sound hollow. If the top browns too fast, tent it loosely with foil.
Here’s the hardest part: Let it cool on a wire rack for at least 10 minutes before slicing. I know, I know—the smell is torture! But cutting too soon makes the bread gummy. Worth the wait, promise.
Print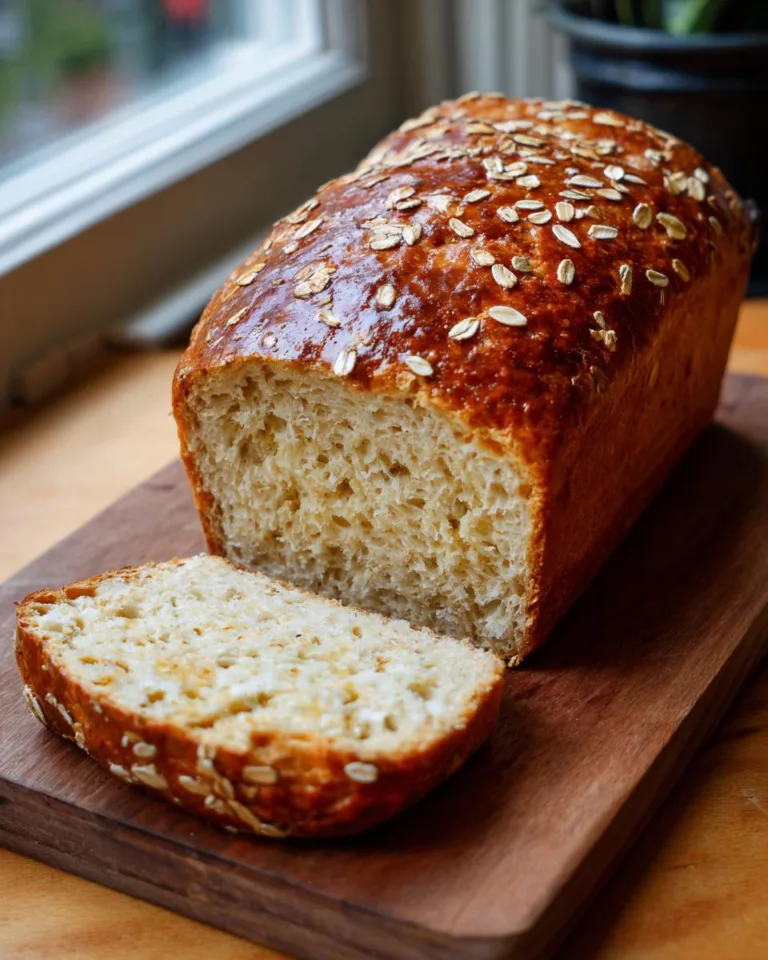
Irresistible Homemade Honey Wheat Bread in 1 Hour
A simple and wholesome homemade honey wheat bread recipe with a touch of sweetness from honey and the nutty flavor of whole wheat.
- Total Time: 2 hours 45 minutes (includes rising time)
- Yield: 1 loaf 1x
Ingredients
- 1 cup warm water (about 105°F)
- ¼ cup honey
- 1 Tablespoon yeast
- 1 Tablespoon canola oil
- 1 cup all-purpose flour
- 1 ¾ cups whole wheat flour
- 1 teaspoon sea salt
- ¼ cup old-fashioned oatmeal (for topping)
Instructions
- In the bowl of a standing mixer fitted with a dough hook, add warm water, honey, and yeast. Stir to combine and let sit for 5-10 minutes until foamy.
- Add canola oil, all-purpose flour, 1 cup of whole wheat flour, and sea salt to the proofed yeast mixture.
- Mix with the dough hook on low speed, then increase to medium-high until combined.
- Slowly add remaining whole wheat flour ¼ cup at a time, mixing after each addition.
- Once the dough forms a slightly tacky ball and pulls away from the sides, transfer to a floured surface and knead until elastic and smooth.
- Place dough in a lightly oiled bowl, cover with a damp towel, and let rise in a warm place until doubled (1-2 hours).
- After rising, gently press out air, grease a 9×5” loaf pan, and transfer dough to the pan.
- Cover with a damp towel and let rise until dough reaches the top of the pan. Optionally, press oatmeal on top.
- Preheat oven to 350°F and bake for 25-30 minutes until golden brown and hollow-sounding when tapped.
- Cool on a wire rack for 10 minutes before removing from the pan. Serve warm or let cool completely.
Notes
- For best results, use fresh yeast.
- If the top browns too quickly, cover loosely with foil.
- Store in an airtight container for up to 3 days or freeze for longer storage.
- Prep Time: 15 minutes
- Cook Time: 30 minutes
- Category: Bread
- Method: Baking
- Cuisine: American
- Diet: Vegetarian
Nutrition
- Serving Size: 1 slice
- Calories: 120
- Sugar: 5g
- Sodium: 120mg
- Fat: 1.5g
- Saturated Fat: 0.2g
- Unsaturated Fat: 1g
- Trans Fat: 0g
- Carbohydrates: 24g
- Fiber: 2g
- Protein: 3g
- Cholesterol: 0mg
Tips for Perfect Homemade Honey Wheat Bread
After baking countless loaves (and eating even more), I’ve picked up some tricks to make sure your bread turns out perfect every time:
- Fresh yeast is non-negotiable: If your yeast packet has been sitting in the pantry for months, toss it. Active yeast should foam like crazy within 5 minutes—if not, your bread won’t rise properly.
- Foil is your friend: If the top starts getting too dark before the bread is fully baked, just drape a piece of aluminum foil loosely over the top. No more burnt crusts!
- Let it cool (seriously): I know it’s tempting, but cutting into warm bread makes it gummy. Wait at least 10 minutes—the texture will be so much better.
- Store it right: Keep your loaf in an airtight container at room temp for up to 3 days. For longer storage, slice and freeze it—just pop a frozen slice straight into the toaster.
- Flour power: When kneading, use just enough flour to keep the dough from sticking to your hands. Too much makes the bread dry and dense.
Follow these simple tips, and you’ll be the honey wheat bread hero of your household! You can see more of my kitchen adventures over on Facebook.
Common Questions About Homemade Honey Wheat Bread
I get asked about this bread all the time—so here are the answers to the questions that pop up most often in my kitchen (and probably yours too!):
How long does homemade honey wheat bread last?
At room temperature in an airtight container, it stays fresh for about 3 days. But let’s be real—it rarely lasts that long in my house! For longer storage, slice and freeze it in a zip-top bag. Frozen slices toast up beautifully straight from the freezer.
What does honey do in bread besides adding sweetness?
Oh, honey’s a multitasker! It feeds the yeast for a better rise, gives the crust that gorgeous golden color, and keeps the crumb tender. Plus, its natural acidity helps slow staling—so your bread stays softer longer.
Can I make this with all whole wheat flour?
You can, but the bread will be denser. The all-purpose flour gives it that perfect balance—light enough to enjoy, hearty enough to feel wholesome. If you go full whole wheat, add an extra tablespoon of water and expect a more rustic texture.
Why didn’t my bread rise properly?
Usually, it’s one of three things: sleepy yeast (always test it first!), water that was too hot or cold, or not enough rising time. My grandma’s trick? Let it rise until it’s truly doubled—no shortcuts!
Serving and Storing Homemade Honey Wheat Bread
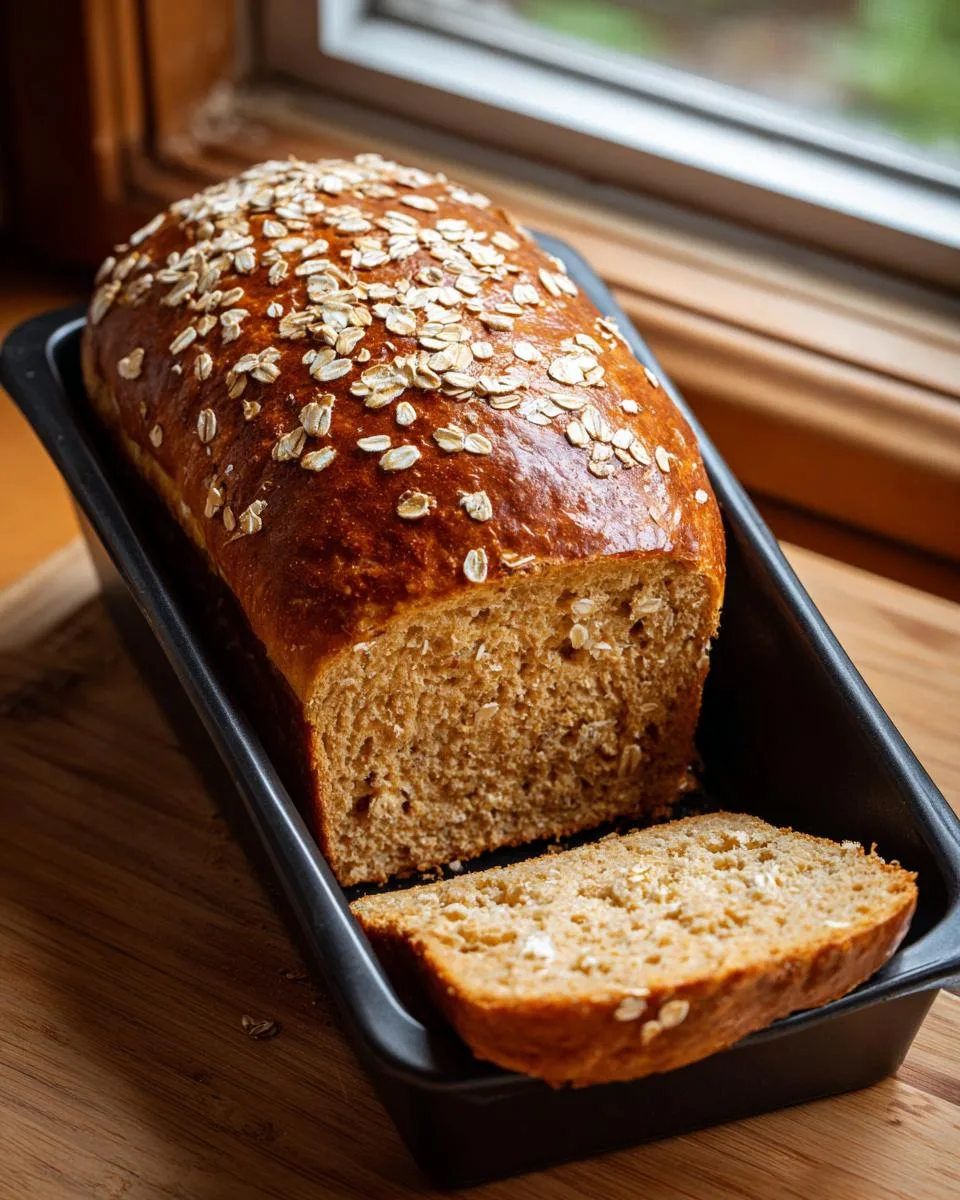
Now for the best part—eating this glorious bread! My absolute favorite way is still warm from the oven, slathered with melty butter that pools into all those little nooks. But honestly, it shines in so many ways:
- Breakfast champion: Thick slices toasted with jam or peanut butter and banana slices
- Soup’s best friend: Dunked into creamy tomato soup or hearty chili
- Sandwich superstar: Holds up to turkey and avocado without getting soggy
- Next-level French toast: Stale slices make the custardiest, most caramelized version
To keep it fresh, store cooled bread in an airtight container—a bread box works great if you have one. Room temp is fine for 2-3 days, but for longer storage, slice and freeze in a zip-top bag. Frozen slices go straight into the toaster whenever a bread emergency strikes!
Nutritional Information for Homemade Honey Wheat Bread
Just so you know, these numbers are estimates—your exact counts might vary depending on your ingredients. But here’s the scoop per slice (based on cutting the loaf into 12 generous pieces):
- Calories: 120
- Carbs: 24g (with 2g fiber—thanks, whole wheat!)
- Protein: 3g
- Sugar: 5g (all natural from that glorious honey)
Not bad for bread that tastes this good, right? It’s got way more going for it than anything from a plastic bag at the store. If you are looking for more dinner ideas, check out my recipe index!
Share Your Homemade Honey Wheat Bread
I’d love to hear how your loaf turns out! Did you add a twist like cinnamon or nuts? Snap a pic of that golden crust and tag me—nothing makes me happier than seeing your kitchen victories. And if you loved it (or have questions!), drop a comment below. Happy baking, friends! For more baking inspiration, check out my homemade fluffy rolls recipe.