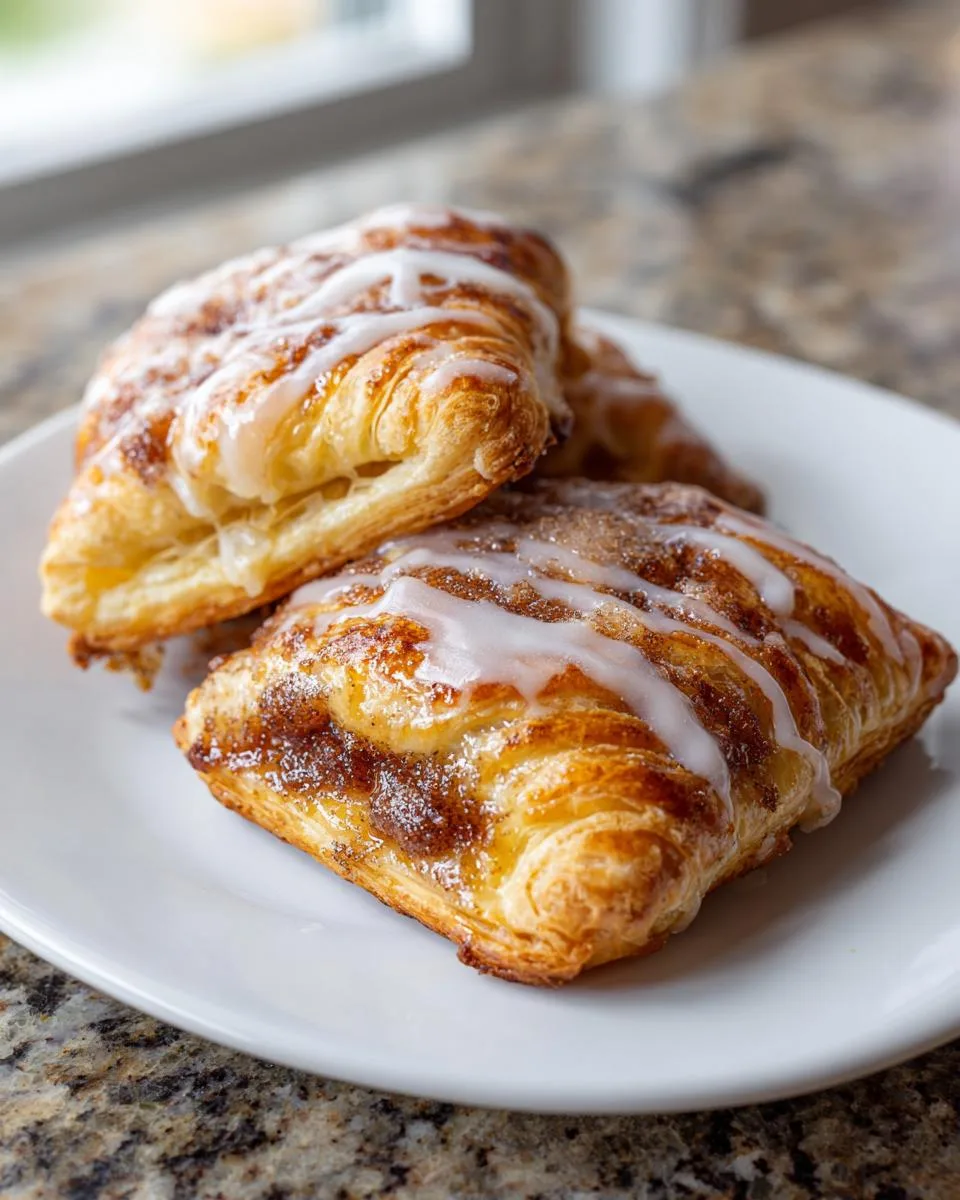
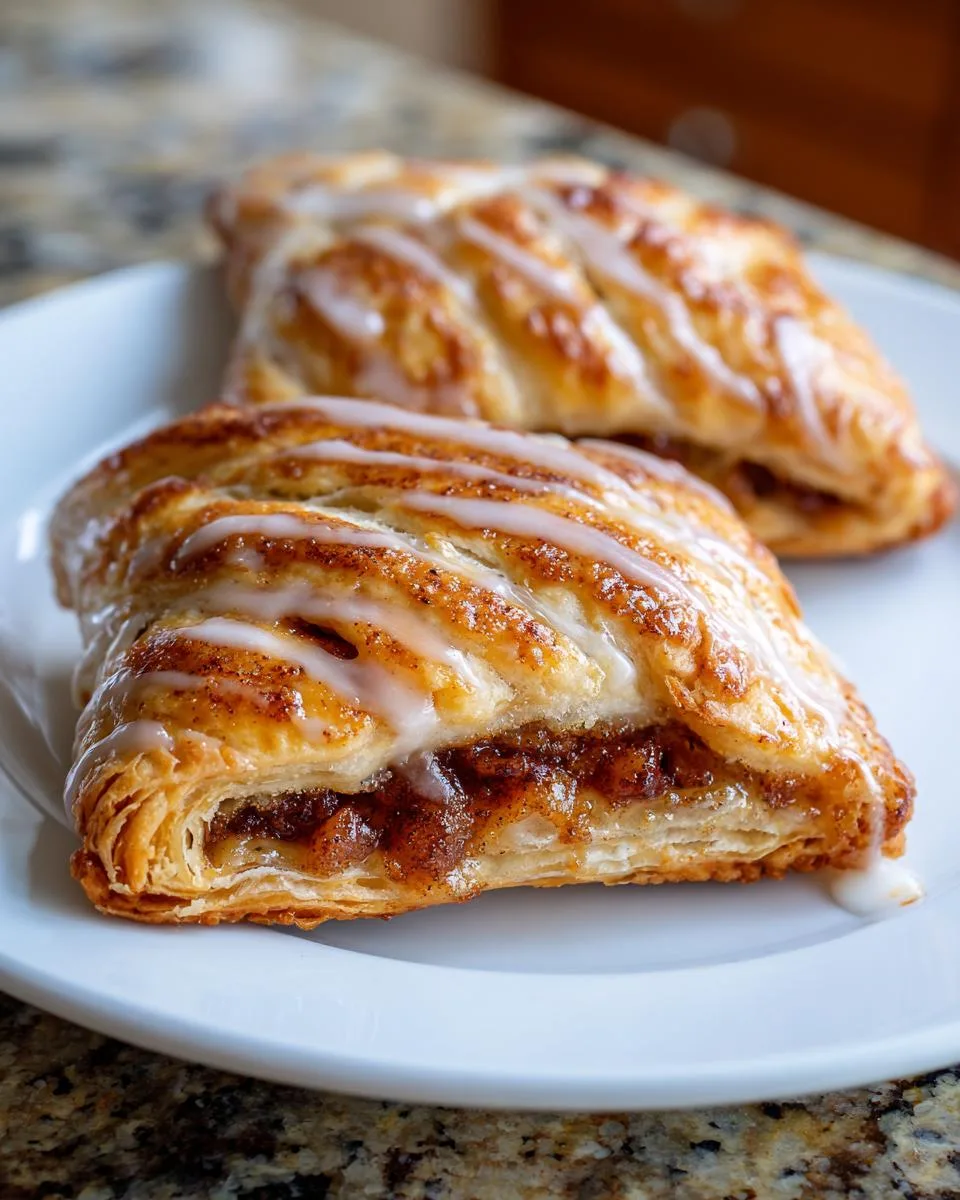
Oh my gosh, you guys—nothing beats the smell of warm cinnamon and brown sugar wafting through the kitchen in the morning. That’s why I’m completely obsessed with making these homemade Breakfast Pop Tart Pastries! Forget the boxed stuff—these have that buttery, flaky crust that shatters when you bite into it, hugging that gooey cinnamon filling inside. It’s like a hug for your taste buds, I swear.
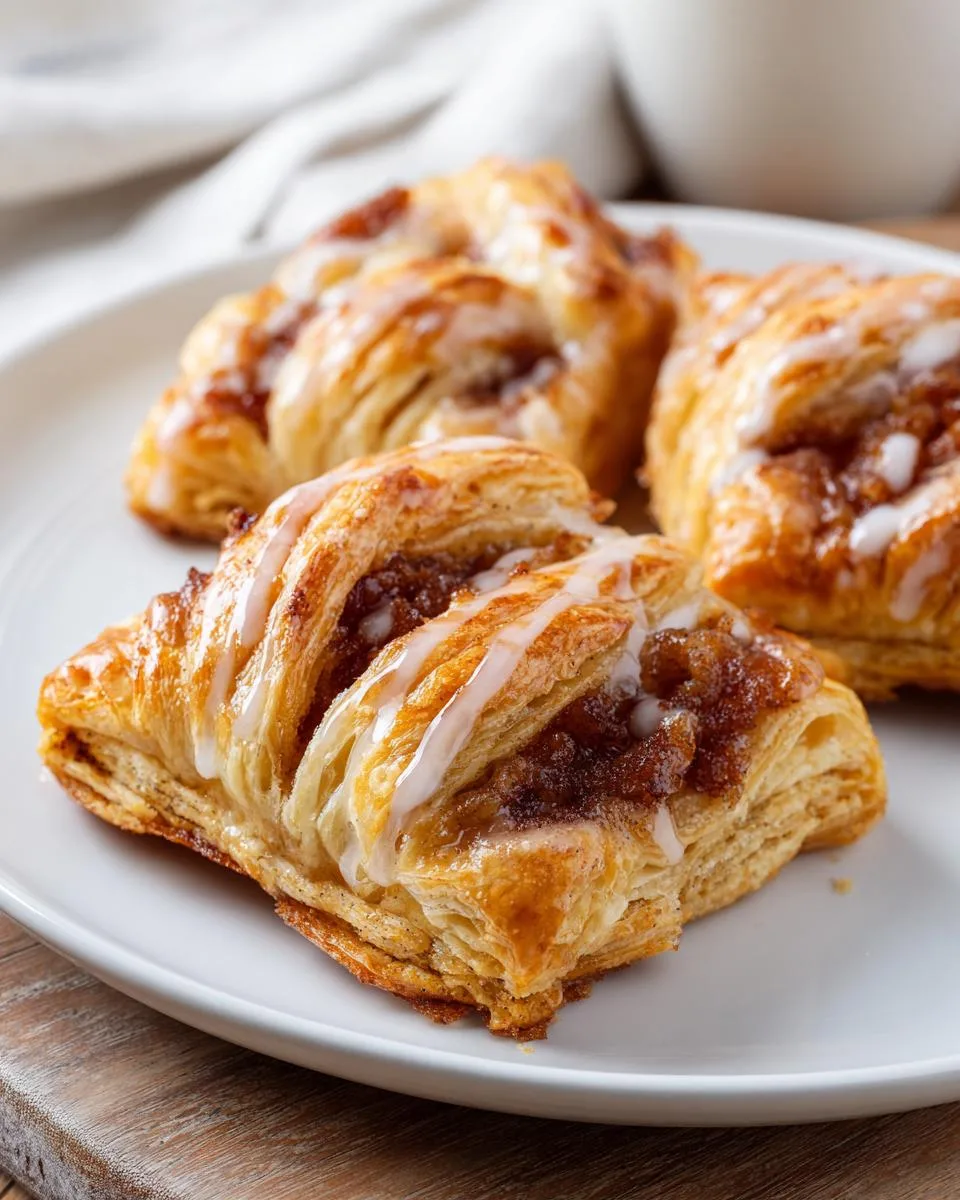
Table of Contents
Table of Contents
Why You’ll Love These Breakfast Pop Tart Pastries
Now, I know what you’re thinking: “Pop tarts? Isn’t that just kid food?” Trust me, these are anything but. They’re what happens when childhood nostalgia grows up and puts on a fancy apron. My grandma used to make something similar when I’d sleep over as a kid (though hers were more like hand pies), and the second that cinnamon hits the air, I’m right back at her kitchen table with sticky fingers and a milk mustache.
The secret? That perfect balance—just enough sweetness to feel like a treat, but sturdy enough to hold in one hand while you’re running out the door. And that glaze? It’s the crowning glory that makes these taste like they came from a fancy bakery, not your oven. Let me show you how it’s done!
Listen, I don’t just make these because they’re delicious (though, wow, are they ever). Here’s why they’ve become my go-to breakfast treat:
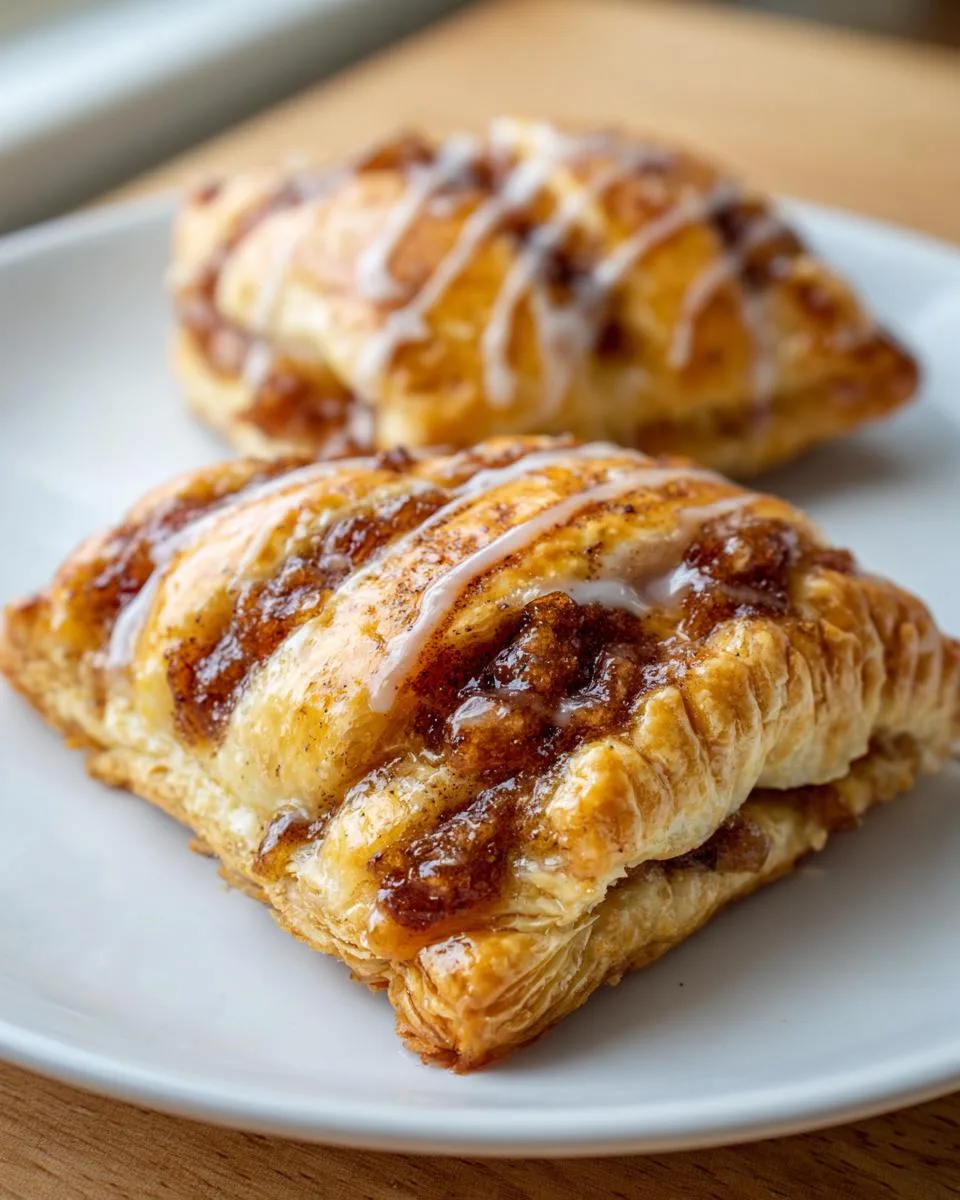
- That flaky crust! When you bite in, it shatters into a million buttery layers—none of that cardboard texture from store-bought versions.
- Customizable fillings are your playground. Swap in jam, Nutella, or even savory cheese if cinnamon-sugar isn’t your thing.
- Kids go nuts for them, but adults do too—I’ve caught my husband sneaking them straight from the freezer at midnight.
- Make-ahead magic! Bake a batch Sunday night, and boom—breakfast is handled all week.
- They freeze beautifully for those “oh-crap-I-overslept” mornings. Just pop ’em in the toaster!
Seriously, once you taste homemade, you’ll never go back to the foil-wrapped kind.
Ingredients for Breakfast Pop Tart Pastries
Okay, let’s talk ingredients – and I mean the good stuff. This isn’t one of those “just grab whatever’s in your pantry” situations. Every single item here plays a crucial role in creating that perfect flaky-crisp texture and gooey cinnamon center. Here’s exactly what you’ll need:
- 2 and 1/2 cups (313g) all-purpose flour, plus extra for dusting (trust me, you’ll need it when rolling)
- 2 teaspoons granulated sugar – just enough to sweeten the crust slightly
- 1 teaspoon salt – don’t skip this! It balances all the sweetness
- 1 cup (16 Tbsp; 226g) unsalted butter, chilled and cubed (I pop mine in the freezer for 15 minutes first – cold butter = flaky layers)
- 1/2 cup (120ml) ice water – I literally toss an ice cube in my measuring cup
- 1/2 cup (100g) packed brown sugar – press it into the cup firmly, whether dark or light
- 2 teaspoons ground cinnamon – the star of our filling!
- 1 tablespoon (8g) all-purpose flour – this thickens the filling so it doesn’t leak
- 1 large egg + 2 tsp milk for the egg wash (makes that gorgeous golden crust)
- 3/4 cup (90g) confectioners’ sugar, sifted (no lumps in our glaze!)
- 1 tablespoon (15ml) milk plus more as needed for the glaze
- 1/2 teaspoon cinnamon + 1/4 tsp vanilla extract – because plain glaze is boring
See? Nothing weird or hard-to-find. Just real ingredients that work magic together.
How to Make Breakfast Pop Tart Pastries
Alright, let’s get our hands dirty! I promise this isn’t as complicated as it looks – just follow these steps and you’ll be biting into homemade pop tart heaven before you know it.
Making the Pastry Dough
First things first – that flaky crust isn’t gonna make itself! Grab your biggest bowl and whisk together the flour, sugar, and salt. Now here’s the important part: toss in those ice-cold butter cubes and start smushing them into the flour with your fingers. You want pea-sized chunks – don’t overwork it or your crust won’t be tender!
Drizzle in the ice water a tablespoon at a time, mixing gently with a fork until the dough just comes together. It should look shaggy but hold when pressed. Divide it into two discs, wrap them tight in plastic, and chill for at least 2 hours (overnight’s even better). This relaxes the gluten and keeps the butter cold for maximum flakiness.
Preparing the Cinnamon Filling
While the dough chills, let’s make that irresistible cinnamon goo. In a small bowl, mix the packed brown sugar (really press it down in the cup!), cinnamon, and flour. The flour might seem odd, but it’s our secret weapon against runny filling disasters. Taste it – I won’t tell if you sneak a fingerful!
Assembling and Baking
Roll one dough disc into a 9×12-inch rectangle on a floured surface – don’t worry about perfection here. Cut into 9 smaller rectangles (a pizza cutter works great). Brush half with egg wash – this acts like edible glue. Spoon about 1 tablespoon filling onto each washed rectangle, leaving a 1/2-inch border. Top with remaining rectangles, press edges to seal (really get in there with your fingers!), and poke steam vents with a fork. Chill 20 minutes while the oven preheats to 350°F.
Bake 25-30 minutes until golden brown – rotate the pan halfway for even color. Your kitchen will smell like a cinnamon roll factory!
Adding the Glaze
Patience, my friend – let them cool completely first or your glaze will melt right off! Whisk together the confectioners’ sugar, milk, cinnamon and vanilla until smooth. Want it thicker? Add more sugar. Thinner? More milk. Drizzle or spread over the cooled pop tarts – I like doing zigzags for that classic look. Let set for 10 minutes before devouring.
Print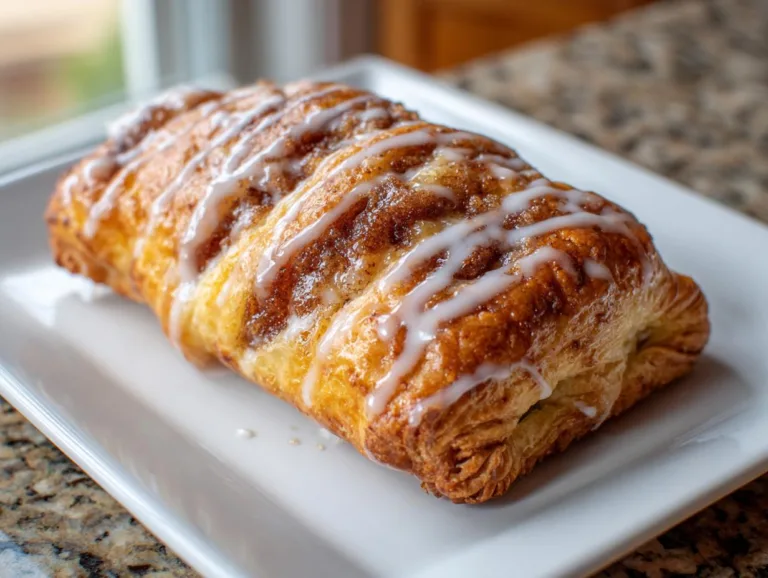
Homemade Breakfast Pop Tart Pastries – Irresistible Flaky 30-Minute Recipe
Homemade breakfast pop tart pastries with a flaky crust, cinnamon-brown sugar filling, and sweet glaze.
- Total Time: 3 hours
- Yield: 9 pop tarts 1x
Ingredients
- 2 and 1/2 cups (313g) all-purpose flour, plus more as needed
- 2 teaspoons granulated sugar
- 1 teaspoon salt
- 1 cup (16 Tbsp; 226g) unsalted butter, chilled and cubed
- 1/2 cup (120ml) ice water, plus more as needed
- 1/2 cup (100g) packed dark or light brown sugar
- 2 teaspoons ground cinnamon
- 1 tablespoon (8g) all-purpose flour
- 1 large egg mixed with 2 teaspoons milk (egg wash)
- 3/4 cup (90g) confectioners’ sugar, sifted
- 1 tablespoon (15ml) milk, plus more as needed
- 1/2 teaspoon ground cinnamon
- 1/4 teaspoon pure vanilla extract
Instructions
- Make the pastry dough by mixing flour, sugar, salt, and butter. Add ice water gradually until dough forms.
- Divide dough into two discs, wrap, and refrigerate for at least 2 hours.
- Roll out one disc into a 9×12-inch rectangle, cut into 9 smaller rectangles, and refrigerate.
- Repeat with the second disc.
- Mix brown sugar, cinnamon, and flour for the filling.
- Assemble pop tarts by brushing egg wash on bottom rectangles, adding filling, and topping with egg-washed rectangles.
- Press edges to seal, poke holes in tops, and refrigerate for 20 minutes.
- Preheat oven to 350°F (177°C). Bake for 25–30 minutes until golden.
- Cool completely before icing.
- Mix confectioners’ sugar, milk, cinnamon, and vanilla for glaze. Spread over cooled pop tarts.
Notes
- Chill dough thoroughly for best results.
- Seal edges tightly to prevent filling from leaking.
- Store in an airtight container for freshness.
- Prep Time: 2 hours 30 minutes
- Cook Time: 30 minutes
- Category: Breakfast
- Method: Baking
- Cuisine: American
- Diet: Vegetarian
Nutrition
- Serving Size: 1 pop tart
- Calories: 280
- Sugar: 15g
- Sodium: 120mg
- Fat: 14g
- Saturated Fat: 8g
- Unsaturated Fat: 5g
- Trans Fat: 0g
- Carbohydrates: 35g
- Fiber: 1g
- Protein: 3g
- Cholesterol: 45mg
Tips for Perfect Breakfast Pop Tart Pastries
Listen, I’ve made every mistake possible with these pop tarts—so you don’t have to! Here are my hard-earned secrets for bakery-worthy results every time:
- Cold is your friend! That dough needs serious chill time—I’m talking at least 2 hours. Otherwise, your butter melts too fast and you lose those gorgeous flaky layers.
- Seal those edges like Fort Knox—press hard with a fork or crimp with your fingers. One tiny gap and cinnamon sugar lava erupts everywhere (ask me how I know).
- Poke plenty of steam holes—I do about 5 per pop tart. Skip this and they’ll puff up like little pillows (which sounds cute but means broken fillings).
- Rotate your baking sheet halfway through—ovens lie about even heating! Those back corners will burn while the front stays pale.
- Let them cool completely before glazing—I know it’s torture, but warm pop tarts turn glaze into sad puddles.
Follow these and you’ll avoid all my early disasters—promise!
Ingredient Substitutions & Variations
Look, I’m all about sticking to the original recipe—but life happens! Here’s how to adapt these pop tarts when you’re in a pinch or feeling creative:
- Out of brown sugar? Use 1/4 cup maple syrup (reduce other liquids slightly) or white sugar mixed with 1 tsp molasses.
- Spice it up! Add a pinch of nutmeg or cardamom to the cinnamon filling—my aunt swears by ginger for a kick.
- Butter alternatives: Coconut oil works in the dough if chilled properly, though the flavor changes slightly.
- Glaze haters? Skip it and dust with powdered sugar instead—still pretty, less sweet.
- Go fruity: Swap the cinnamon filling for jam (just add 1 extra tsp flour to thicken it).
The beauty? Once you master the dough, the filling possibilities are endless—have fun with it!
Storing and Reheating Breakfast Pop Tart Pastries
Here’s the best part – these pop tarts actually get better after a day! Store them in an airtight container at room temperature for up to 3 days (if they last that long). For longer storage, freeze them unglazed in a single layer first, then stack with parchment paper between layers. They’ll keep beautifully for a month!
When hunger strikes, pop frozen ones straight into the toaster (like the store-bought kind, but way better) or warm in a 300°F oven for 10 minutes. Add glaze after reheating for that fresh-baked look.
Nutritional Information
Okay, let’s be real—these aren’t health food, but everything in moderation, right? Here’s the scoop per pop tart (based on my exact ingredients—yours might vary slightly):
- 280 calories – totally worth every bite
- 14g fat (8g saturated) – that’s the butter doing its flaky magic
- 35g carbs – mostly from that dreamy cinnamon filling
- 3g protein – hey, it’s something!
Remember, nutrition varies based on brands and exact measurements—this is just to give you a ballpark. Now go enjoy one (or two) without guilt!
FAQ About Breakfast Pop Tart Pastries
You’ve got questions? I’ve got answers—plus all the messy trial-and-error stories behind them! Here’s what readers ask me most about these homemade pop tarts:
Can I use store-bought pie dough instead?
Sure, in a pinch—but homemade makes all the difference! Pre-made crusts tend to be thinner and less flaky. If you must, roll two sheets together for thickness and dock them well to prevent puffing.
Why do my pop tarts leak filling everywhere?
Oh honey, been there! Three culprits: 1) Didn’t seal edges tightly enough (really press hard!), 2) Skipped the flour in the filling, or 3) Forgot those steam vents. Do all three and you’ll have a cinnamon explosion—fun to watch, sad to eat.
How do I prevent soggy bottoms?
Two tricks: 1) Bake on parchment paper (not wax paper—big difference!), and 2) Let them cool completely on a wire rack so steam escapes. That crisp bottom is everything!
Can I make these gluten-free?
Absolutely! Swap in your favorite 1:1 GF flour blend. The texture changes slightly—more crumbly than flaky—but still delicious. Add 1/4 tsp xanthan gum if your blend doesn’t include it.
What’s the best way to reheat them?
Toaster for quick mornings (watch closely!), or 300°F oven for 10 minutes if you’ve got time. Microwave works in emergencies but turns them rubbery—last resort!
Share Your Breakfast Pop Tart Pastries
Nothing makes me happier than seeing your creations! Snap a pic of those golden-brown beauties and tag me—I want to see your glaze designs and creative fillings. Did you try a wild variation? Scream it from the rooftops (or just leave a comment)! Your kitchen adventures inspire me to keep baking and sharing these recipes. If you want to see more of my family’s favorite recipes, check out my Facebook page!